• Skip to main content
  • Skip to secondary menu
  • Skip to primary sidebar
  • Skip to footer
Studio 73 Designs

Studio 73 Designs

Wire Jewelry Making & Wire Wrapping Techniques

  • Start Here!
  • FREE Wire-Wrapping Guides
  • Shop Tutorials
    • Cart
    • Checkout
  • Contact
  • Join Member
  • Member Login
Join PREMIUM MEMBERSHIP (FREE-TRIAL): 70+ Wire Wrapping Tutorials: Gain access to ALL step-by-step tutorials with high-quality images, no ads, plus all future tutorials. Check it out HERE.

Wire-Wrapping Whimsy Star and Moon Statement Drop Earrings Tutorial

July 8, 2026 by Madelynn

Step 4 of 10

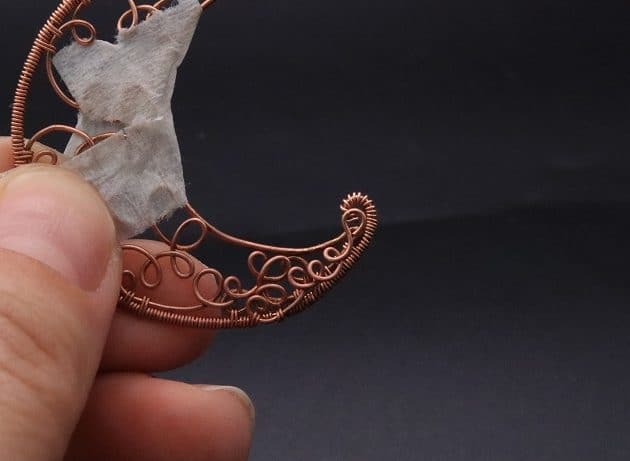
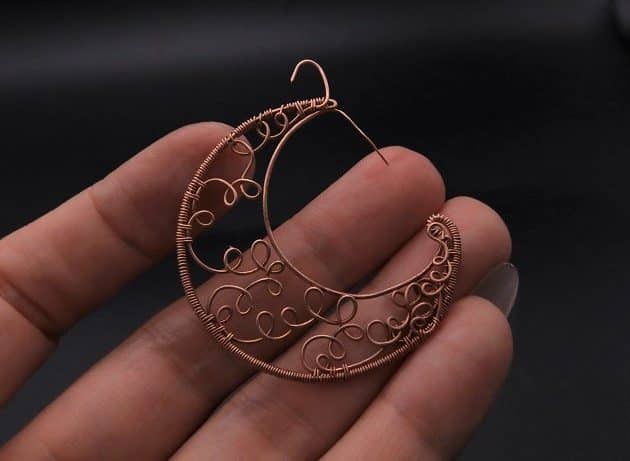
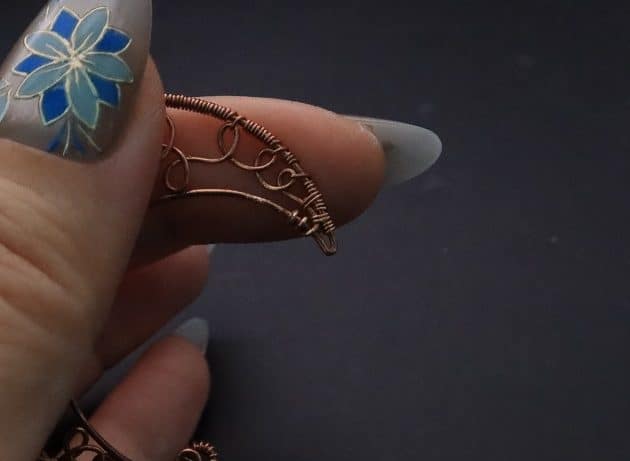
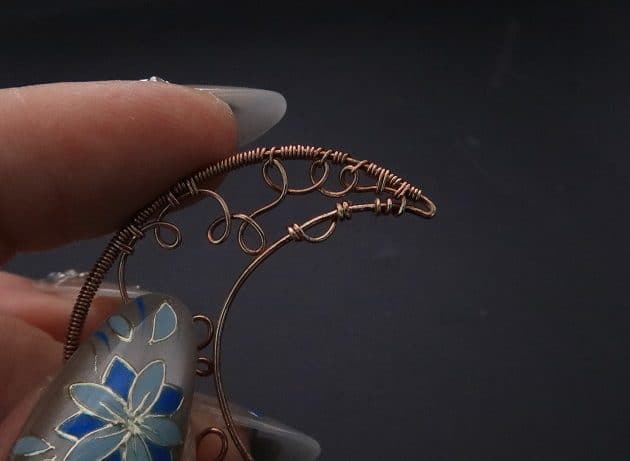
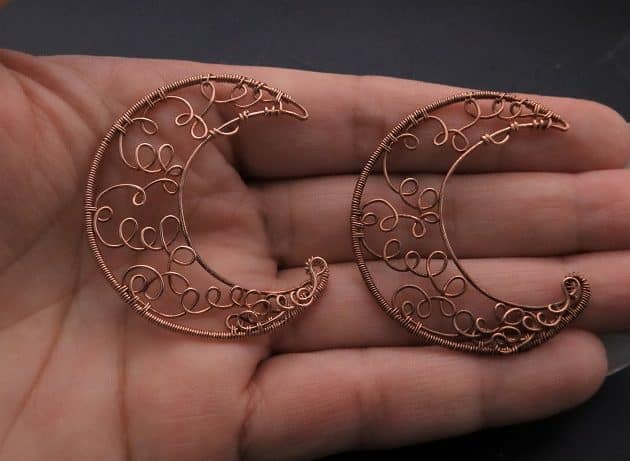
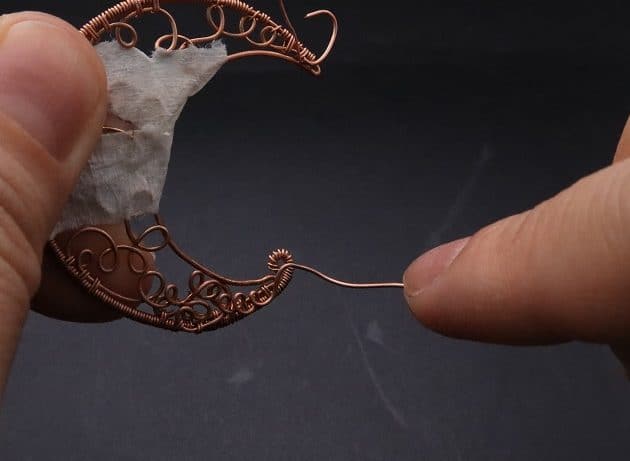
Now, trim off the excess wire from the whimsy design piece to prevent surface scratching:

  • Curl the wire end point into a hoop (fig. 4a, 4b, 4c).
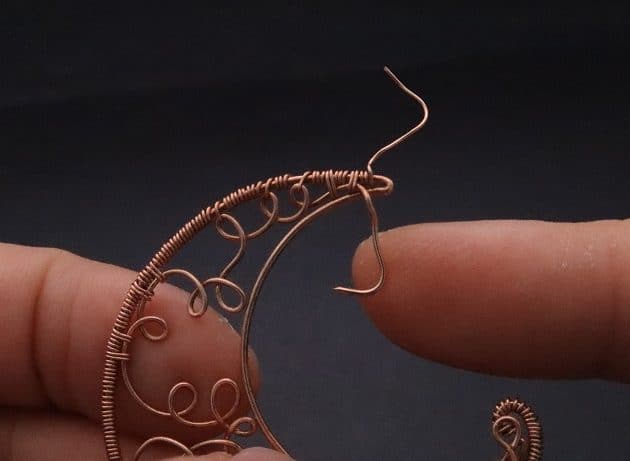
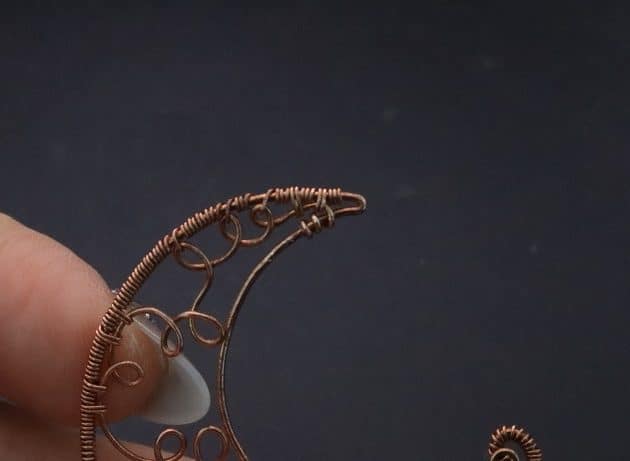
  • Anchor the start point onto the inner moon frame (fig. 4d, 4e).

After that, add a support wire finding onto the inner moon frame to attach the star pearl bead dangle (fig. 4f, 4g, 4h).
Wire-Wrapping Whimsy Star and Moon Statement Drop Earrings Tutorial 26
fig. 4a

Wire-Wrapping Whimsy Star and Moon Statement Drop Earrings Tutorial 27
fig. 4b

Wire-Wrapping Whimsy Star and Moon Statement Drop Earrings Tutorial 28
fig. 4c

Wire-Wrapping Whimsy Star and Moon Statement Drop Earrings Tutorial 29
fig. 4d

Wire-Wrapping Whimsy Star and Moon Statement Drop Earrings Tutorial 30
fig. 4e

Wire-Wrapping Whimsy Star and Moon Statement Drop Earrings Tutorial 31
fig. 4f

Wire-Wrapping Whimsy Star and Moon Statement Drop Earrings Tutorial 32
fig. 4g

Wire-Wrapping Whimsy Star and Moon Statement Drop Earrings Tutorial 33
fig. 4h

wire wrap jewelry

FREE WIRE-WRAPPING GUIDE TO YOUR EMAIL! 

JOIN NEWSLETTER

SEND GUIDE TO EMAIL

We respect your privacy. Unsubscribe at anytime.


Prefer this wire-wrapping tutorial in a PRINTABLE FORMAT? (High Resolution Photos)

Click here for the PDF version of “Wire-Wrapping Whimsy Star and Moon Statement Drop Earrings Tutorial”


Step 5 of 10

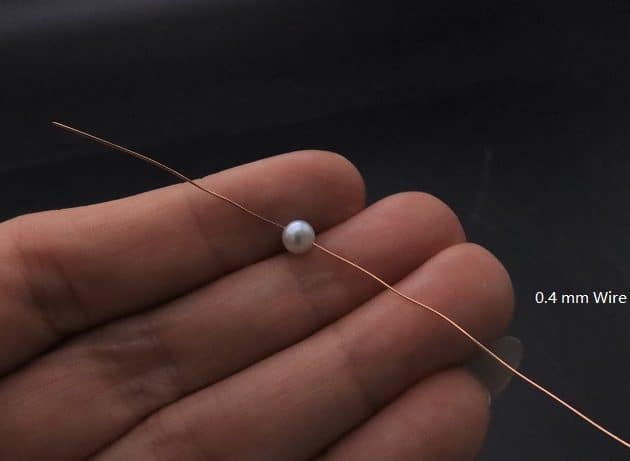
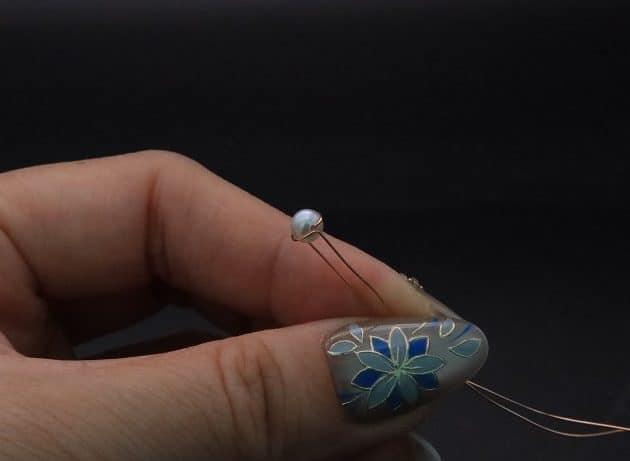
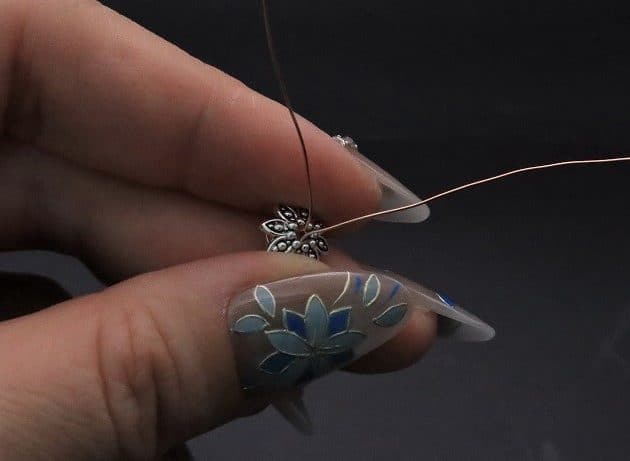
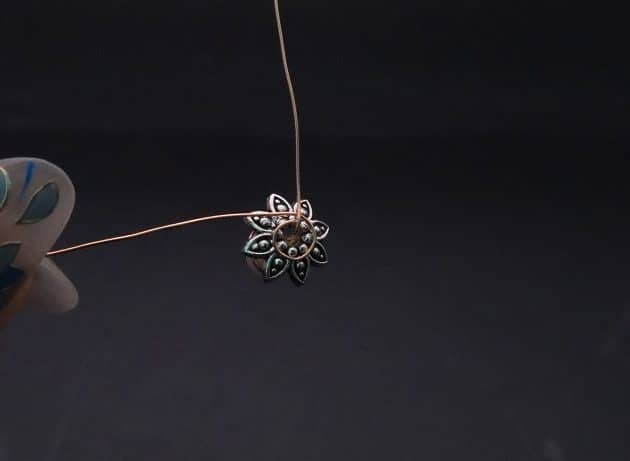
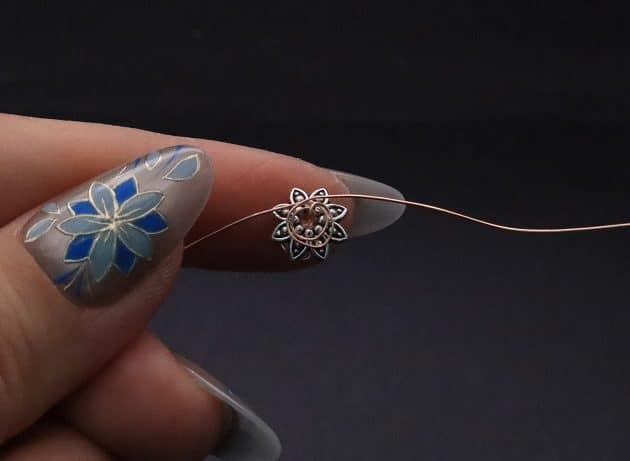
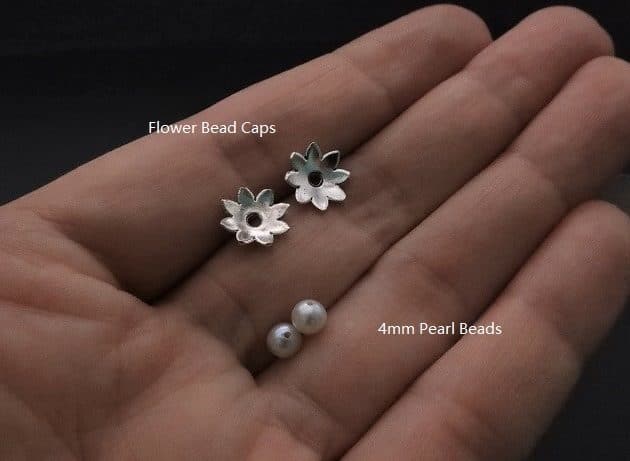
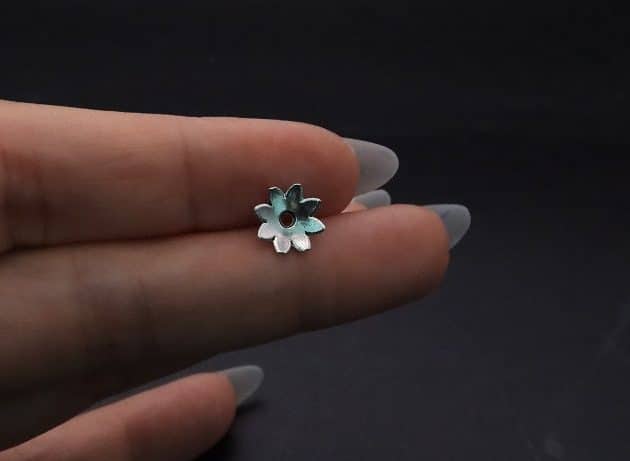
Next, take two pieces of 4mm pearl bead and flower bead cap each to form the star pearl bead combo (fig. 5a).

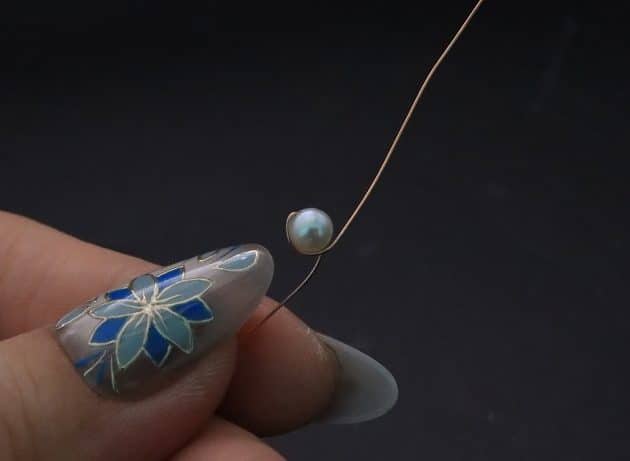
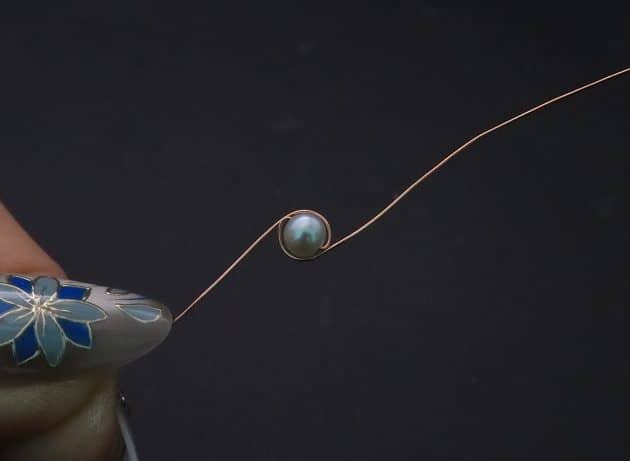
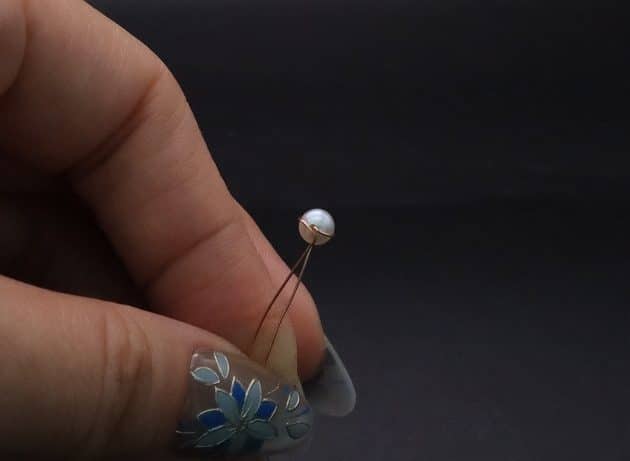
Slide one pearl bead onto a new 26 gauge copper wire and make a half wrap on each side of the pearl (fig. 5b, 5c, 5d).

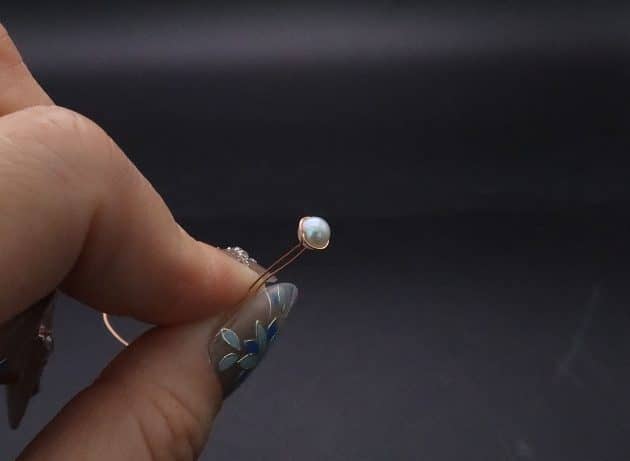
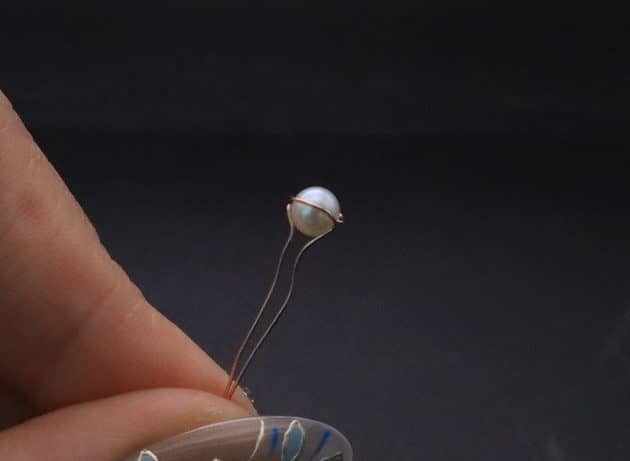
Then, bend the remaining wires downward as shown (fig. 5e, 5f, 5g, 5h).
Wire-Wrapping Whimsy Star and Moon Statement Drop Earrings Tutorial 34
fig. 5a

Wire-Wrapping Whimsy Star and Moon Statement Drop Earrings Tutorial 35
fig. 5b

Wire-Wrapping Whimsy Star and Moon Statement Drop Earrings Tutorial 36
fig. 5c

Wire-Wrapping Whimsy Star and Moon Statement Drop Earrings Tutorial 37
fig. 5d

Wire-Wrapping Whimsy Star and Moon Statement Drop Earrings Tutorial 38
fig. 5e

Wire-Wrapping Whimsy Star and Moon Statement Drop Earrings Tutorial 39
fig. 5f

Wire-Wrapping Whimsy Star and Moon Statement Drop Earrings Tutorial 40
fig. 5g

Wire-Wrapping Whimsy Star and Moon Statement Drop Earrings Tutorial 41
fig. 5h

Step 6 of 10

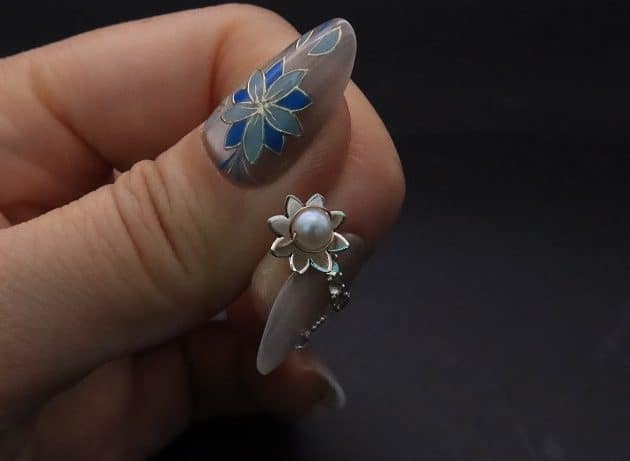
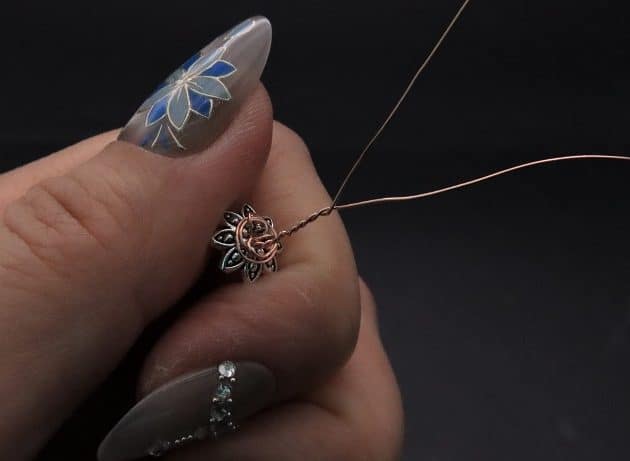
Slide the flower bead cap on the bottom of the pearl bead (fig. 6a, 6b).

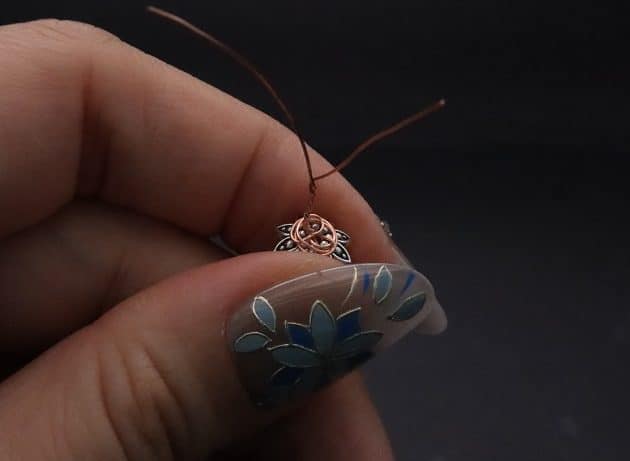
At the back side, wrap the center of the flower bead cap for one round on each loose wires (fig. 6c, 6d, 6e).

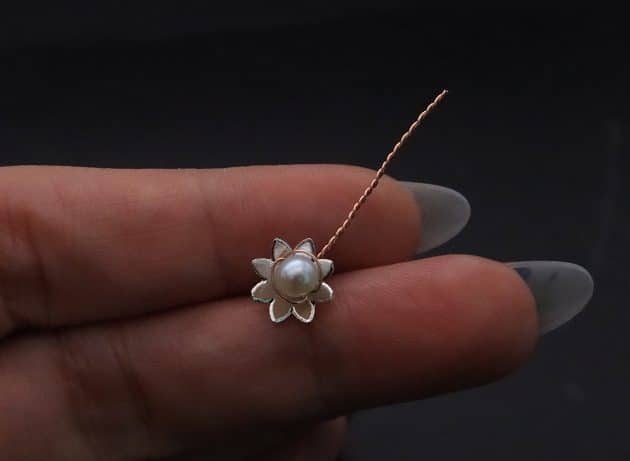
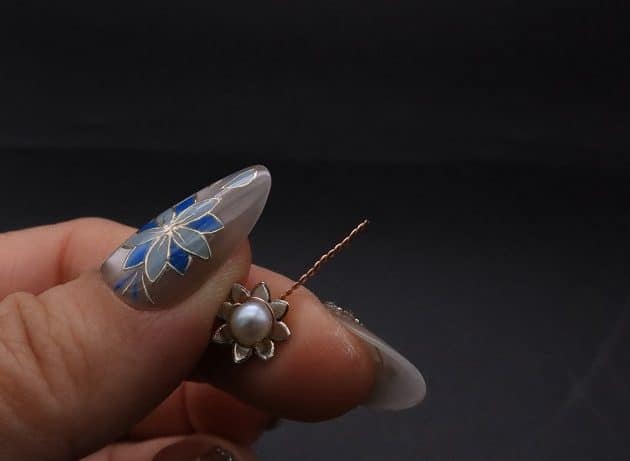
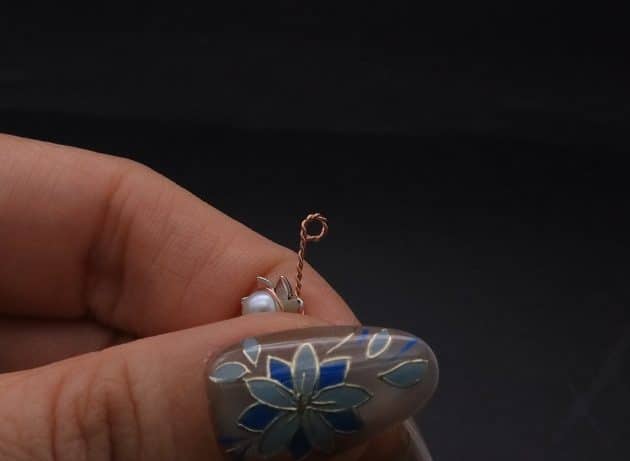
Then, twist the remaining wires for about one inch in length to form the bead dangle part (fig. 6f, 6g, 6h).

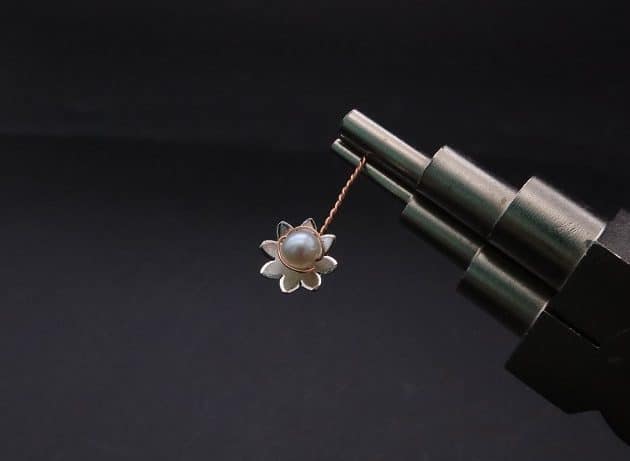
Curl the twisted wire end into an eye pin using the smallest diameter on a stepped bail-making pliers (fig. 6i, 6j, 6k).
Wire-Wrapping Whimsy Star and Moon Statement Drop Earrings Tutorial 42
fig. 6a

Wire-Wrapping Whimsy Star and Moon Statement Drop Earrings Tutorial 43
fig. 6b

Wire-Wrapping Whimsy Star and Moon Statement Drop Earrings Tutorial 44
fig. 6c

Wire-Wrapping Whimsy Star and Moon Statement Drop Earrings Tutorial 45
fig. 6d

Wire-Wrapping Whimsy Star and Moon Statement Drop Earrings Tutorial 46
fig. 6e

Wire-Wrapping Whimsy Star and Moon Statement Drop Earrings Tutorial 47
fig. 6f

Wire-Wrapping Whimsy Star and Moon Statement Drop Earrings Tutorial 48
fig. 6g

Wire-Wrapping Whimsy Star and Moon Statement Drop Earrings Tutorial 49
fig. 6h

Wire-Wrapping Whimsy Star and Moon Statement Drop Earrings Tutorial 50
fig. 6i

Wire-Wrapping Whimsy Star and Moon Statement Drop Earrings Tutorial 51
fig. 6j

Wire-Wrapping Whimsy Star and Moon Statement Drop Earrings Tutorial 52
fig. 6k

Pages: Page 1 Page 2 Page 3 Page 4

Filed Under: Tutorials/DIY

Primary Sidebar

MadelynnHey there! Thanks for visiting 🙂

My name is Madelynn and I’m the owner of Studio 73 Designs.

Studio 73 Designs is managed by a team of wire wrapping jewelry enthusiasts 🙂 Cheers!

Follow Me

  • Facebook
  • Instagram
  • Pinterest
  • Twitter
  • YouTube

ARE YOU INTERESTED IN WIRE-WRAPPING?

Sign up below and get access to my FREE wire-wrapping guides!

Sign Up
Wire Wrapping Tutorials
Wire Wrapping for Beginners Start Here
Beginner's Guide to Jewelry Wire for Wire-Wrapping
Wire Wrapping Tools and Supplies for Beginners
How to wire wrap stones without holes wire-wrapping tutorial for beginners
Wire Wrapping Tutorials DIY Jewelry Kits

Footer

ARE YOU INTERESTED IN WIRE-WRAPPING?

Sign up below and get access to my FREE wire-wrapping guides!

Sign Up

Site Navigation

Home
About
Contact
Blog
Privacy Policy
Disclaimer
Terms & Conditions

Follow Me

  • Facebook
  • Instagram
  • Pinterest
  • Twitter
  • YouTube

© 2026 · Studio 73 Designs

wire-wrapping tutorials

Learn Wire-Wrapping

Want to create beautiful wire-wrapped jewelry? Join membership today and get access to 70+ step-by-step wire-wrapping tutorials with high-quality images

Learn More
x