Step 6 of 8
Repeat the basic weaving sequence and work on the third herringbone layer.
On your bead:
- Wrap your wire along the right side (fig. 6a, 6b).
- Loop your wire on the top (fig. 6c, 6d, 6e, 6f).
- Then, wrap your wire along the left side (fig. 6g, 6h).
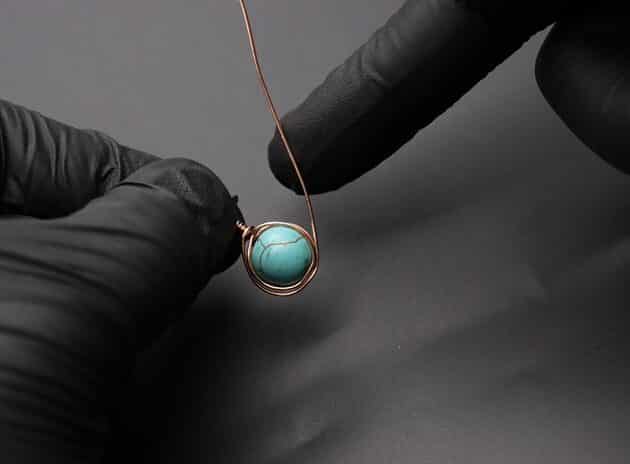
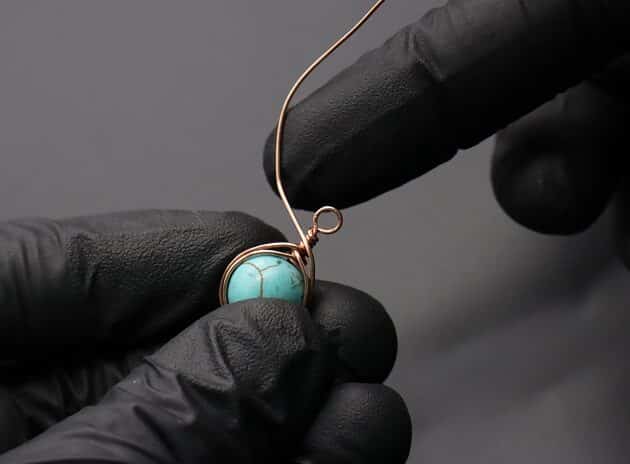
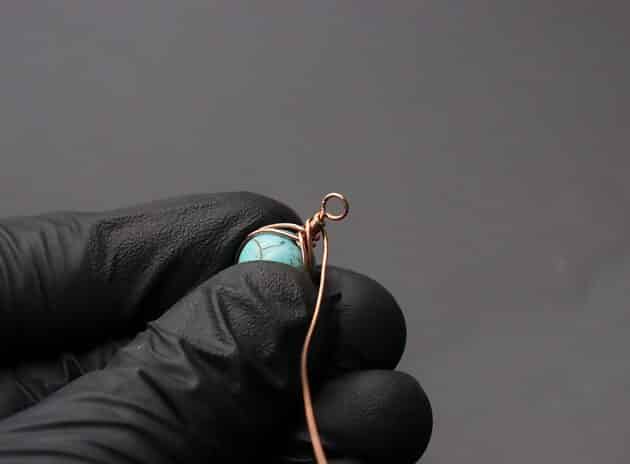
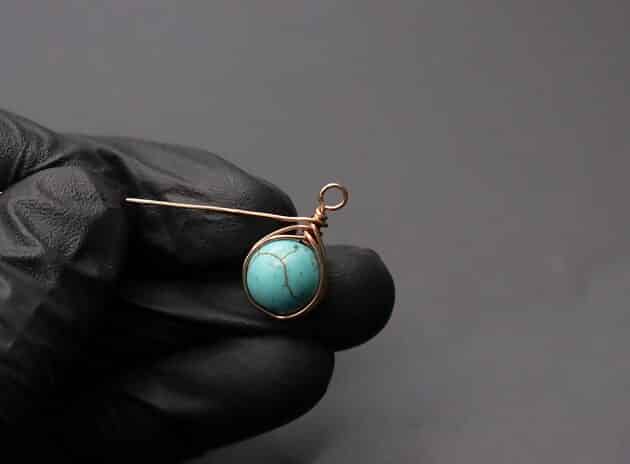
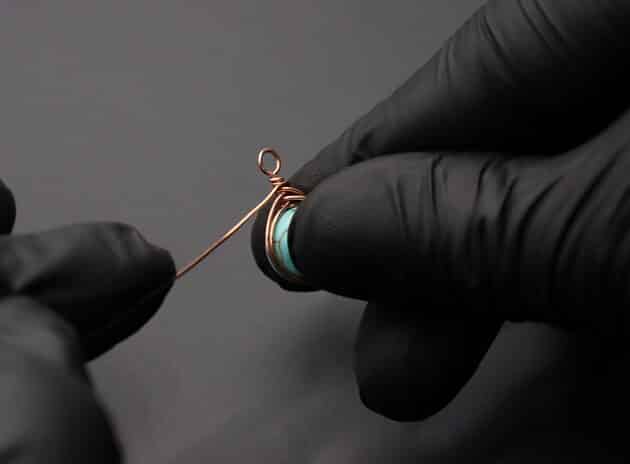
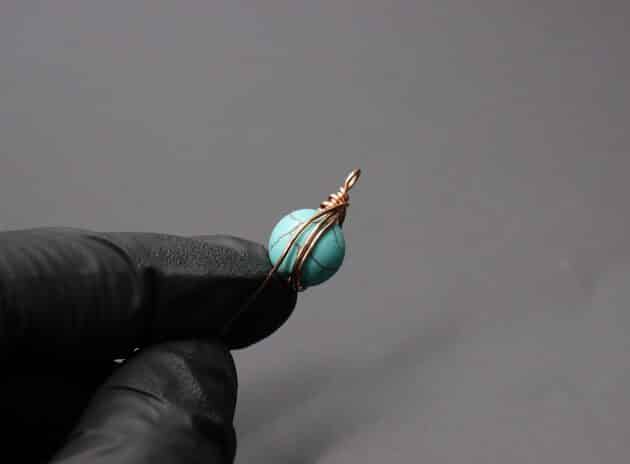
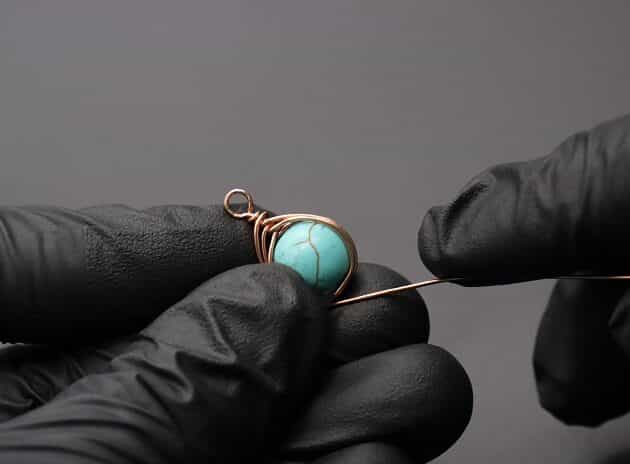
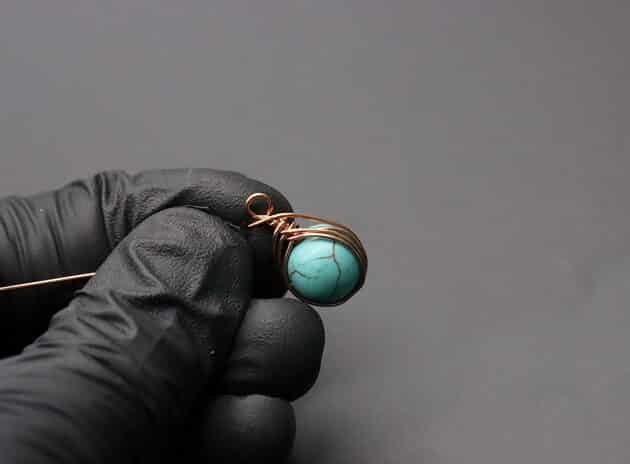
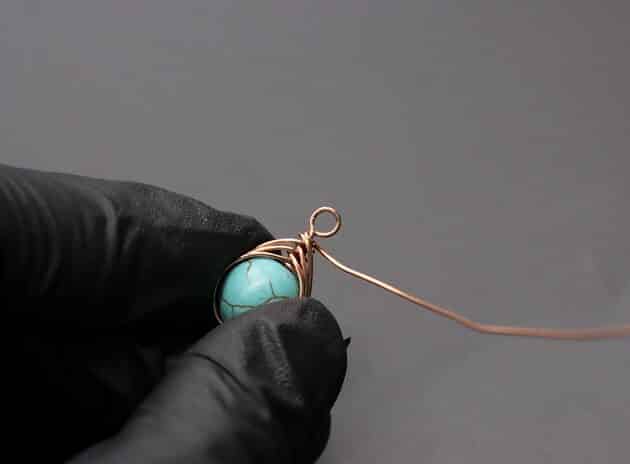
Step 7 of 8
Let’s finish up your herringbone weave design.

FREE WIRE-WRAPPING GUIDE TO YOUR EMAIL!
JOIN NEWSLETTER
We respect your privacy. Unsubscribe at anytime.
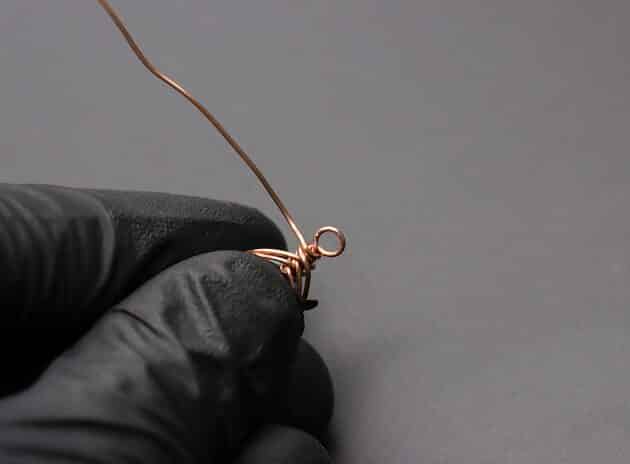
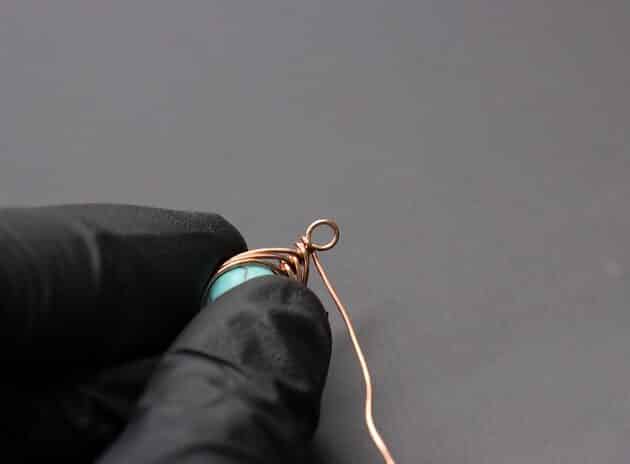
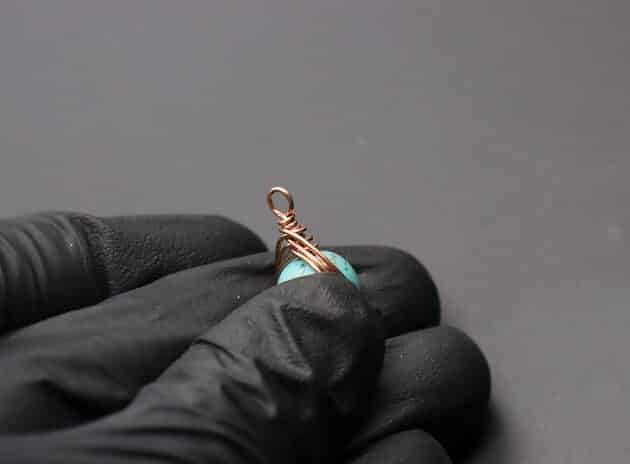
Wrap your loose 22-gauge wire along the right side of your bead (fig. 7a, 7b).
Then, make a tight coil on the top of your bead (fig. 7c, 7d, 7e, 7f).
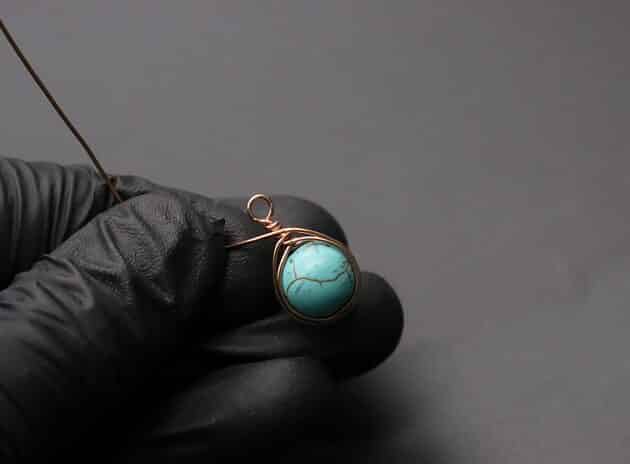
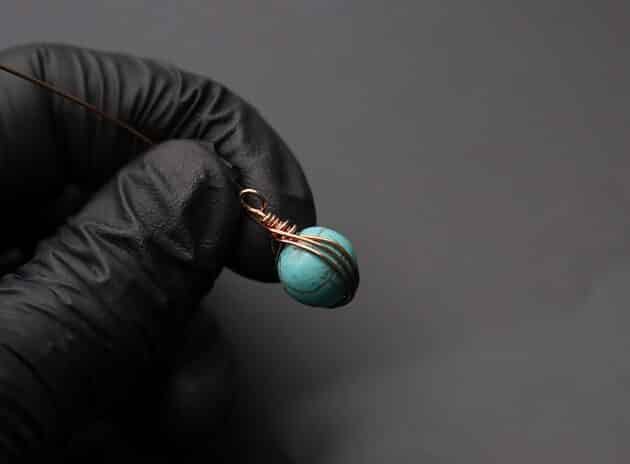
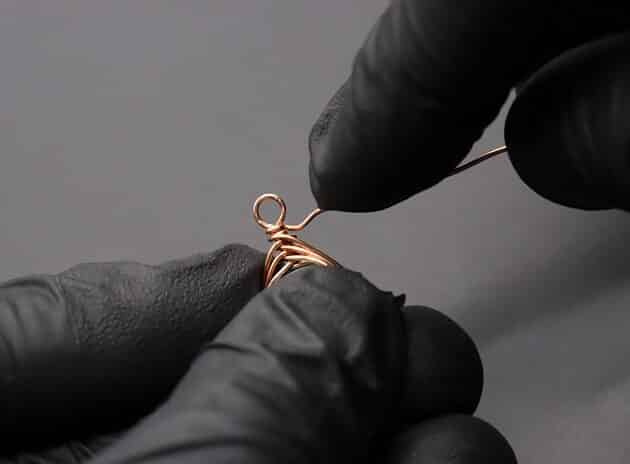
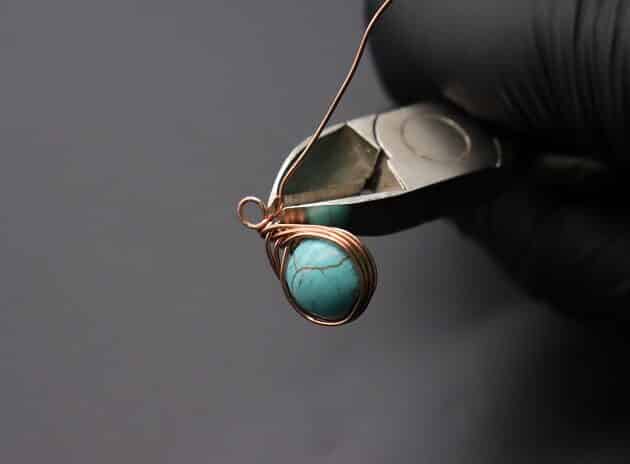
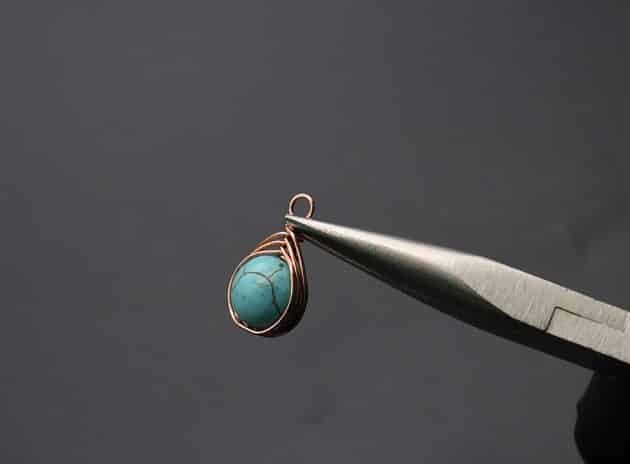
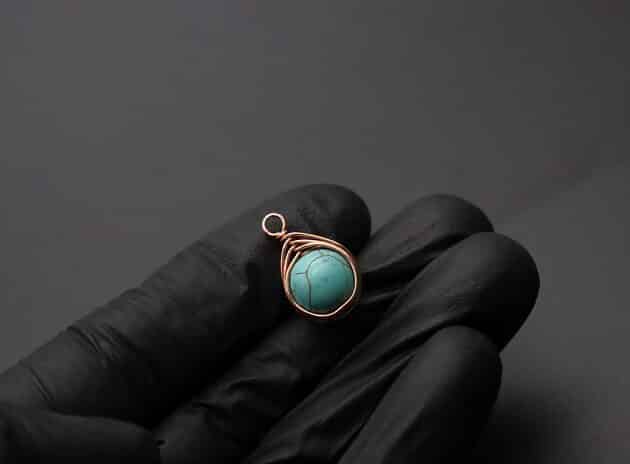
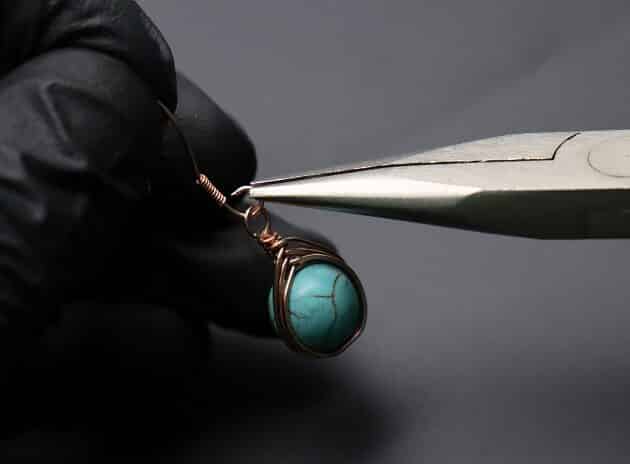
Lastly, trim off the excess wire with a wire cutter (fig. 7g, 7h, 7i).
Adjust the grip of the trimmed wire end with a chain nose pliers (fig. 7j).

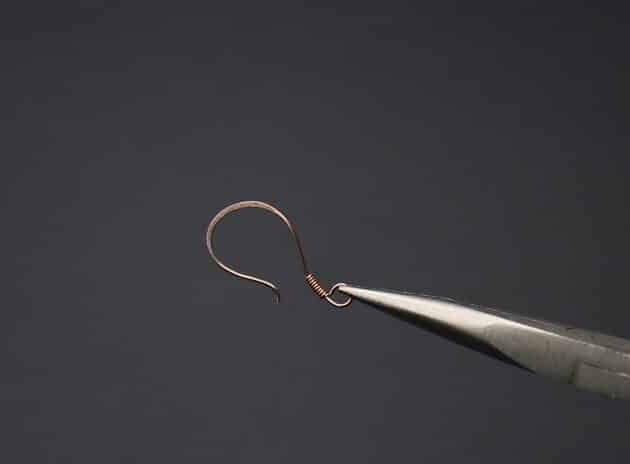
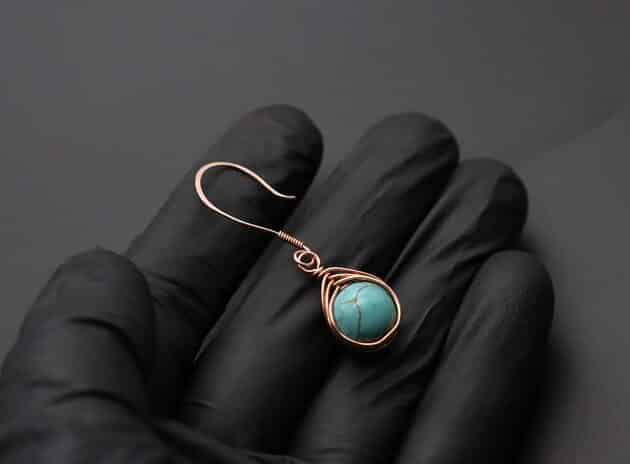
Step 8 of 8
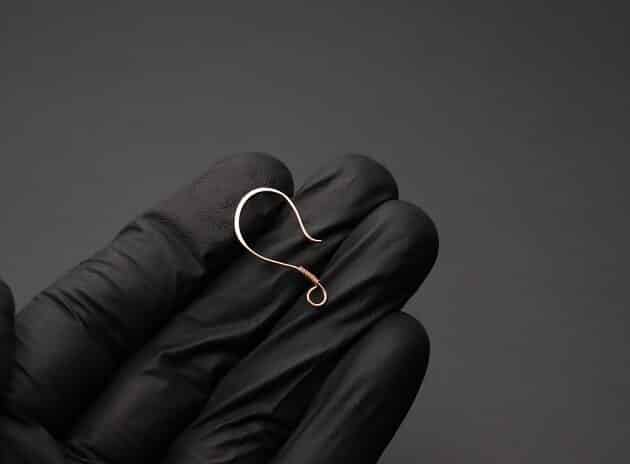
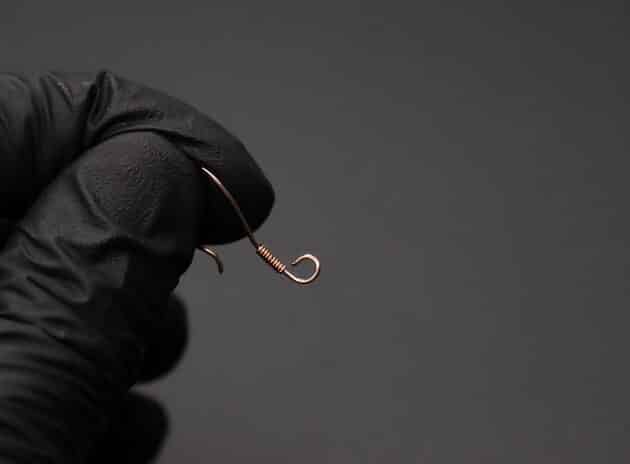
Last but not least, attach your earring piece onto a ear hook wire (fig. 8a, 8b).
Make a small opening on your ear hook wire with a chain nose pliers (fig. 8c, 8d).
Then, slip in your earring loop onto the ear hook wire (fig. 8e).
Use a chain nose pliers to seal the ear hook wire (fig. 8f, 8g).
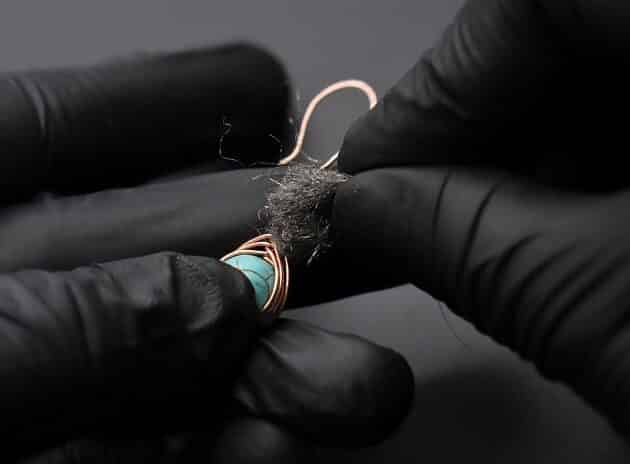
Finally, polish the surface of your earring with a finest steel wire wool (fig. 8h).
Repeat the whole process for your other earring from Step 1 to Step 8.
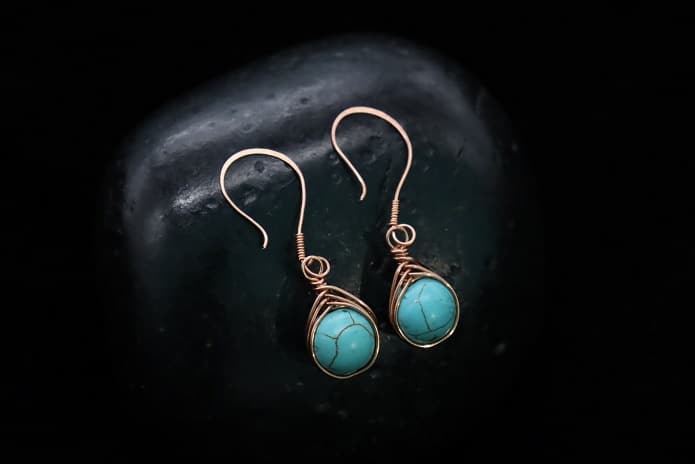
Well done! You have completed your tutorial.
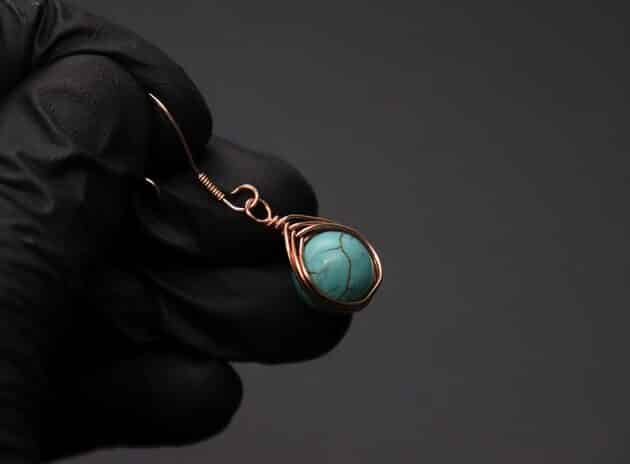
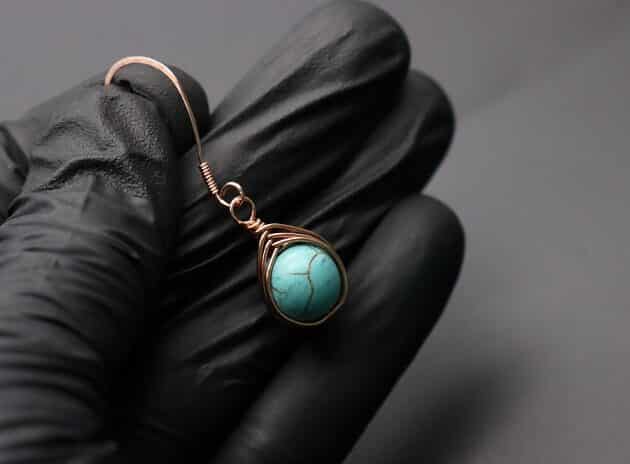
COMPLETED WIRE-WRAPPING TURQUOISE BEAD HERRINGBONE WEAVE EARRINGS
Want to Support me?
If you enjoyed my content, please consider support me on Patreon:). This helps me to create more amazing free content to share with you 🙂
If you’d like to see my work and follow my wire journey, you can find me here:
Facebook Instagram Twitter Pinterest YouTube Etsy