Hi my dear wire wrapper!
Show your love and appreciation to all the important women in your life with a fashionable and chic handmade gift for the upcoming International Women’s Day or Mother’s Day.
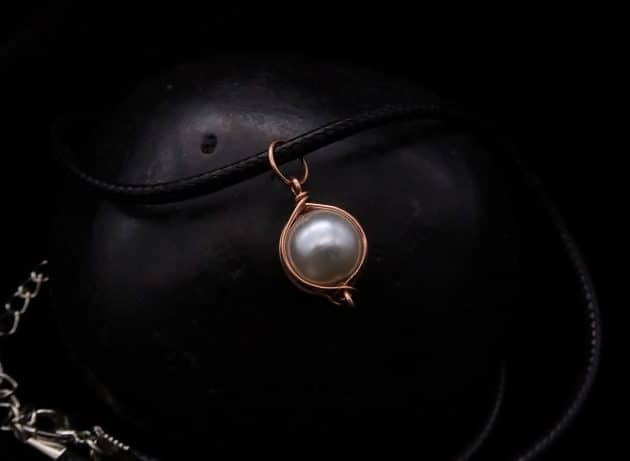
Learn how to wire wrap pearl pendant necklace with a single pearl bead and copper wires.
In my Wire-Wrapping Stylish Single Pearl Necklace Pendant Tutorial, you will practice wire jewelry making skills such as wire framing, jump ring making and pendant designing.

FREE WIRE-WRAPPING GUIDE TO YOUR EMAIL!
JOIN NEWSLETTER
We respect your privacy. Unsubscribe at anytime.
Follow along my simple step-by-step instructions and detailed progress picture guide to start your handcrafting project today.
Happy wrapping!
LEVEL: BEGINNER
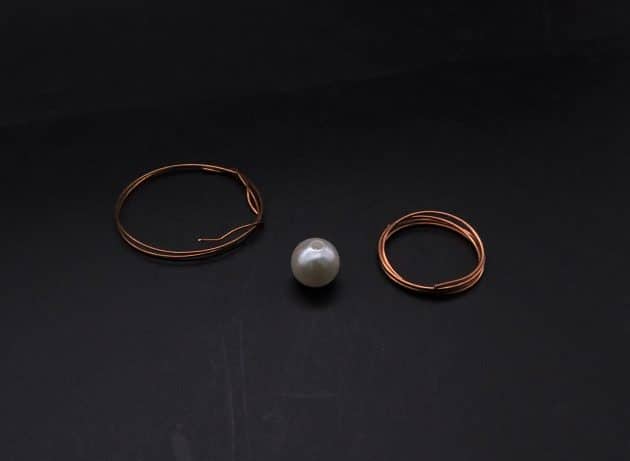
MATERIALS + TOOL
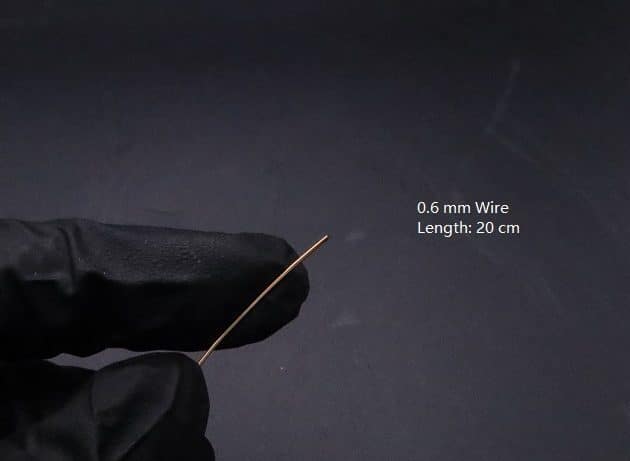
- Copper Wire (20 AWG, Length: 4 inches)
- Copper Wire (22 AWG, Length: 8 inches)
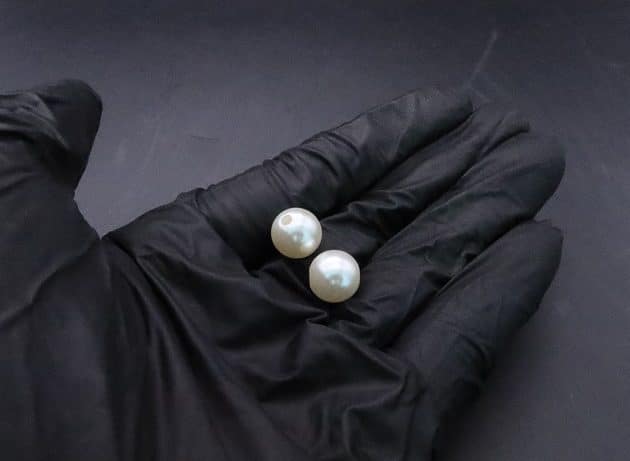
- Imitation Pearl Bead (1 pc)
- Wire Cutter
- Chain Nose Pliers
- Nylon Jaw Pliers
- Round Nose Pliers
- Stepped Bail-Making Pliers
- Finest Steel Wire Wool
- Masking Tape

Prefer this wire-wrapping tutorial in a PRINTABLE FORMAT? (High Resolution Photos)
Click here for the PDF version of “Wire-Wrapping Stylish Single Pearl Necklace Pendant Tutorial”
WIRE-WRAPPING STYLISH SINGLE PEARL NECKLACE PENDANT TUTORIAL
Step 1 of 7
Ready all items from the Materials and Tool list (fig. 1a).
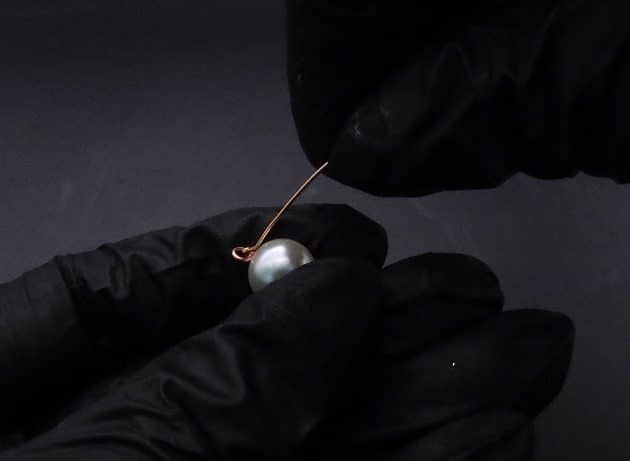
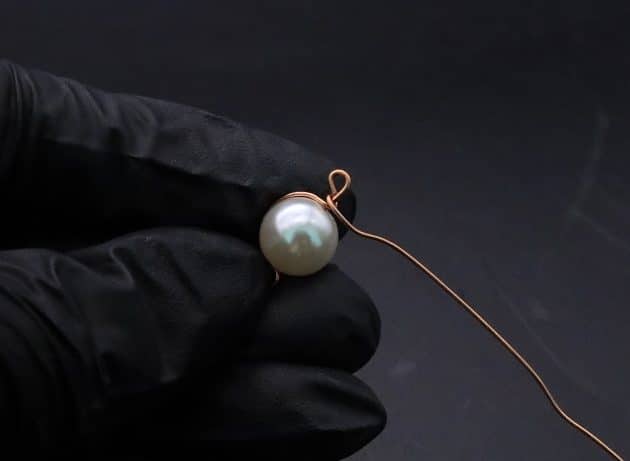
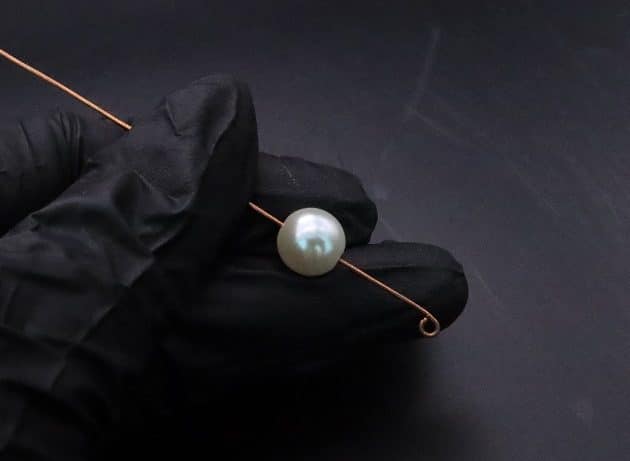
Form the center support wire for your pendant using a 20 gauge copper wire that measures 4 inches in length (fig. 1b).
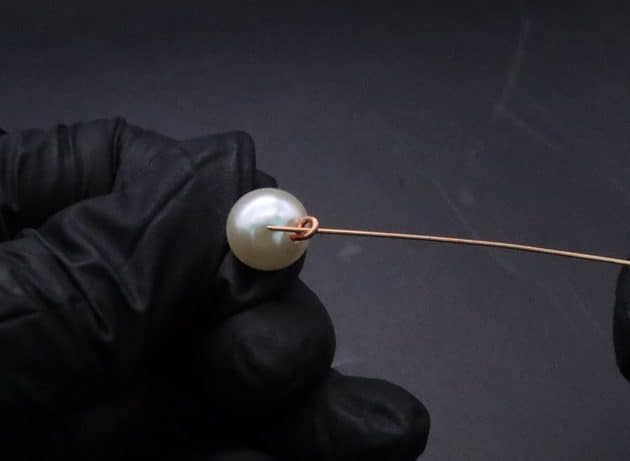
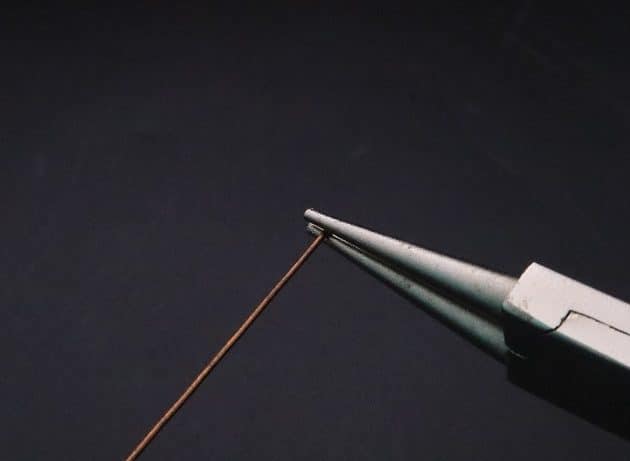
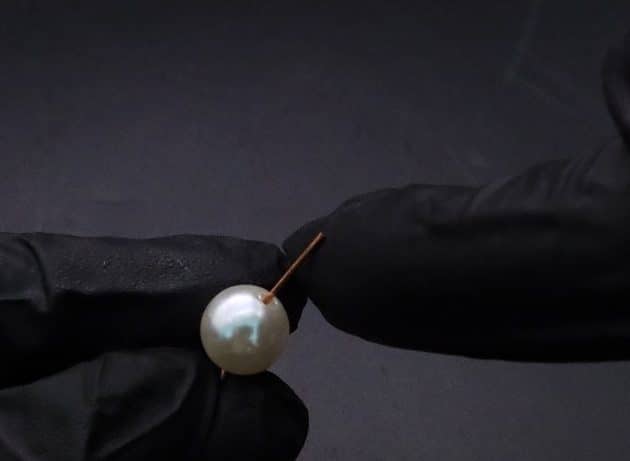
Curl a small hoop at the wire end with the tip of a round nose pliers as a bead stopper (fig. 1c, 1d).
Then, take one imitation pearl bead and slide it onto the curled 20 gauge copper wire (fig. 1e, 1f).
Step 2 of 7
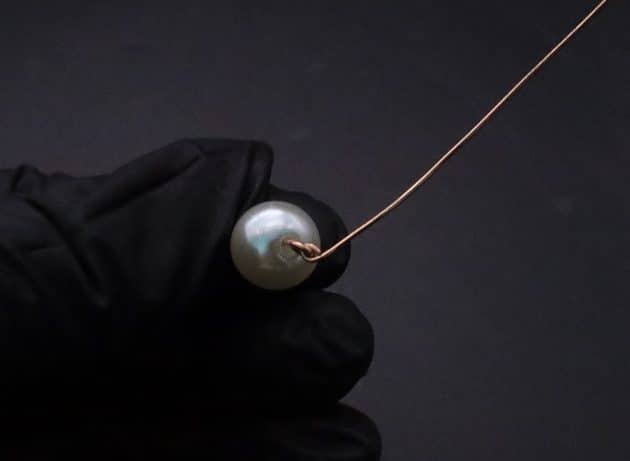
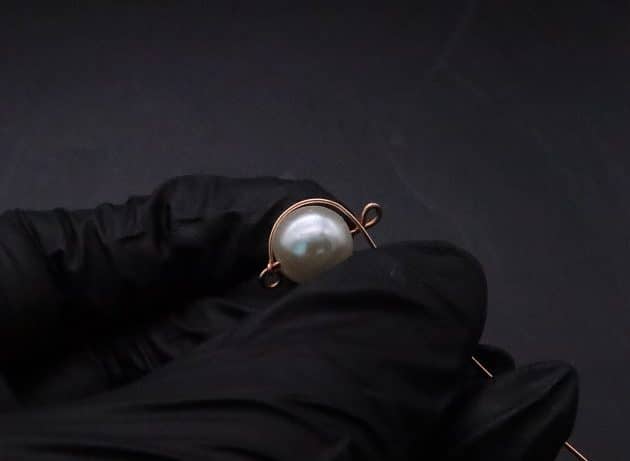
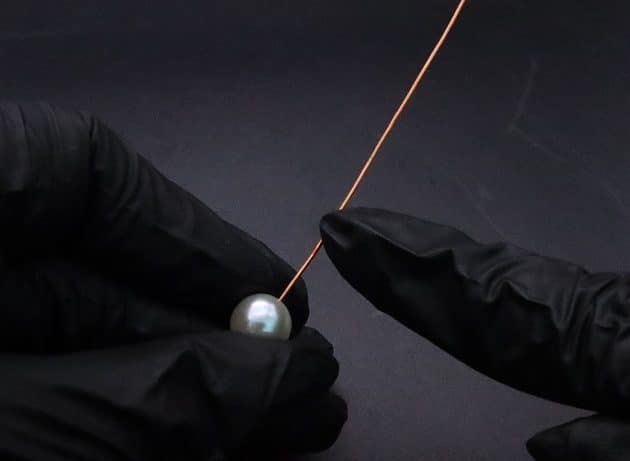
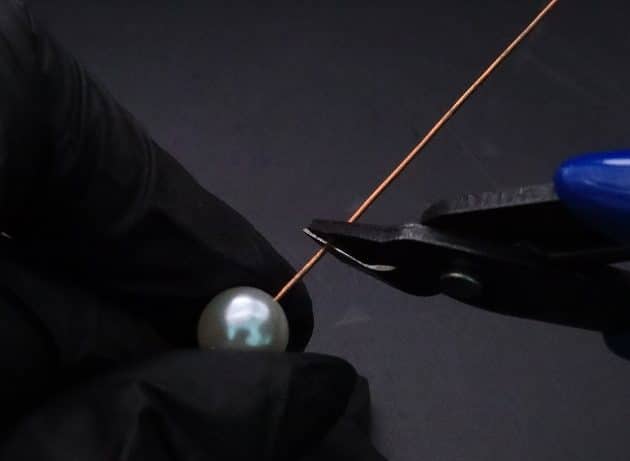
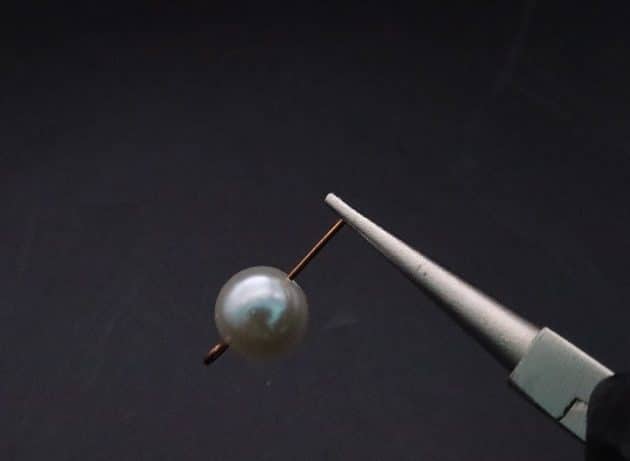
Mark half an inch of space on the wire with a pen, and trim off the excess with a wire cutter (fig. 2a, 2b, 2c).
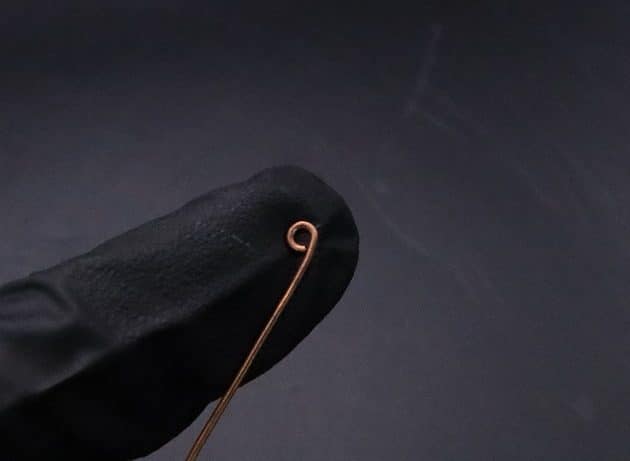
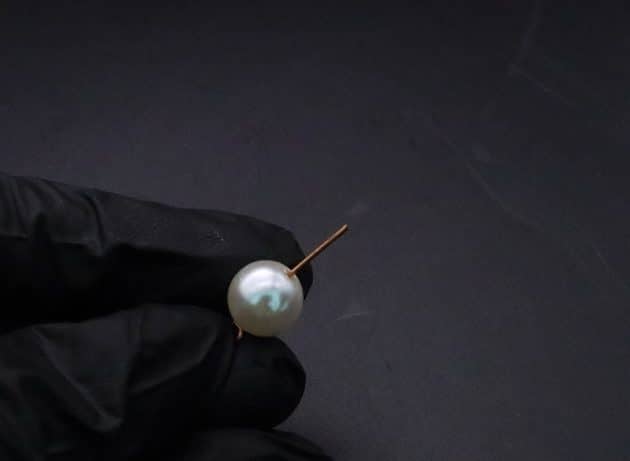
Then, curl the trimmed wire end into a second small hoop with the round nose pliers (fig. 2d, 2e, 2f).
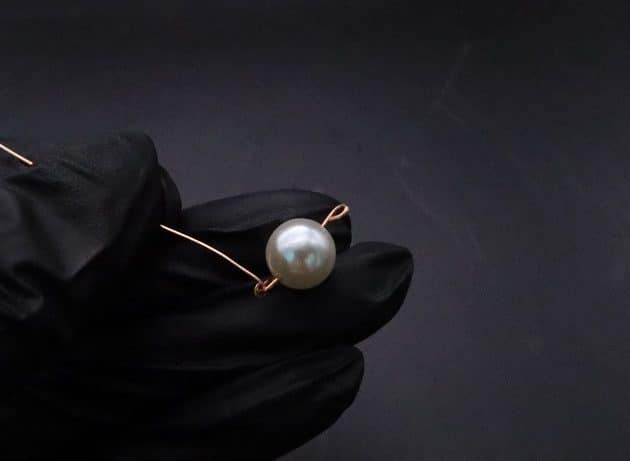
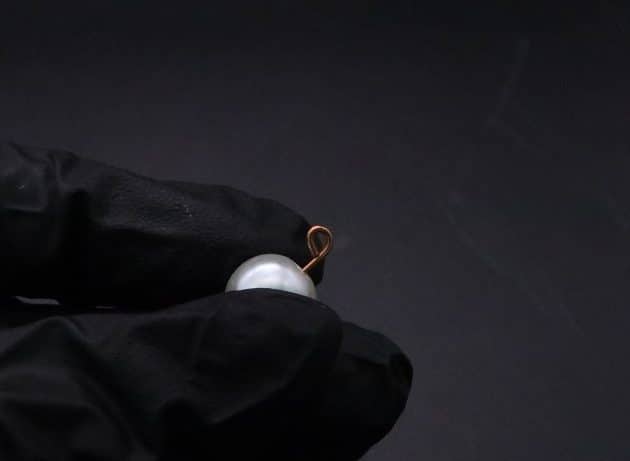
The center support wire for your pearl pendant is complete (fig. 2g).
Step 3 of 7
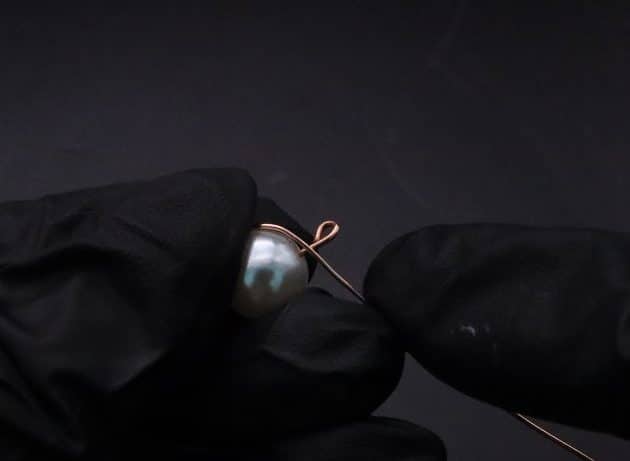
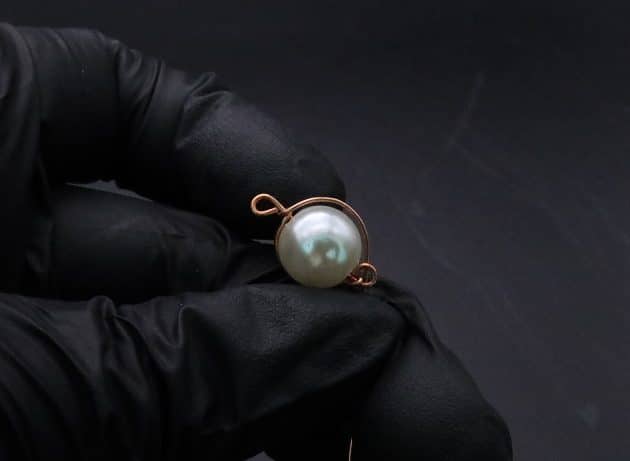
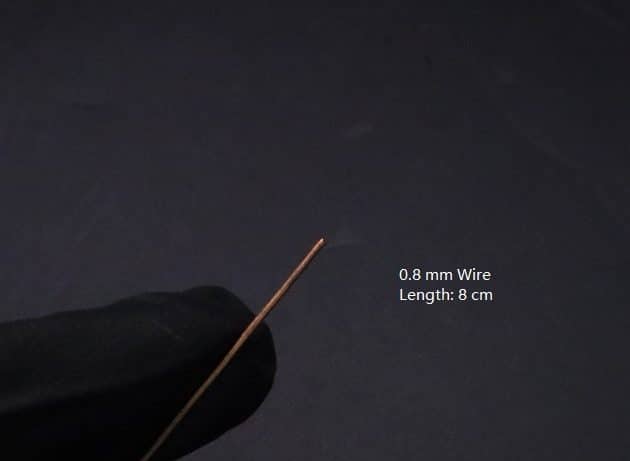
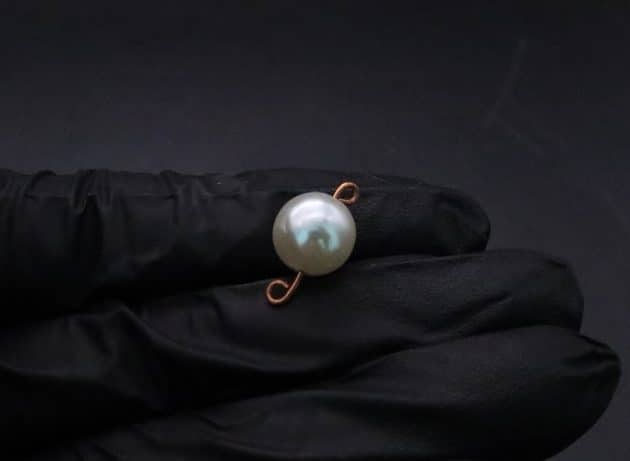
Next, let’s frame the pearl bead with a 22 gauge copper wire that measures 8 inches in length (fig. 3a).
Attach one end of the 22 gauge copper wire onto the 20 gauge center support wire (fig. 3b, 3c).
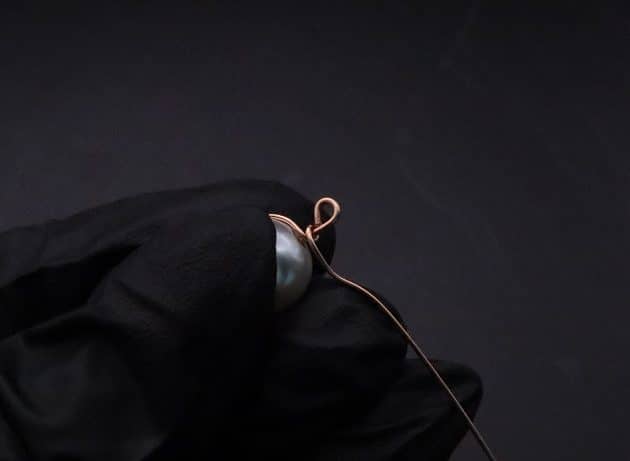
Then, frame one side of the bead, and anchor onto the opposite end of the center support wire (fig. 3d, 3e, 3f, 3g, 3h).
Continue framing the other half of the bead and stop at the starting point (fig. 3i, 3j).