Welcome my dear wire wrappers!
Here you will learn the basic techniques in wire wrap jewelry making.
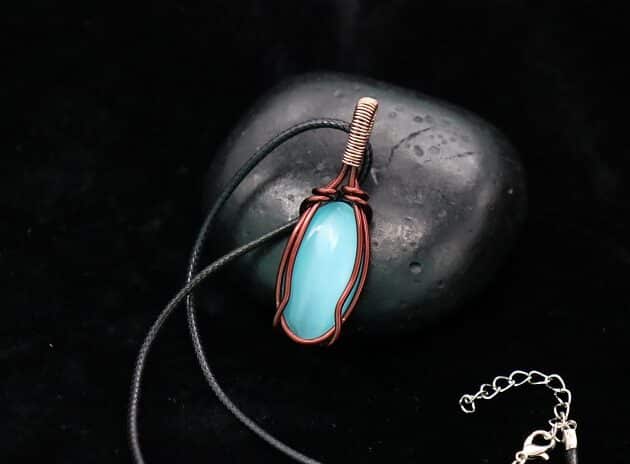
Let’s start your first wire-wrap pendant with our Wire-Wrapping Radiant Oval Turquoise Stone Pendant Tutorial.
My instructions are easy to follow and you can track your progress with my step by step picture guide.

FREE WIRE-WRAPPING GUIDE TO YOUR EMAIL!
JOIN NEWSLETTER
We respect your privacy. Unsubscribe at anytime.
Happy wrapping!
LEVEL: BEGINNER
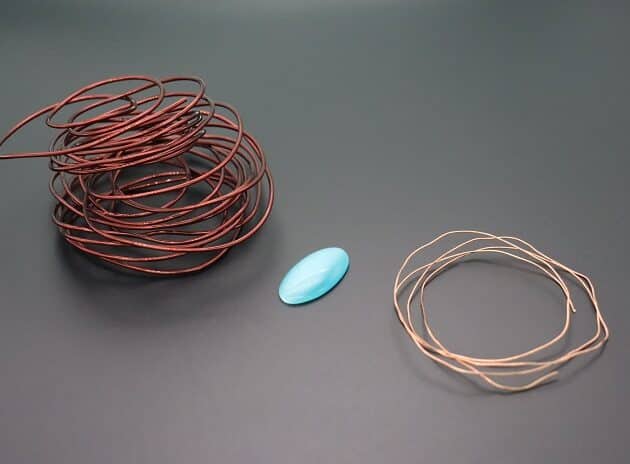
MATERIALS + TOOL
- Oval Shape Stone With Flat Back
- Brown Copper Wire (14 AWG)
- Gold Copper Wire (22 AWG)
- Wire Cutter
- Stepped Bail-Making Pliers
- Mini Long Needle Nose Pliers
- Masking Tape
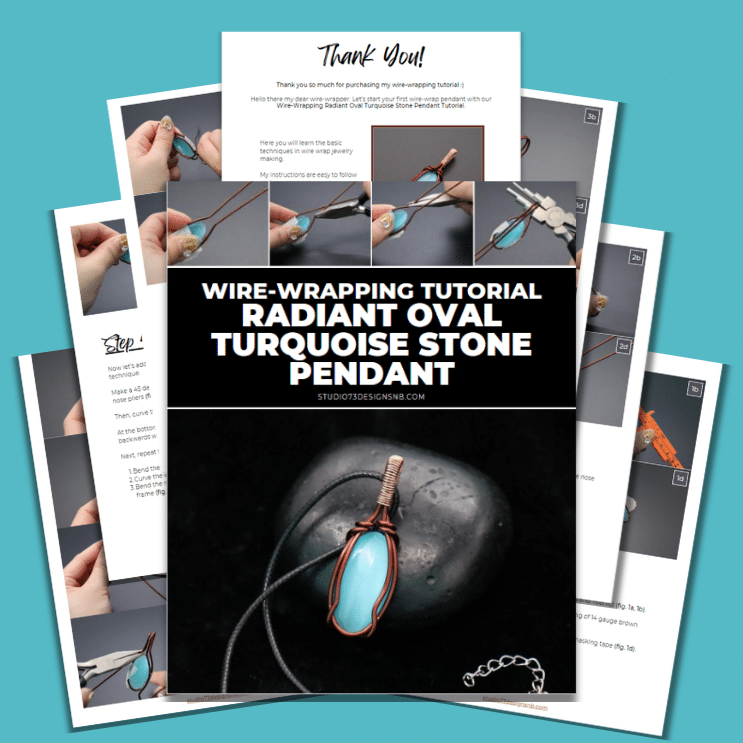
Prefer this wire-wrapping tutorial in a PRINTABLE FORMAT? (High Resolution Photos)
Click here for the PDF version of “Wire-Wrapping Radiant Oval Turquoise Stone Pendant Tutorial”
WIRE-WRAPPING RADIANT OVAL TURQUOISE STONE PENDANT TUTORIAL
Step 1 of 9
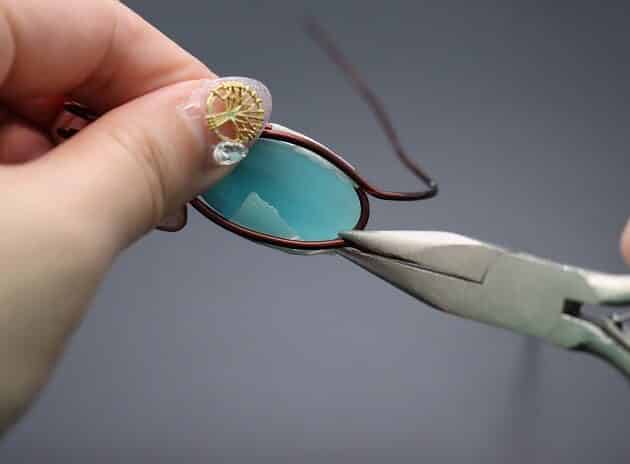
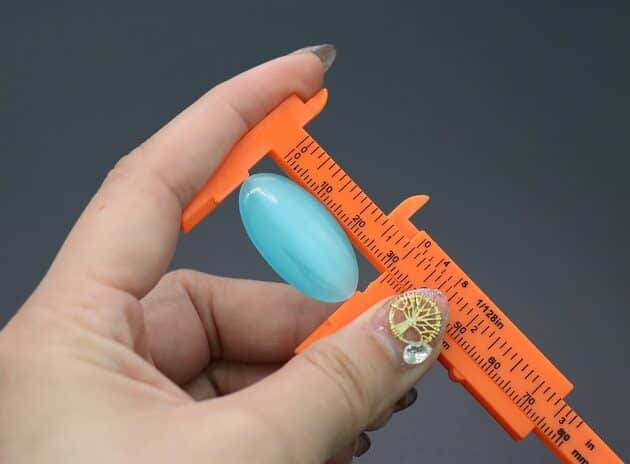
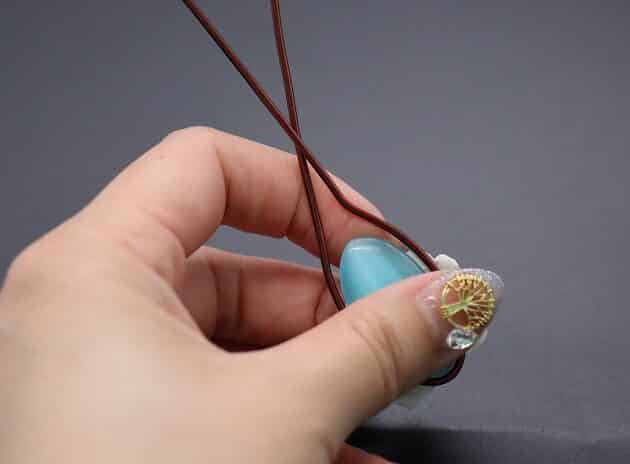
Firstly, equip your work table with items in the Materials and Tool list (fig. 1a, 1b).
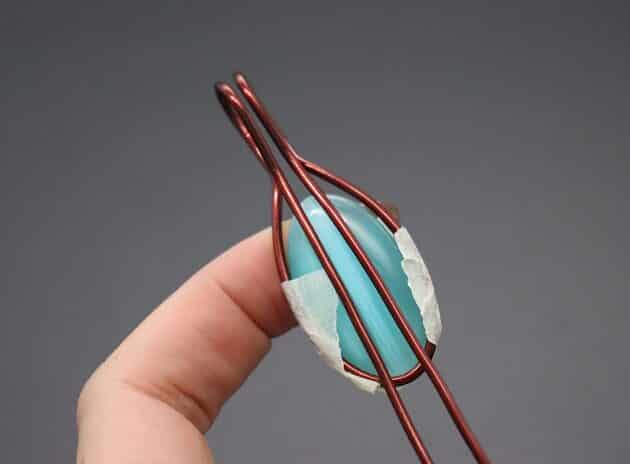
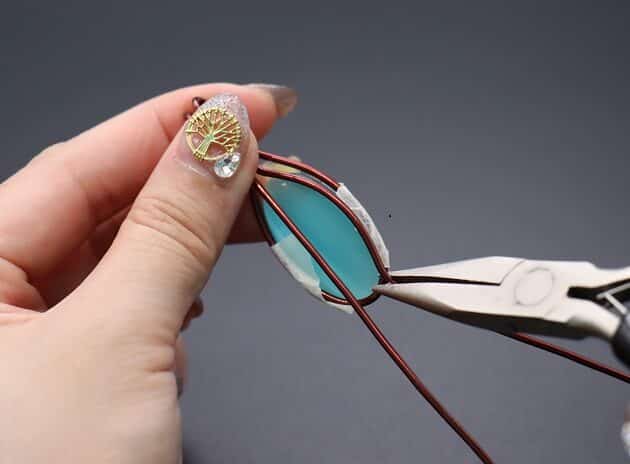
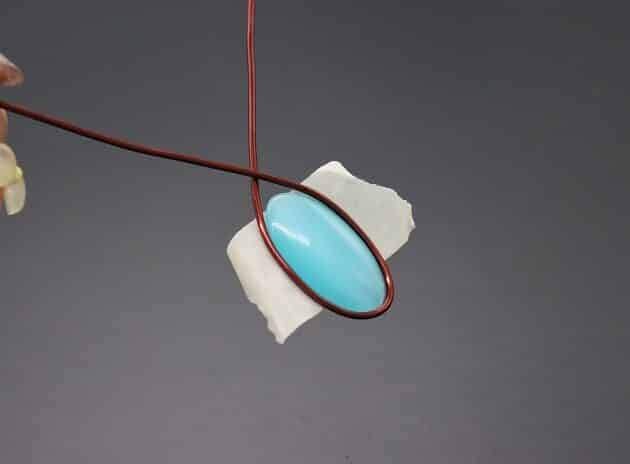
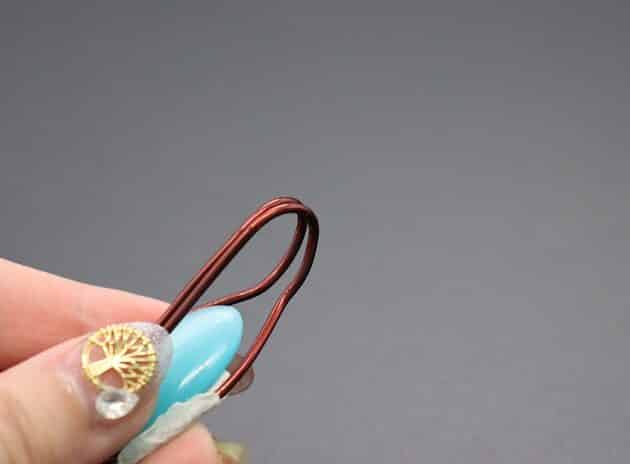
Then, form your pendant main frame by wrapping a string of 14 gauge brown copper wire around your oval turquoise stone (fig. 1c).
Fix the position of your oval stone and wire frame with a masking tape (fig. 1d).

Step 2 of 9
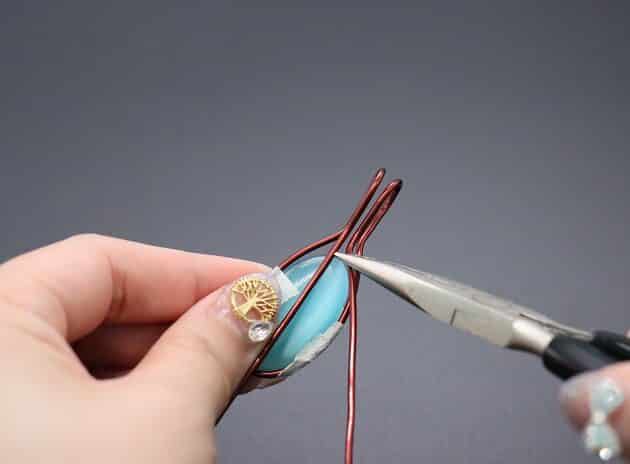
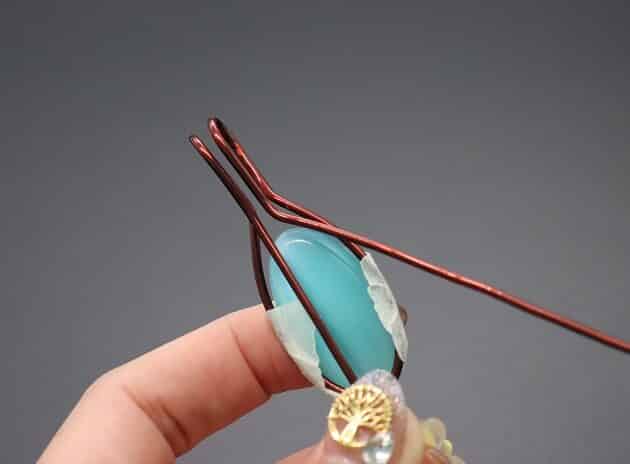
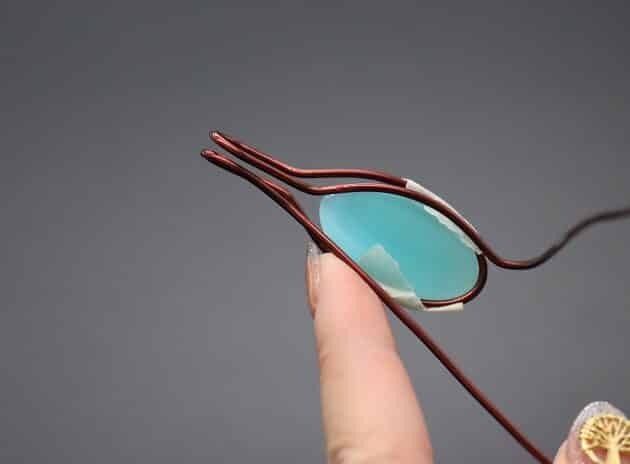
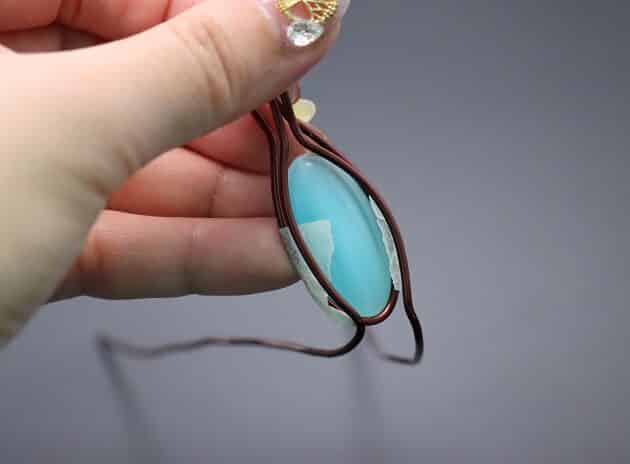
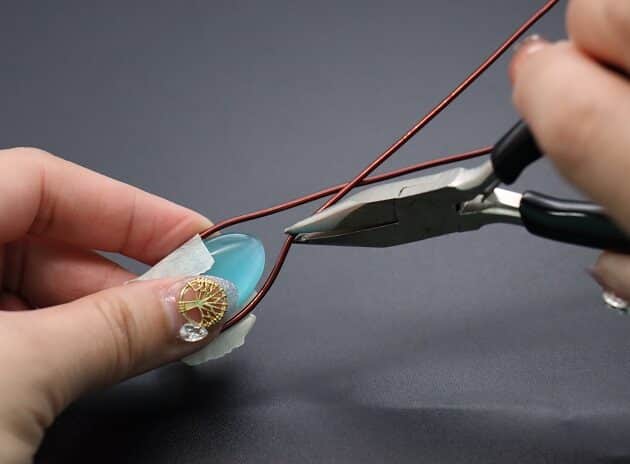
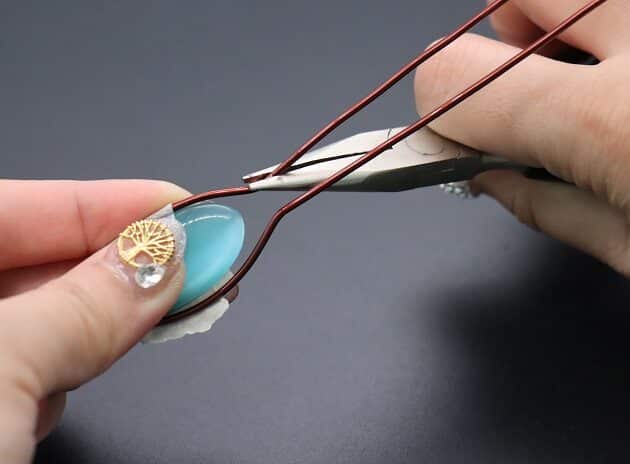
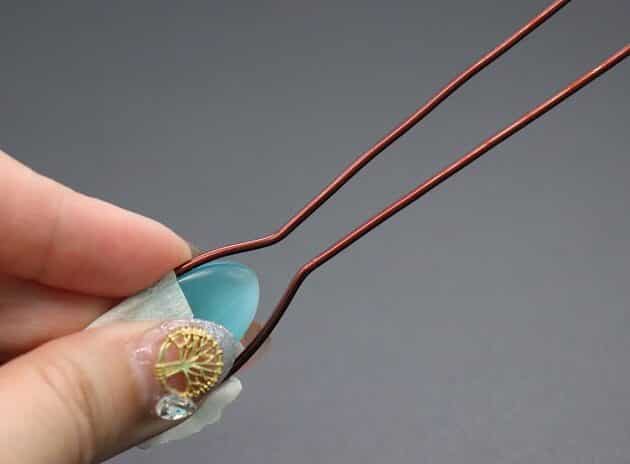
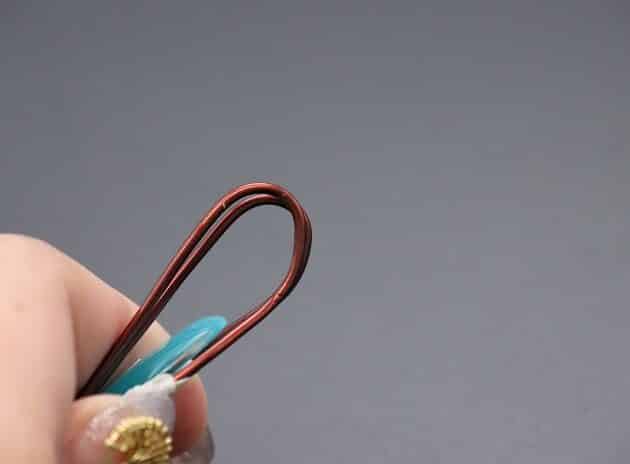
Secondly, bend the 14 gauge wires into straight lines with your long needle nose pliers (fig. 2a, 2b, 2c, 2d).
This is done to mark your pendant bail neck.
Step 3 of 9
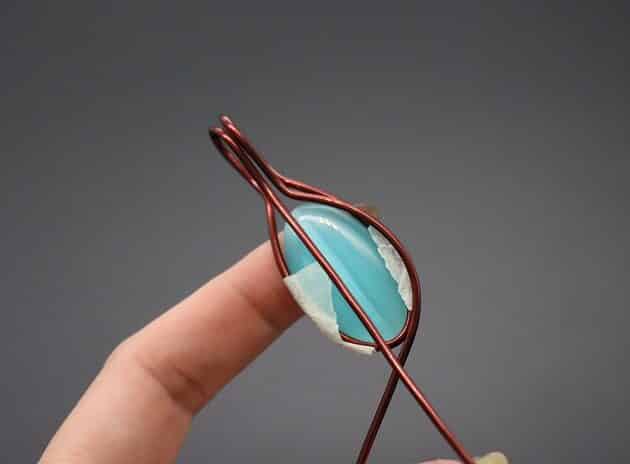
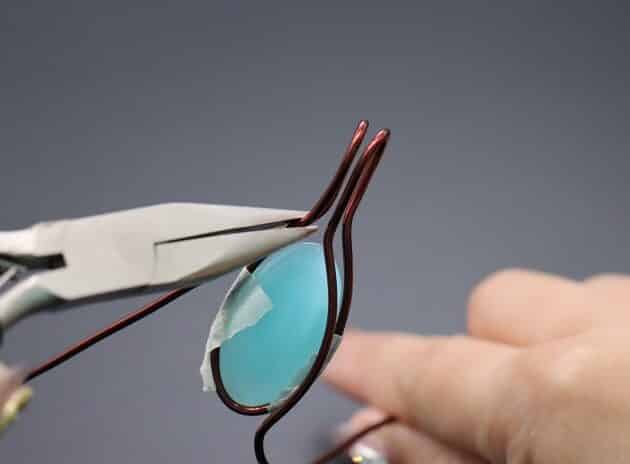
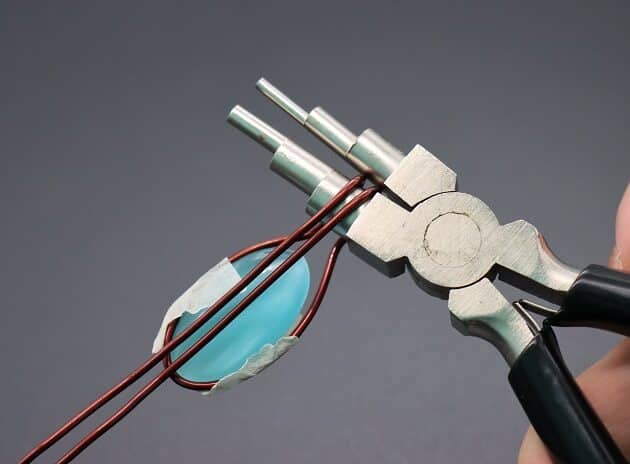
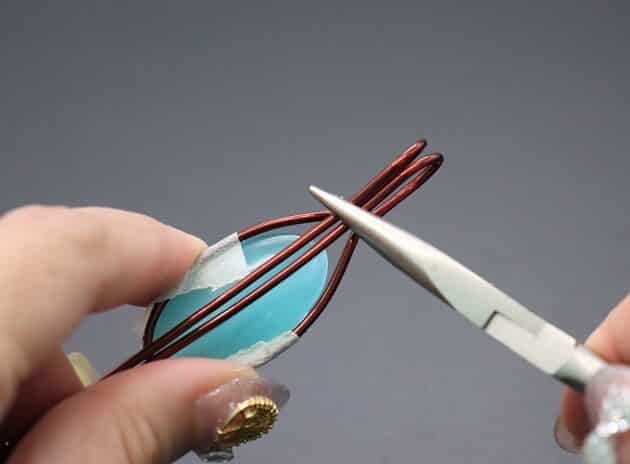
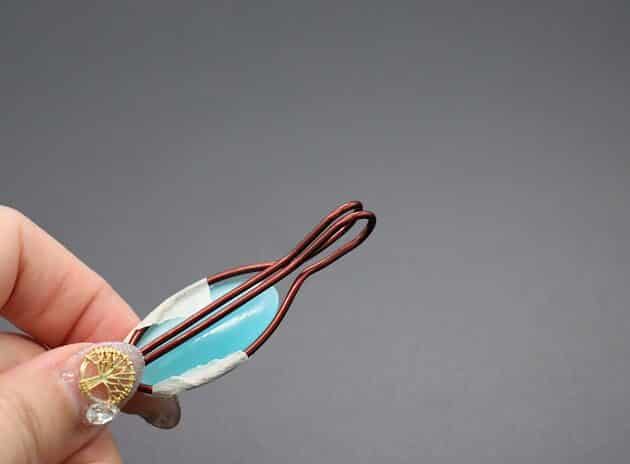
Thirdly, curl the 14 gauge wires towards the front of your pendant (curved stone surface) with a stepped bail-making pliers (fig. 3a, 3b, 3c).
Then, complete the bail shape by squeezing your long needle nose pliers at the bail neck area as shown (fig. 3d, 3e).
Step 4 of 9
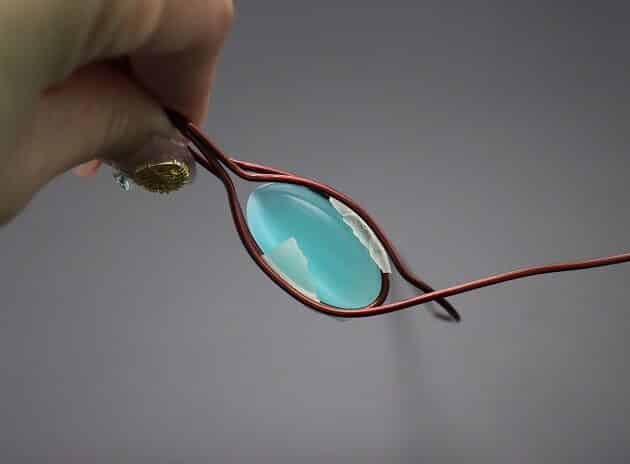
Now let’s add details to your basic pendant frame with the wire structuring technique.
Make a 45 degree bend on the right loose 14 gauge wire with your long needle nose pliers (fig. 4a, 4b, 4c).
Then, curve the wire along the right side of your oval turquoise stone (fig. 4d).
At the bottom right side of your main frame, bend the remaining 14 gauge wire backwards with your long needle nose pliers (fig. 4f, 4g).
Next, repeat the same process on the left loose 14 gauge wire:
- Bend the left loose wire (fig. 4h).
- Curve the wire along the left side of your oval stone (fig. 4i).
- Bend the remaining wire backwards at the bottom left side of your main frame (fig. 4j).