• Skip to main content
  • Skip to secondary menu
  • Skip to primary sidebar
  • Skip to footer
Studio 73 Designs

Studio 73 Designs

Wire Jewelry Making & Wire Wrapping Techniques

  • Start Here!
  • FREE Wire-Wrapping Guides
  • Shop Tutorials
    • Cart
    • Checkout
  • Contact
  • Join Member
  • Member Login
Join PREMIUM MEMBERSHIP (FREE-TRIAL): 70+ Wire Wrapping Tutorials: Gain access to ALL step-by-step tutorials with high-quality images, no ads, plus all future tutorials. Check it out HERE.

Wire-Wrapping Lapis Lazuli Crystal Point Sliding Cage Pendant Tutorial

February 7, 2026 by Madelynn

Hello my dear wire wrapper!

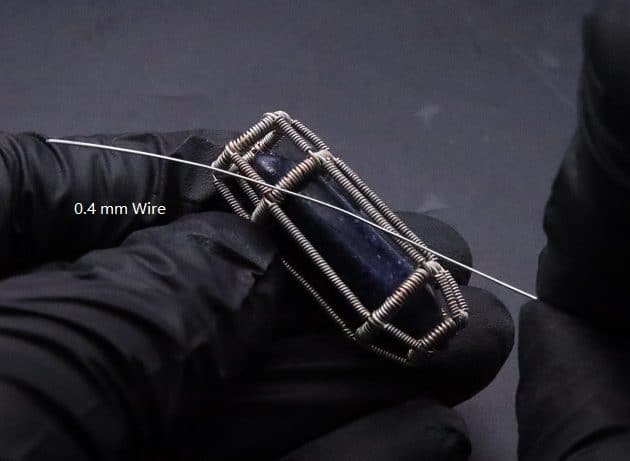
Discover with me a new way to hang pendant necklace with no bails.

In my Wire-Wrapping Lapis Lazuli Crystal Point Sliding Cage Pendant Tutorial, you will create an illusion that your pendant is floating on your neck.

Follow along my simple step-by-step instructions and detailed progress picture as your reference.

wire wrap jewelry

FREE WIRE-WRAPPING GUIDE TO YOUR EMAIL! 

JOIN NEWSLETTER

SEND GUIDE TO EMAIL

We respect your privacy. Unsubscribe at anytime.

Happy wrapping!

Wire-Wrapping Lapis Lazuli Crystal Point Sliding Cage Pendant Tutorial 0
Wire-Wrapping Lapis Lazuli Crystal Point Sliding Cage Pendant Tutorial

LEVEL: BEGINNER

MATERIALS + TOOL

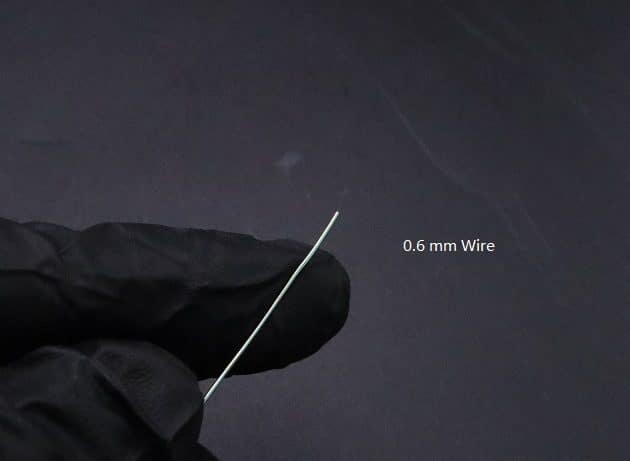
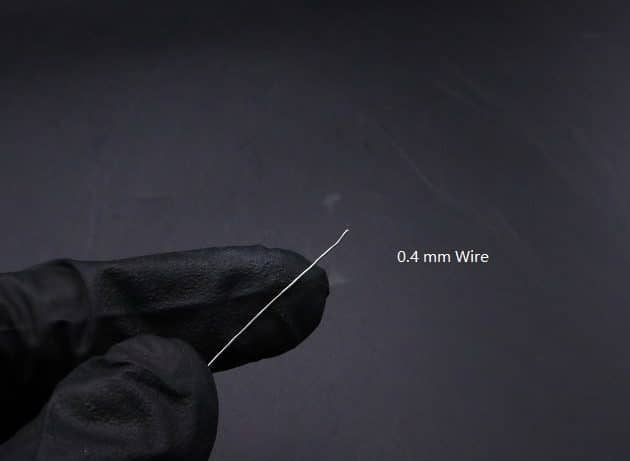
  • Copper Wire (16 AWG)
  • Copper Wire (22 AWG)
  • Copper Wire (26 AWG)
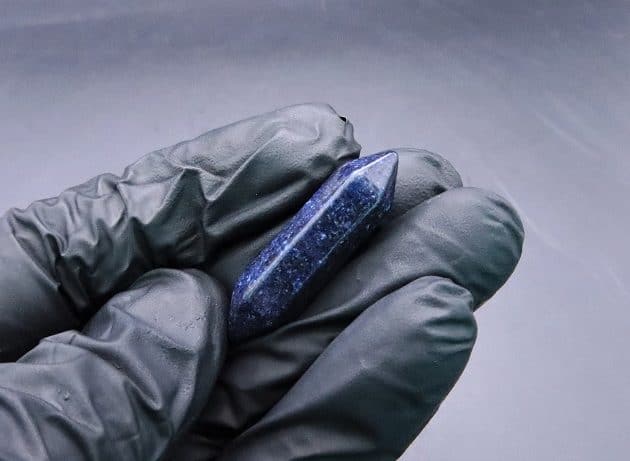
  • Lapis Lazuli Crystal Point (1 pc)
  • Wire Cutter
  • Chain Nose Pliers
  • Nylon Jaw Pliers
  • Stepped Bail-Making Pliers
  • Finest Steel Wire Wool
  • Masking Tape
  • Adhesive Tack-It

Lapis Lazuli Crystal Point Sliding Cage Pendant Tutorial-Cover


Prefer this wire-wrapping tutorial in a PRINTABLE FORMAT? (High Resolution Photos)

Click here for the PDF version of “Wire-Wrapping Lapis Lazuli Crystal Point Sliding Cage Pendant Tutorial”


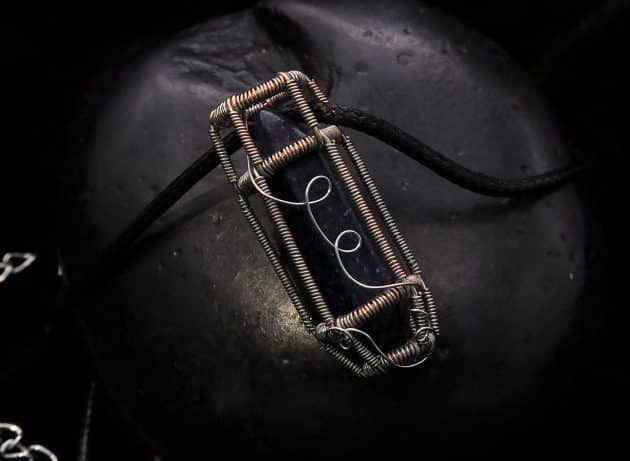
WIRE-WRAPPING LAPIS LAZULI CRYSTAL POINT SLIDING CAGE PENDANT TUTORIAL

Step 1 of 4

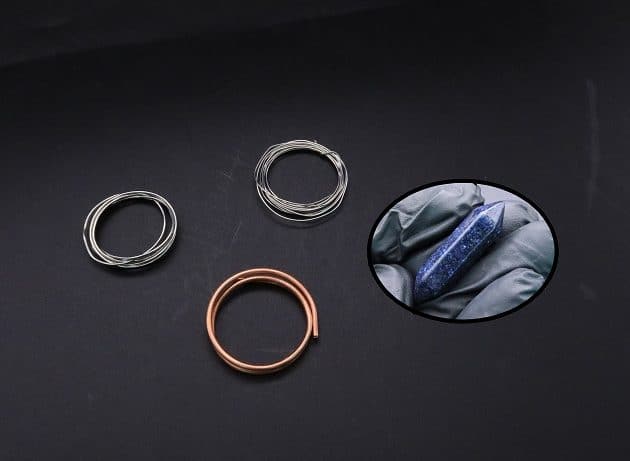
Ready all items from the Materials and Tool list (fig. 1a).

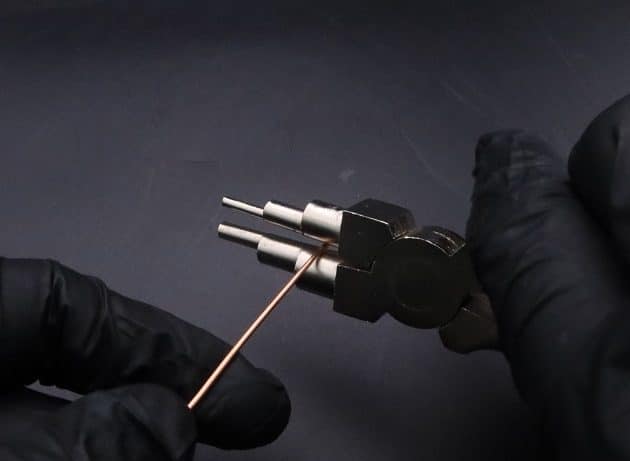
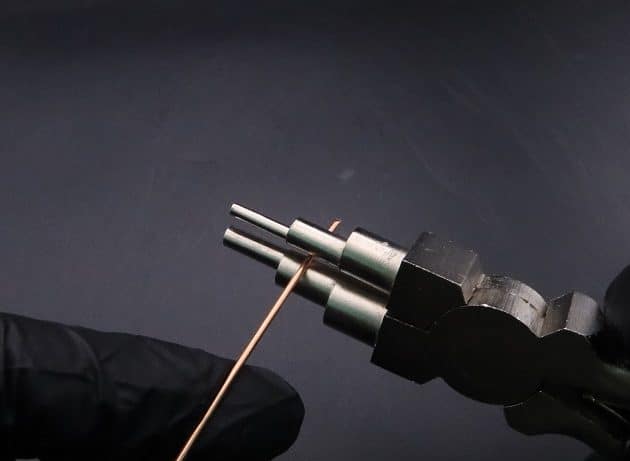
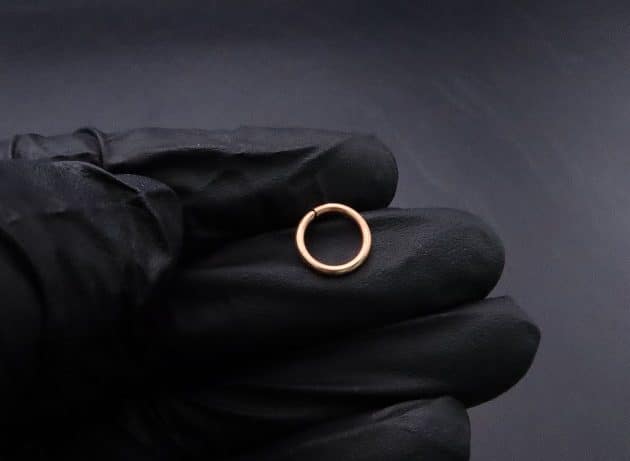
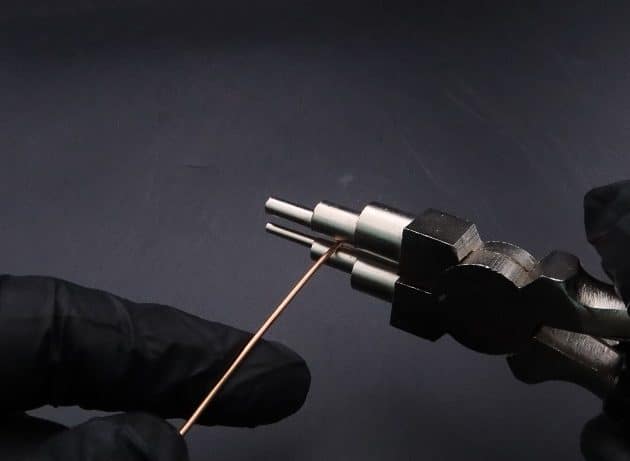
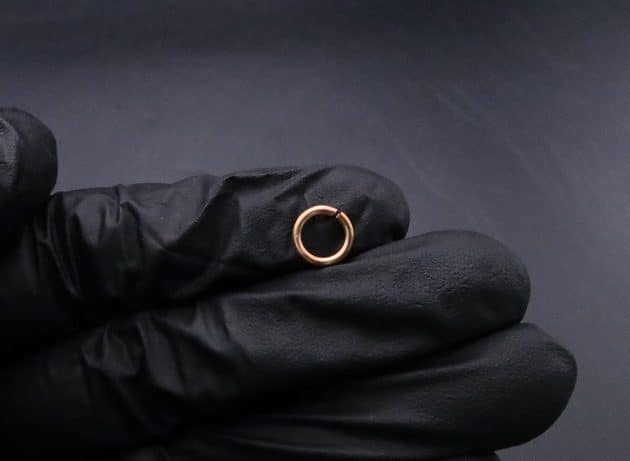
Take a 16 gauge copper wire, and form four rings of different sizes with a stepped bail-making pliers (fig. 1b):

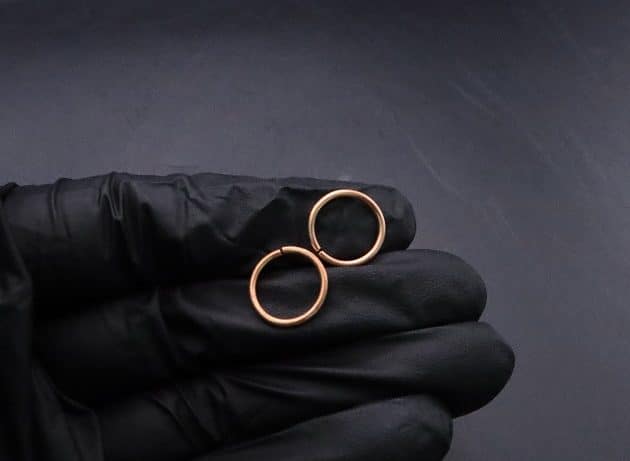
  • Two large rings, with the largest diameter on the pliers (fig. 1c, 1d).
  • One medium ring, with the second largest diameter on the pliers (fig. 1e, 1f).
  • One small ring, with the second smallest diameter on the pliers (fig. 1g, 1h).
Wire-Wrapping Lapis Lazuli Crystal Point Sliding Cage Pendant Tutorial 1
fig. 1a
Wire-Wrapping Lapis Lazuli Crystal Point Sliding Cage Pendant Tutorial 2
fig. 1b
Wire-Wrapping Lapis Lazuli Crystal Point Sliding Cage Pendant Tutorial 3
fig. 1c
Wire-Wrapping Lapis Lazuli Crystal Point Sliding Cage Pendant Tutorial 4
fig. 1d
Wire-Wrapping Lapis Lazuli Crystal Point Sliding Cage Pendant Tutorial 5
fig. 1e
Wire-Wrapping Lapis Lazuli Crystal Point Sliding Cage Pendant Tutorial 6
fig. 1f
Wire-Wrapping Lapis Lazuli Crystal Point Sliding Cage Pendant Tutorial 7
fig. 1g
Wire-Wrapping Lapis Lazuli Crystal Point Sliding Cage Pendant Tutorial 8
fig. 1h

Step 2 of 4

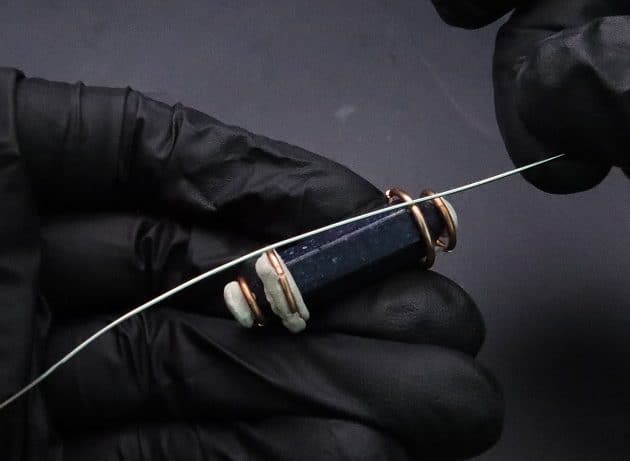
Next, let’s form a geometric hexagon crystal holder cage frame for your lapis lazuli crystal point.

To support the shape of your cage, position the 16 gauge copper rings onto your crystal point with Adhesive Tack-It clay (fig. 2a, 2b):

  • Place the medium ring at the top tip.
  • Place the two large rings onto the crystal body.
  • Place the small ring at the bottom tip.

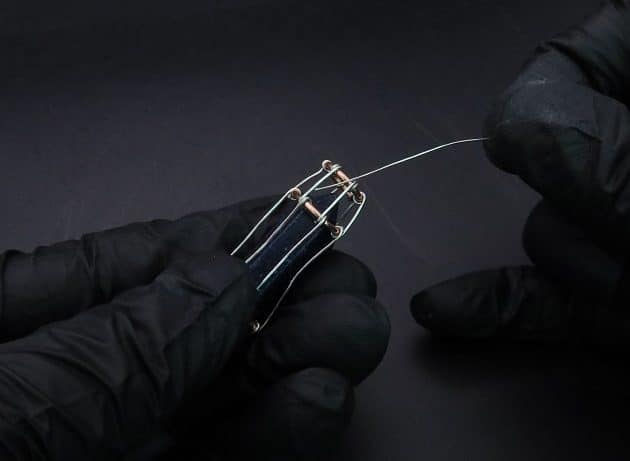
Then, form six evenly spaced connecting wires from the top down using a 22 gauge copper wire (fig. 2c, 2d, 2e).

Wire-Wrapping Lapis Lazuli Crystal Point Sliding Cage Pendant Tutorial 9
fig. 2a
Wire-Wrapping Lapis Lazuli Crystal Point Sliding Cage Pendant Tutorial 10
fig. 2b
Wire-Wrapping Lapis Lazuli Crystal Point Sliding Cage Pendant Tutorial 11
fig. 2c
Wire-Wrapping Lapis Lazuli Crystal Point Sliding Cage Pendant Tutorial 12
fig. 2d
Wire-Wrapping Lapis Lazuli Crystal Point Sliding Cage Pendant Tutorial 13
fig. 2e

Step 3 of 4

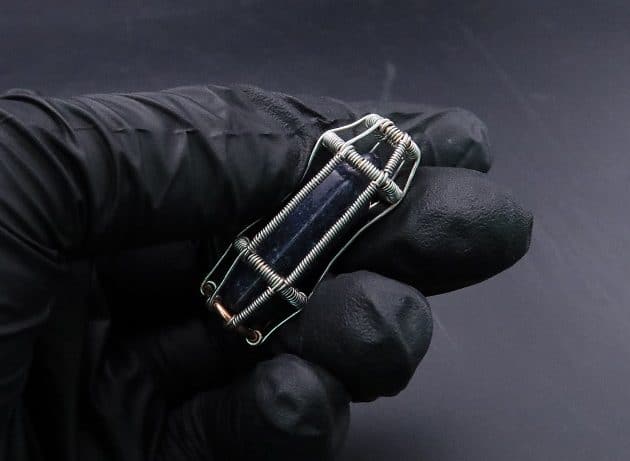
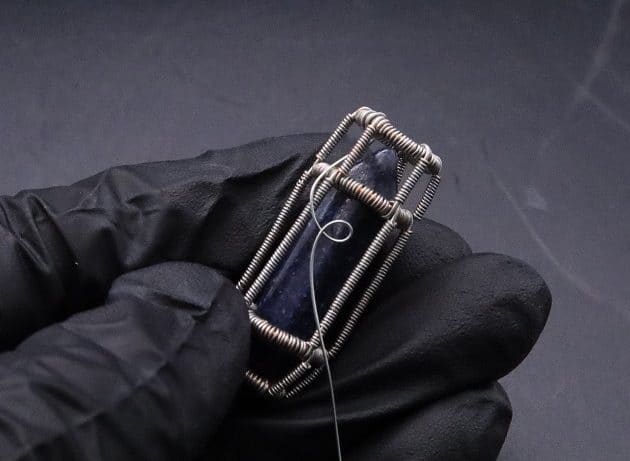
Moving on, use 26 gauge copper wire to add coiling texture onto the 16 gauge and 22 gauge naked frame wires (fig. 3a, 3b, 3c, 3d, 3e, 3f).

Wire-Wrapping Lapis Lazuli Crystal Point Sliding Cage Pendant Tutorial 14
fig. 3a
Wire-Wrapping Lapis Lazuli Crystal Point Sliding Cage Pendant Tutorial 15
fig. 3b
Wire-Wrapping Lapis Lazuli Crystal Point Sliding Cage Pendant Tutorial 16
fig. 3c
Wire-Wrapping Lapis Lazuli Crystal Point Sliding Cage Pendant Tutorial 17
fig. 3d
Wire-Wrapping Lapis Lazuli Crystal Point Sliding Cage Pendant Tutorial 18
fig. 3e
Wire-Wrapping Lapis Lazuli Crystal Point Sliding Cage Pendant Tutorial 19
fig. 3f

Step 4 of 4

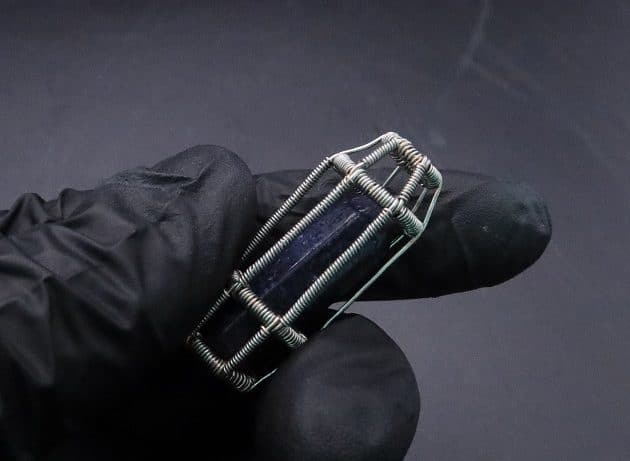
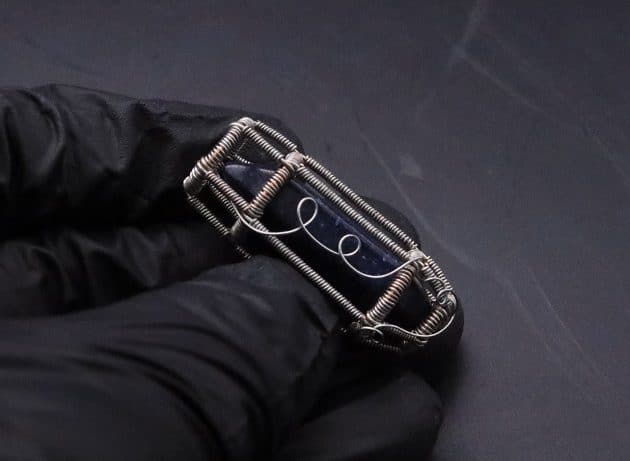
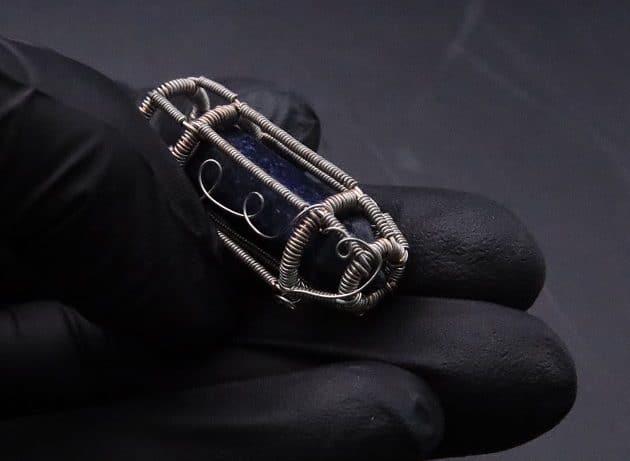
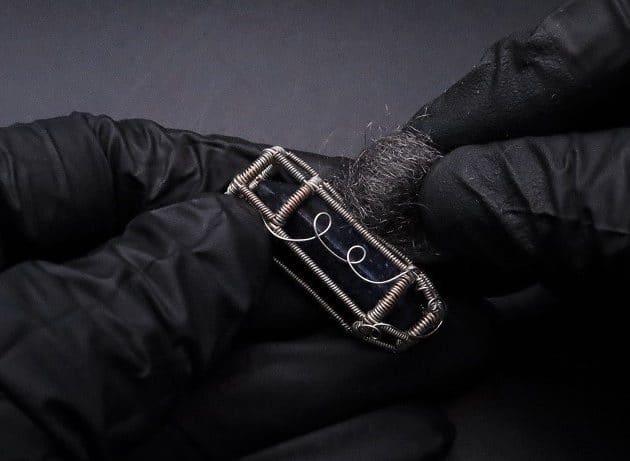
On the front side, introduce a delicate swirly design to contrast the rigid cage frame using a new 26 gauge copper wire (fig. 4a, 4b, 4c, 4d, 4e, 4f).

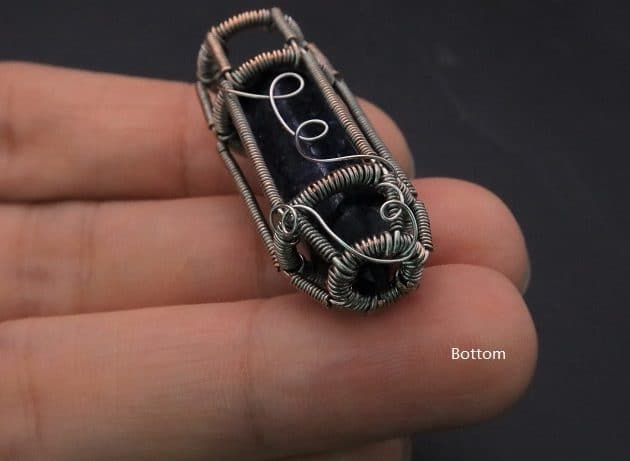
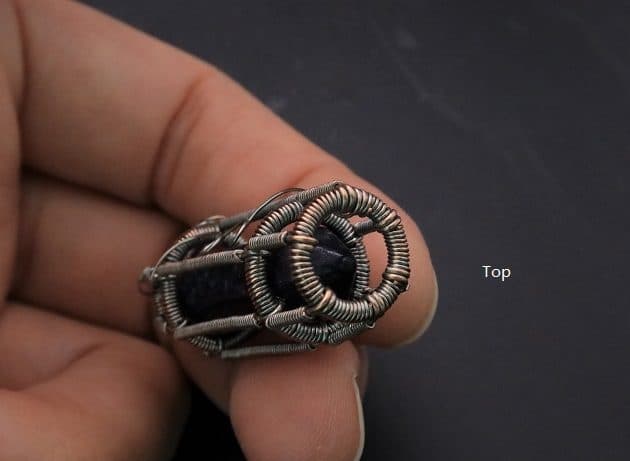
Lastly, polish the surface of your pendant with a finest steel wire wool (fig. 4g).

Well done! You have completed your tutorial.

Wire-Wrapping Lapis Lazuli Crystal Point Sliding Cage Pendant Tutorial 20
fig. 4a
Wire-Wrapping Lapis Lazuli Crystal Point Sliding Cage Pendant Tutorial 21
fig. 4b
Wire-Wrapping Lapis Lazuli Crystal Point Sliding Cage Pendant Tutorial 22
fig. 4c
Wire-Wrapping Lapis Lazuli Crystal Point Sliding Cage Pendant Tutorial 23
fig. 4d
Wire-Wrapping Lapis Lazuli Crystal Point Sliding Cage Pendant Tutorial 24
fig. 4e
Wire-Wrapping Lapis Lazuli Crystal Point Sliding Cage Pendant Tutorial 25
fig. 4f
Wire-Wrapping Lapis Lazuli Crystal Point Sliding Cage Pendant Tutorial 26
fig. 4g

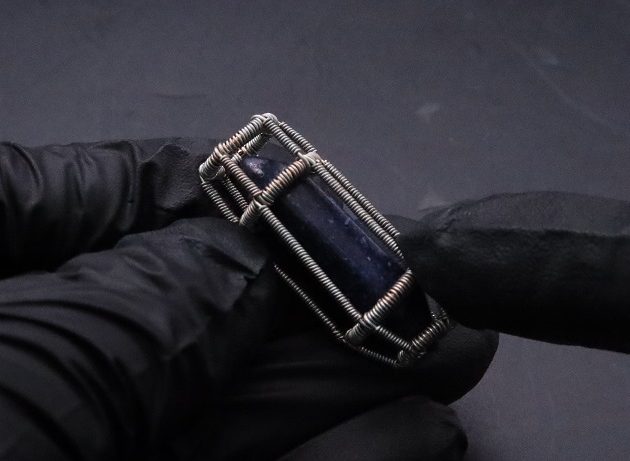
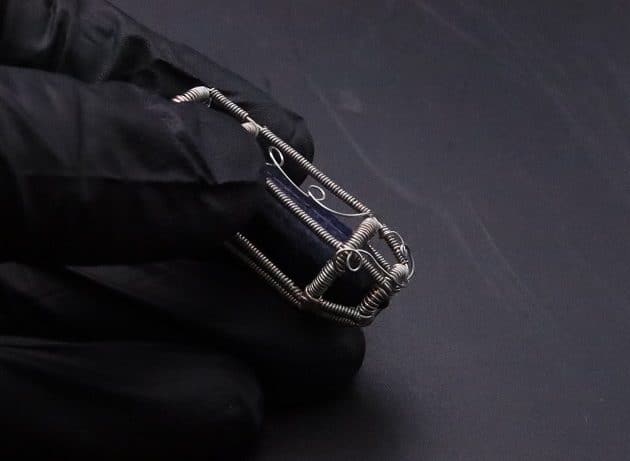
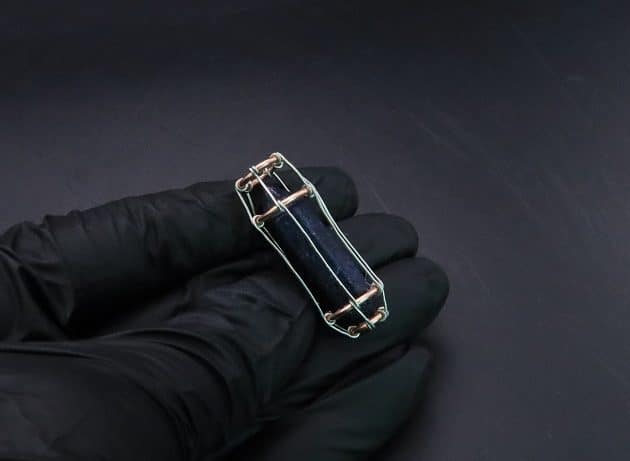
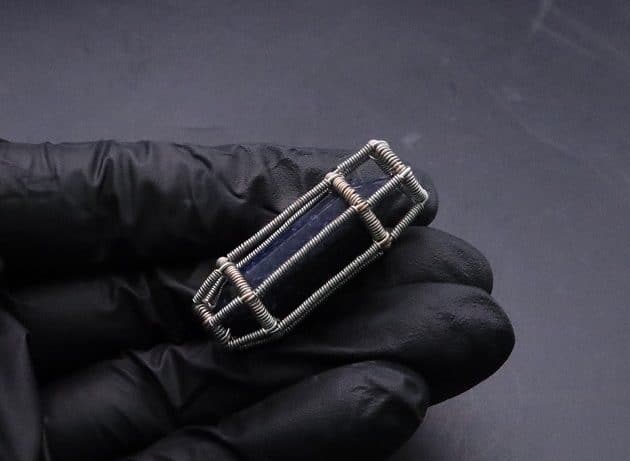
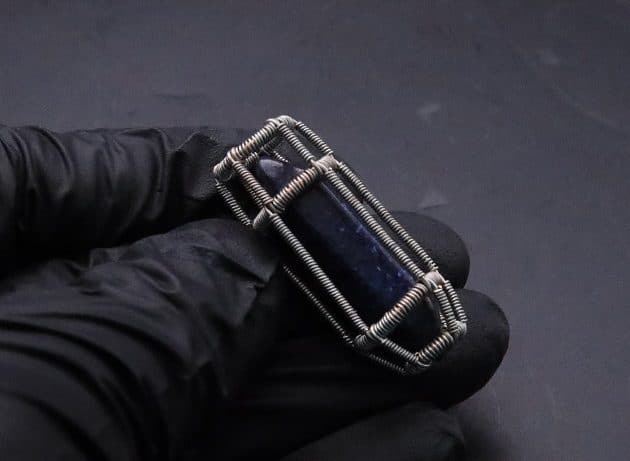
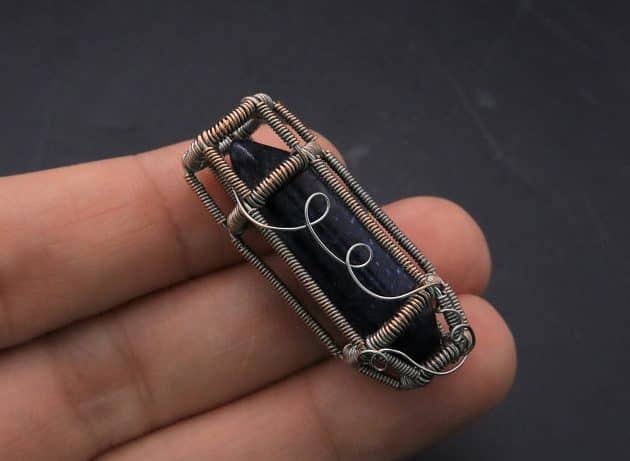
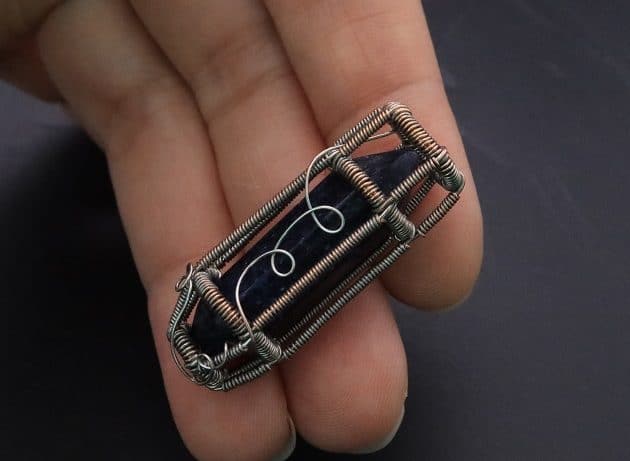
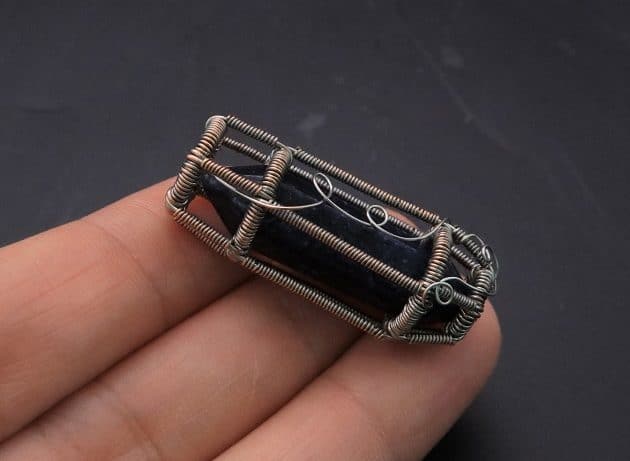
COMPLETED WIRE-WRAPPING LAPIS LAZULI CRYSTAL POINT SLIDING CAGE PENDANT

Wire-Wrapping Lapis Lazuli Crystal Point Sliding Cage Pendant Tutorial 27
Completed Wire-Wrapping Lapis Lazuli Crystal Point Sliding Cage Pendant (Front)
Wire-Wrapping Lapis Lazuli Crystal Point Sliding Cage Pendant Tutorial 28
Completed Wire-Wrapping Lapis Lazuli Crystal Point Sliding Cage Pendant (Right)
Wire-Wrapping Lapis Lazuli Crystal Point Sliding Cage Pendant Tutorial 29
Completed Wire-Wrapping Lapis Lazuli Crystal Point Sliding Cage Pendant (Left)
Wire-Wrapping Lapis Lazuli Crystal Point Sliding Cage Pendant Tutorial 30
Completed Wire-Wrapping Lapis Lazuli Crystal Point Sliding Cage Pendant (Bottom)
Wire-Wrapping Lapis Lazuli Crystal Point Sliding Cage Pendant Tutorial 31
Completed Wire-Wrapping Lapis Lazuli Crystal Point Sliding Cage Pendant (Top)

Want to Support me?

If you enjoyed my content,  please consider support me on Patreon:). This helps me to create more amazing free content to share with you 🙂


If you’d like to see my work and follow my wire journey, you can find me here:

Facebook Instagram Twitter Pinterest YouTube Etsy

madelynn signature

Filed Under: Tutorials/DIY

Primary Sidebar

MadelynnHey there! Thanks for visiting 🙂

My name is Madelynn and I’m the owner of Studio 73 Designs.

Studio 73 Designs is managed by a team of wire wrapping jewelry enthusiasts 🙂 Cheers!

Follow Me

  • Facebook
  • Instagram
  • Pinterest
  • Twitter
  • YouTube

ARE YOU INTERESTED IN WIRE-WRAPPING?

Sign up below and get access to my FREE wire-wrapping guides!

Sign Up
Wire Wrapping Tutorials
Wire Wrapping for Beginners Start Here
Beginner's Guide to Jewelry Wire for Wire-Wrapping
Wire Wrapping Tools and Supplies for Beginners
How to wire wrap stones without holes wire-wrapping tutorial for beginners
Wire Wrapping Tutorials DIY Jewelry Kits

Footer

ARE YOU INTERESTED IN WIRE-WRAPPING?

Sign up below and get access to my FREE wire-wrapping guides!

Sign Up

Site Navigation

Home
About
Contact
Blog
Privacy Policy
Disclaimer
Terms & Conditions

Follow Me

  • Facebook
  • Instagram
  • Pinterest
  • Twitter
  • YouTube

© 2026 · Studio 73 Designs

wire-wrapping tutorials

Learn Wire-Wrapping

Want to create beautiful wire-wrapped jewelry? Join membership today and get access to 70+ step-by-step wire-wrapping tutorials with high-quality images

Learn More
x