Step 5 of 10
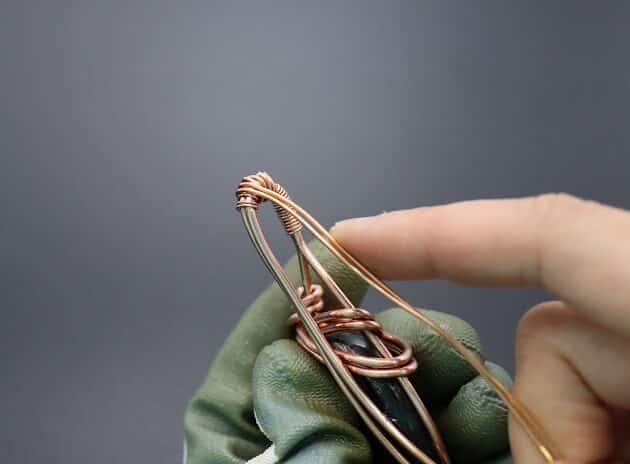
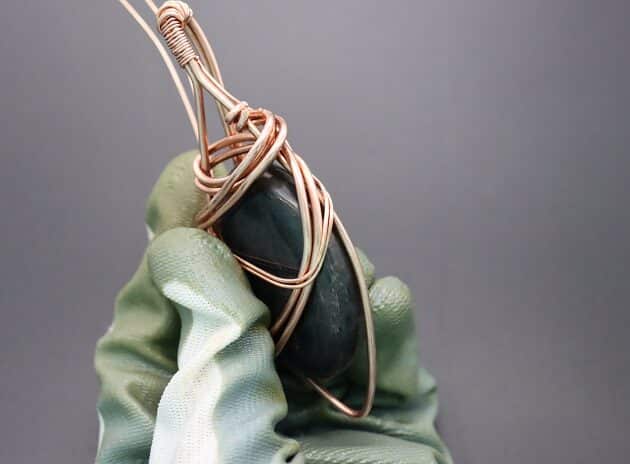
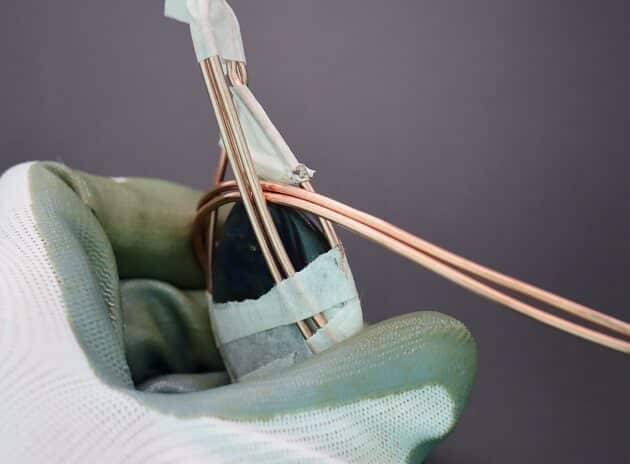
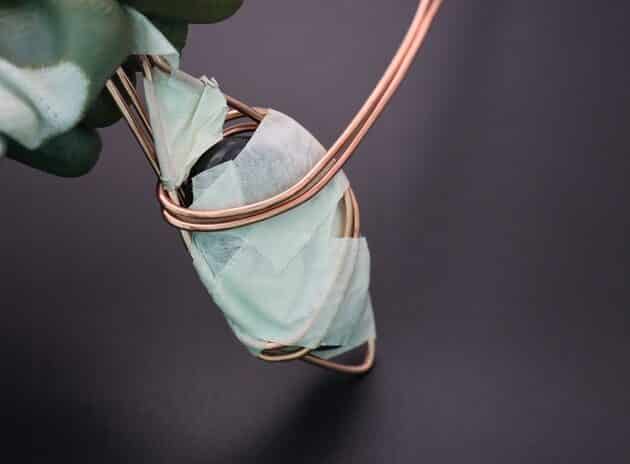
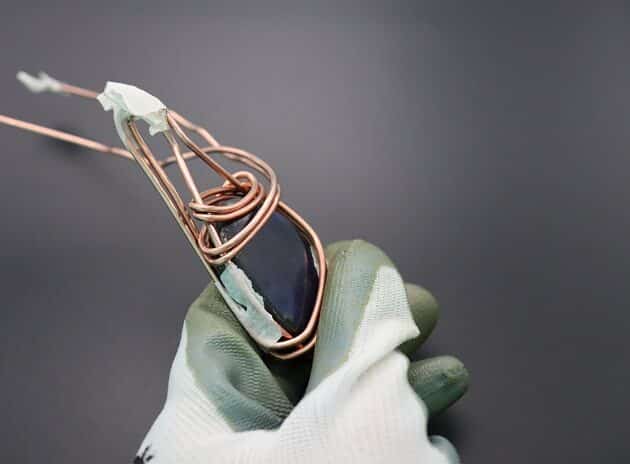
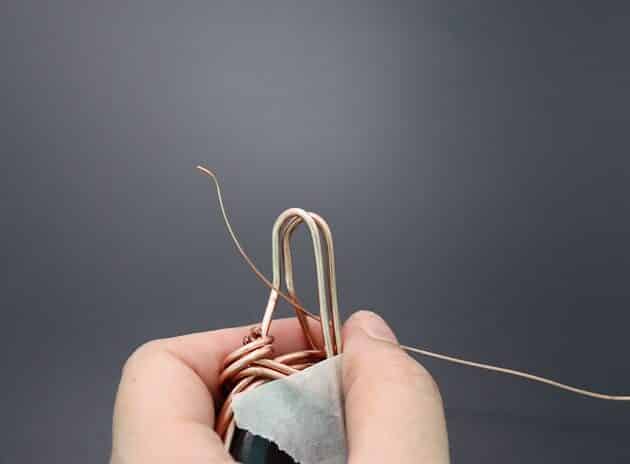
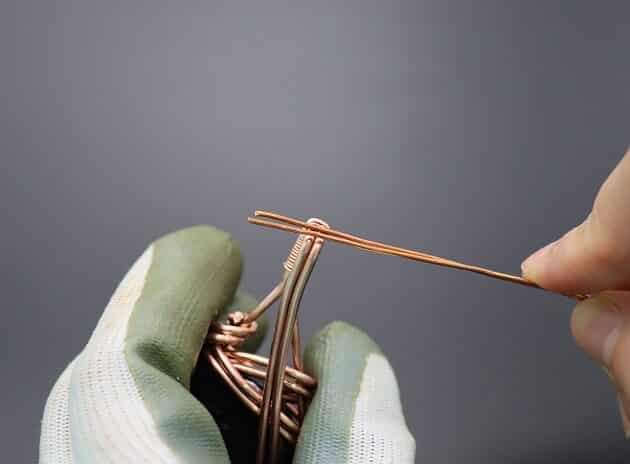
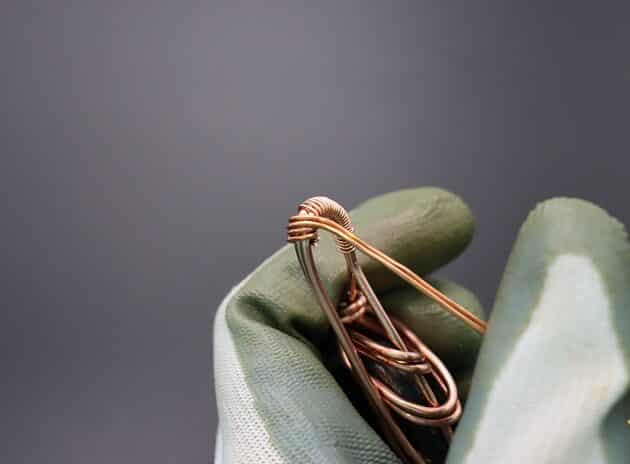
Continue by making the third wrap to the back of the pendant and use your thumb to pinch the wires in place (fig. 5a, 5b, 5c).
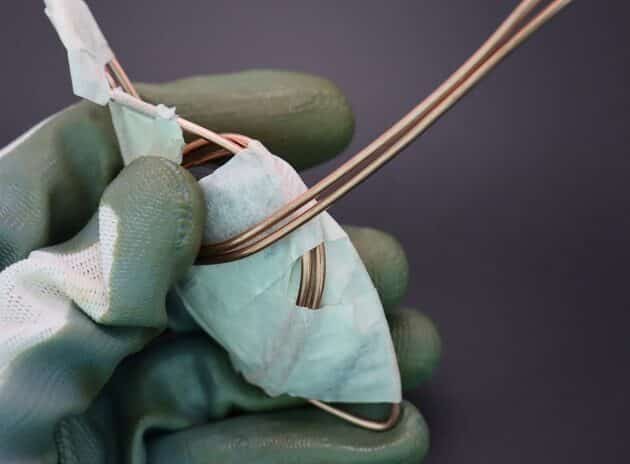
Then, make the fourth wrap to your pendant front and slip the loose wires under the first curve for the second time (fig. 5d, 5e).
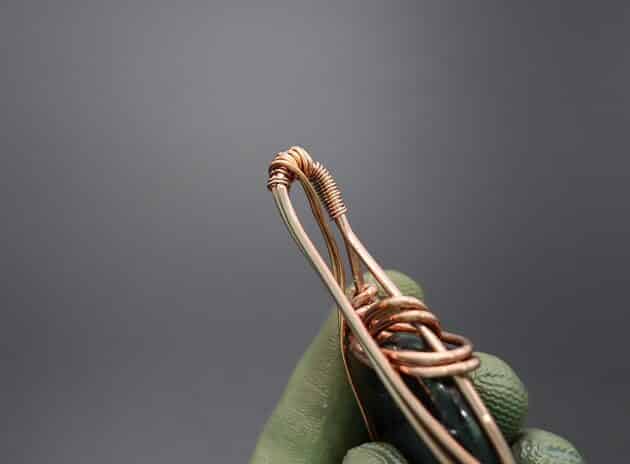
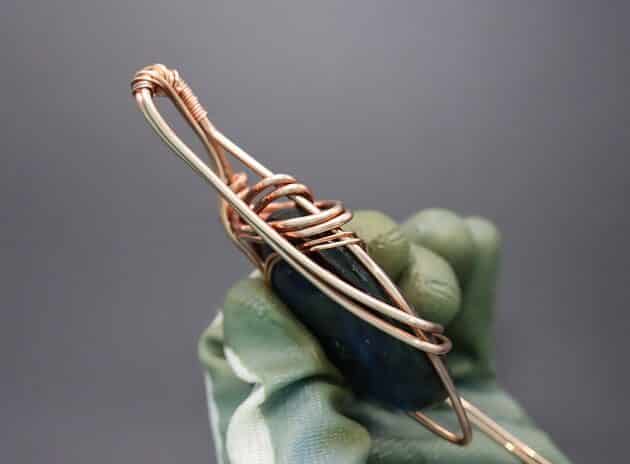
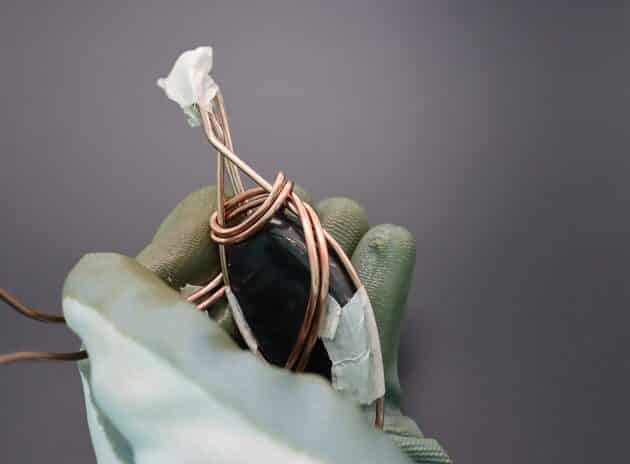
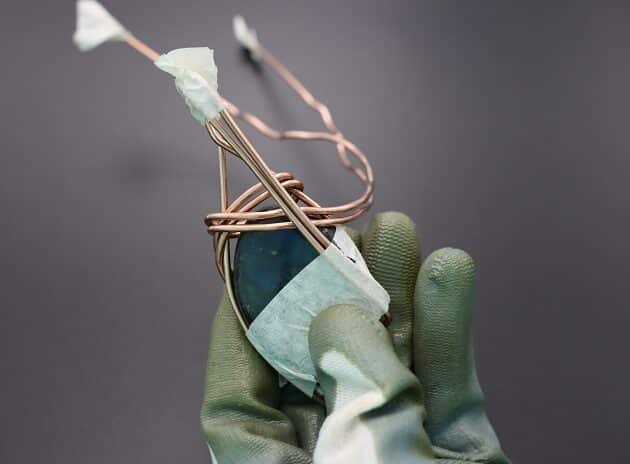
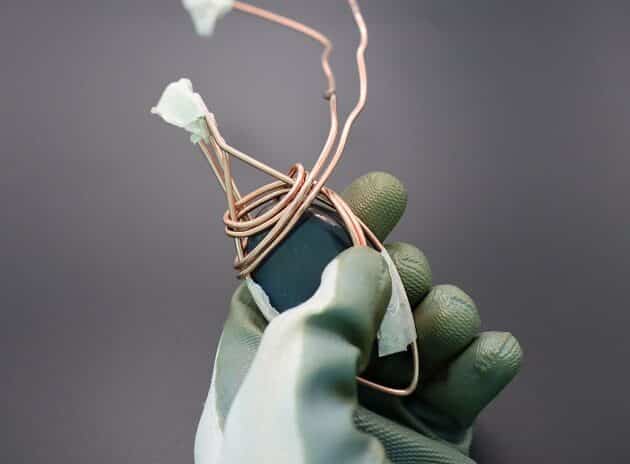
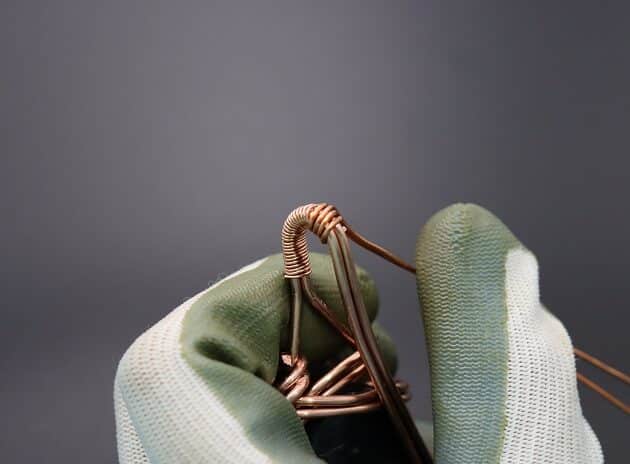
Lastly, finish off the detailing with the fifth wrap to the back of your pendant and anchor the loose wires on the top right frame (fig. 5f, 5g, 5h).

FREE WIRE-WRAPPING GUIDE TO YOUR EMAIL!
JOIN NEWSLETTER
We respect your privacy. Unsubscribe at anytime.
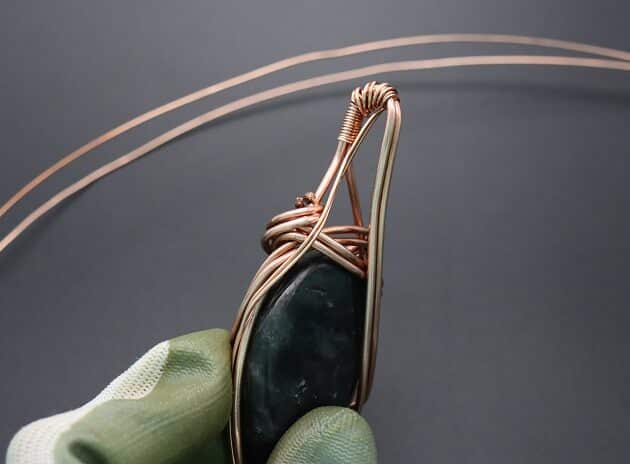
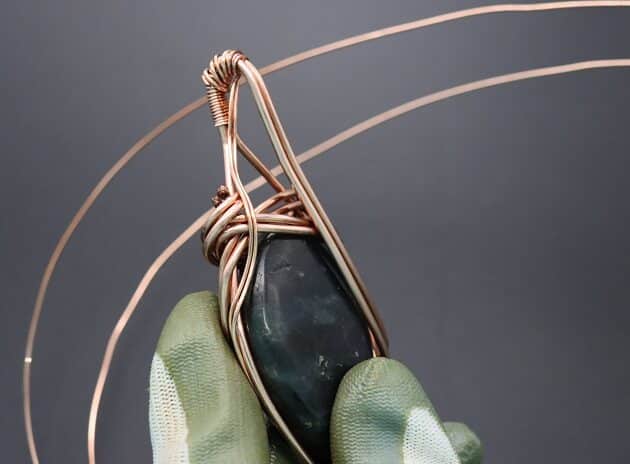
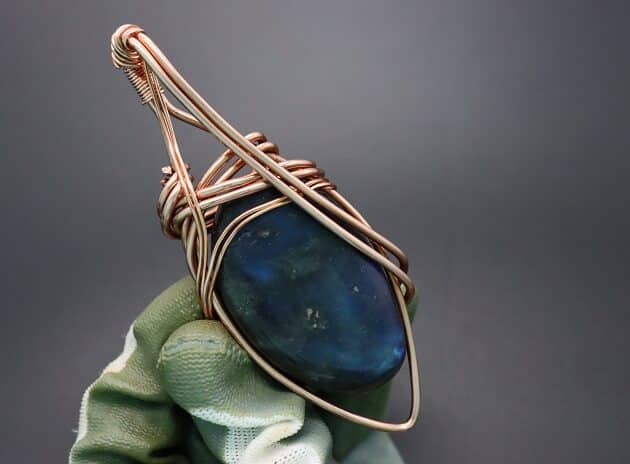
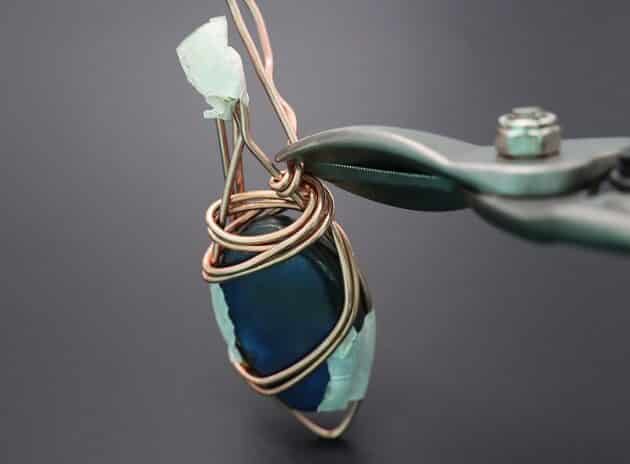
Trim off the excess wires with a big wire cutter (fig. 5i, 5j).
Your main frame design is complete.

Prefer this wire-wrapping tutorial in a PRINTABLE FORMAT? (High Resolution Photos)
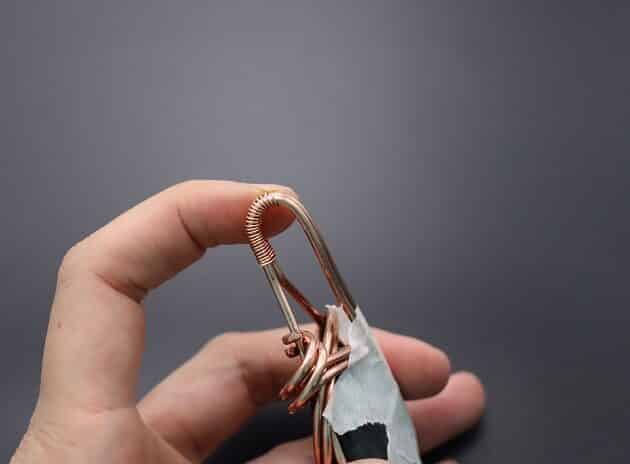
Step 6 of 10
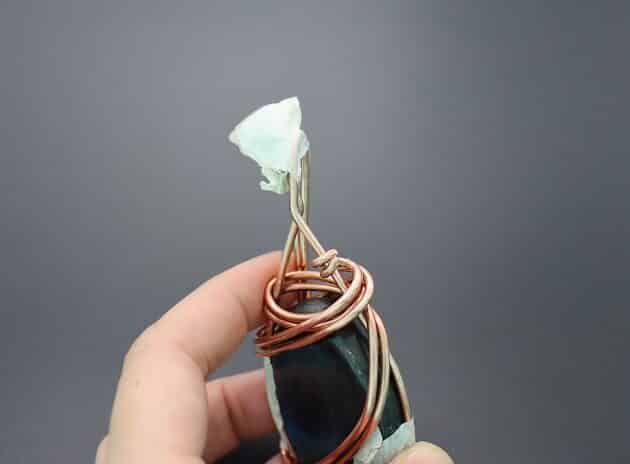
Let’s work on the pendant bail next.
Use a string of 22-gauge gold copper wire and start coiling from the back end of your bail (fig. 6a).
Trim the excess wire once you reached the midpoint (fig. 6b, 6c).
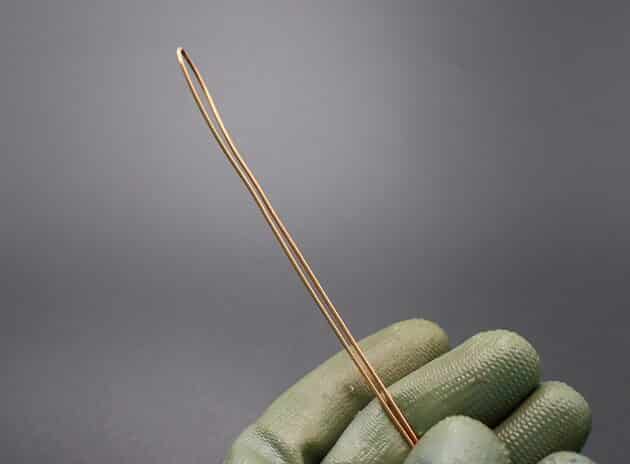
Continue coiling the bail with a new string of 18-gauge gold copper wire and fold the wire in half for a double wire effect (fig. 6d, 6e).
Make a few starting coils with the back end of the 18-gauge wires as anchor on the bail (fig. 6f, 6g).
Your pendant bail design is complete.
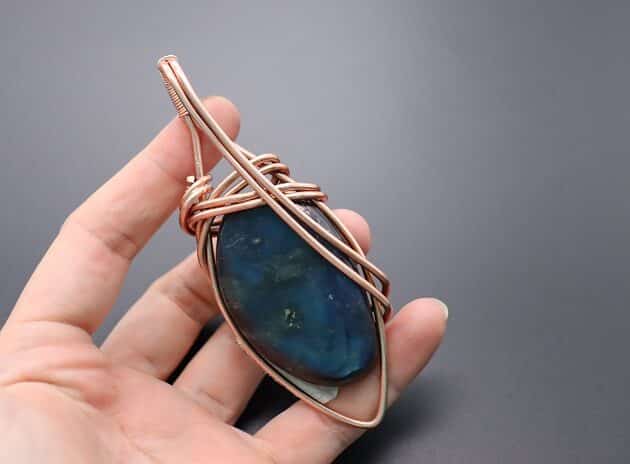
Step 7 of 10
Moving on, pull the 18-gauge wire along the left side of your main frame like a vine structure (fig. 7a, 7b, 7c).
Wrap the 18-gauge wire across the back of your pendant (fig. 7d, 7e).
Then, slip it under the 22-gauge curved wire on the front and pull the remaining wire to the left frame (fig. 7f, 7g).