Step 3 of 20
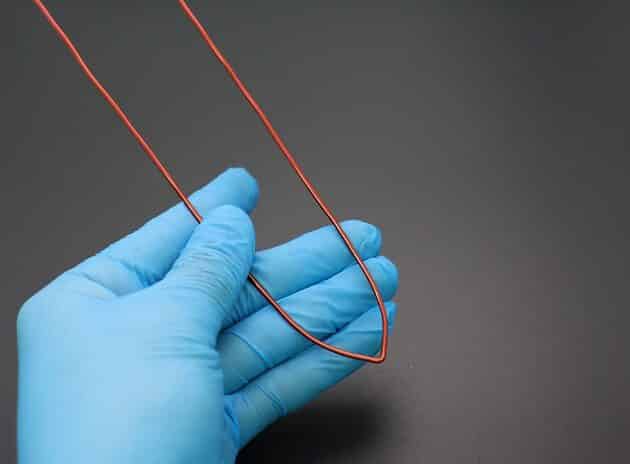
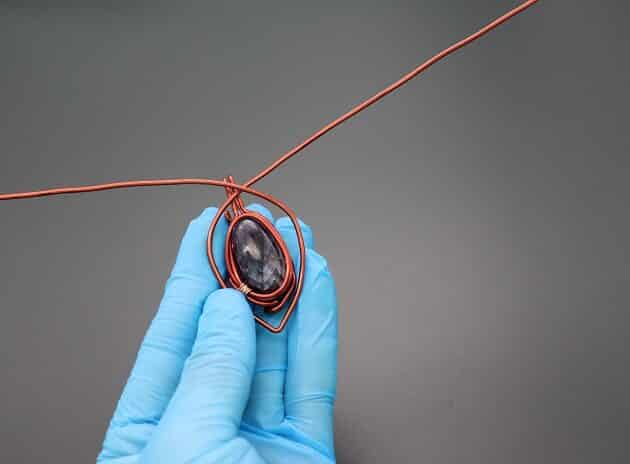
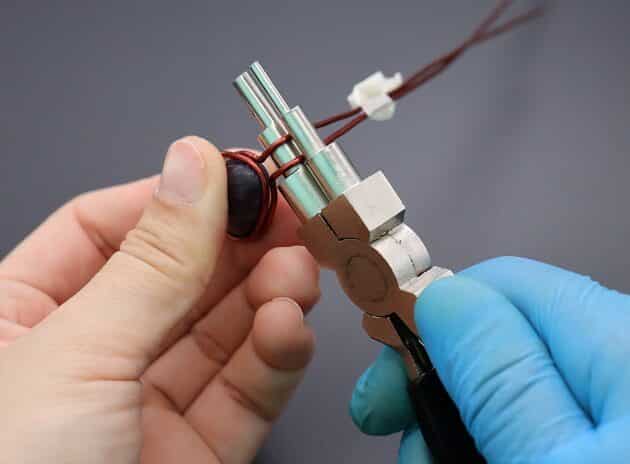
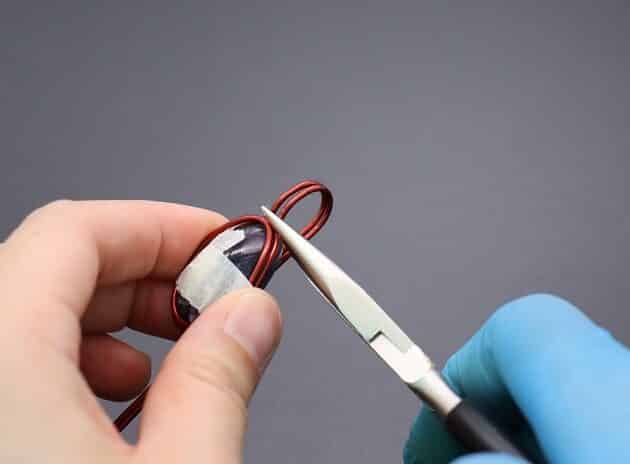
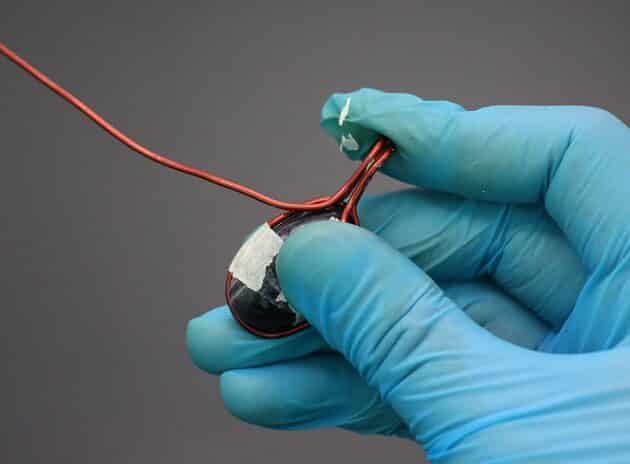
Thirdly, make the bail by curling the 16-gauge straight wires with a stepped-bail-making pliers (fig. 3a).
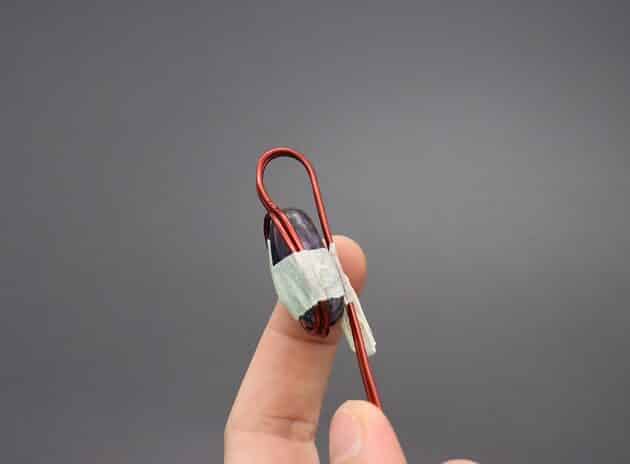
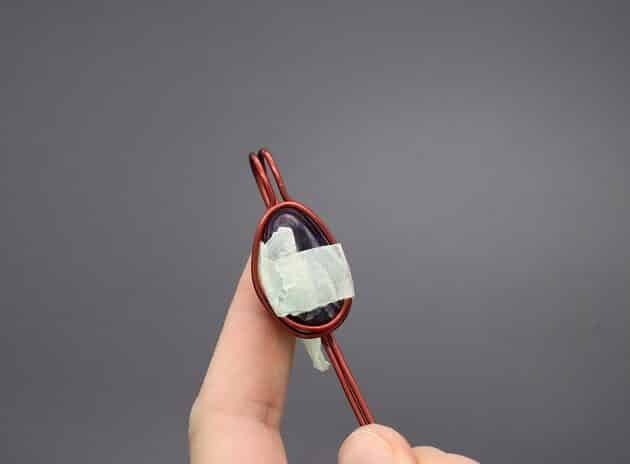
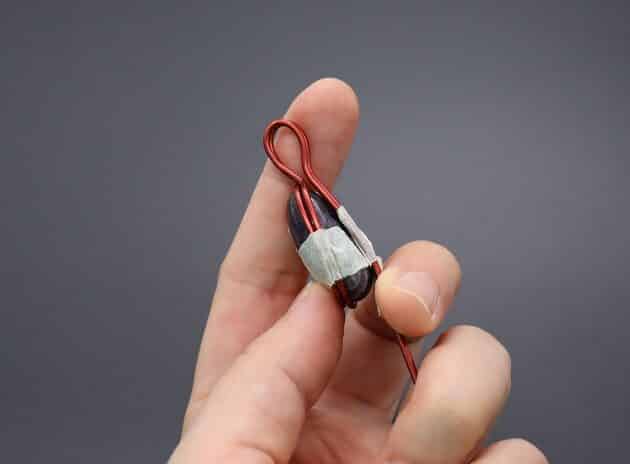
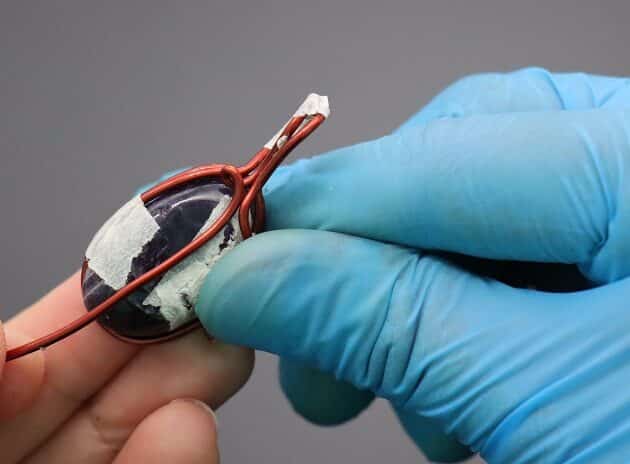
Pull the curled wires downwards as shown (fig. 3b, 3c).
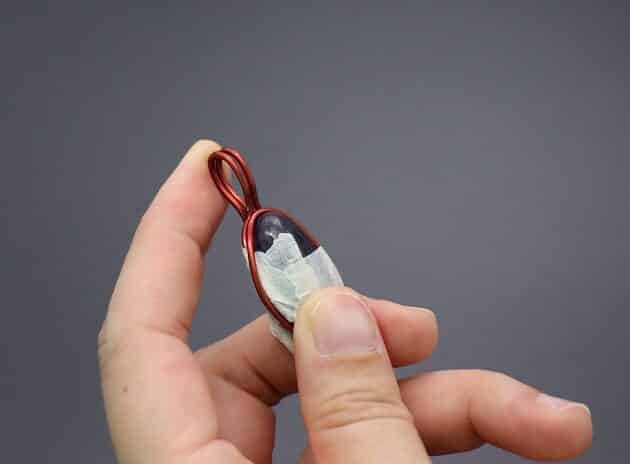
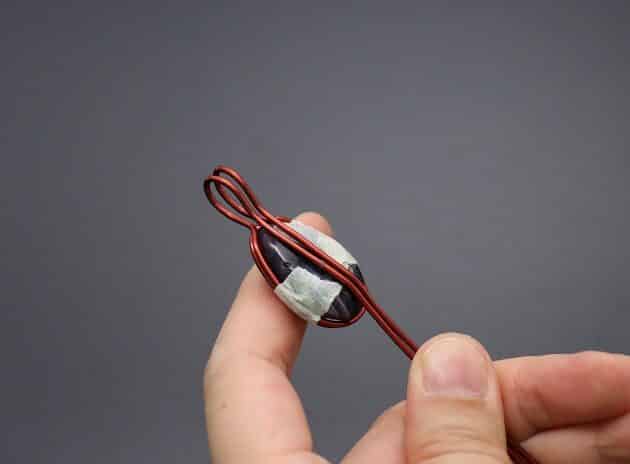
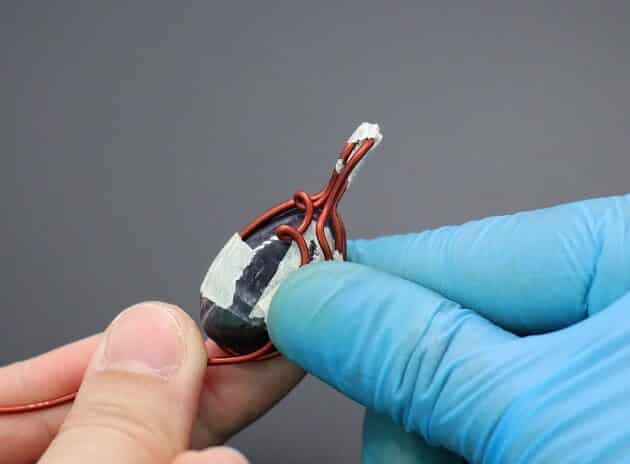
Then, finish the pendant bail by closing the wires with a long needle nose pliers (fig. 3d, 3e, 3f).

FREE WIRE-WRAPPING GUIDE TO YOUR EMAIL!
JOIN NEWSLETTER
We respect your privacy. Unsubscribe at anytime.
Prefer this wire-wrapping tutorial in a PRINTABLE FORMAT? (High Resolution Photos)
Step 4 of 20
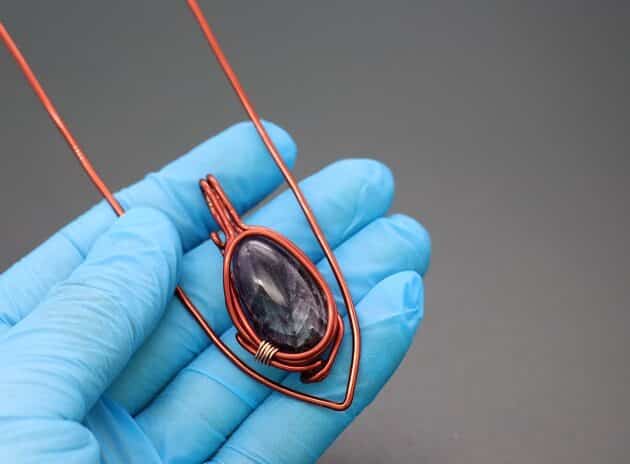
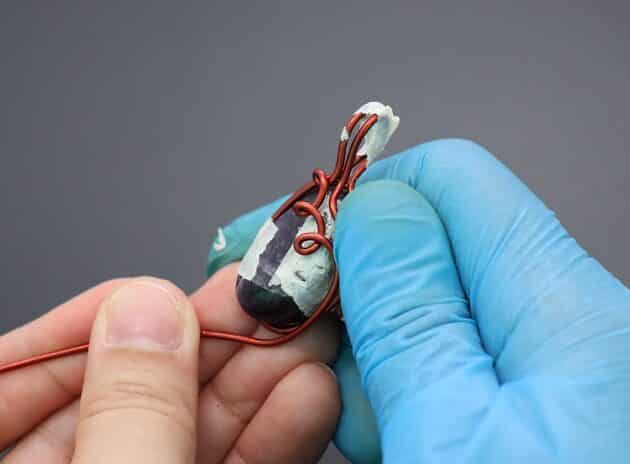
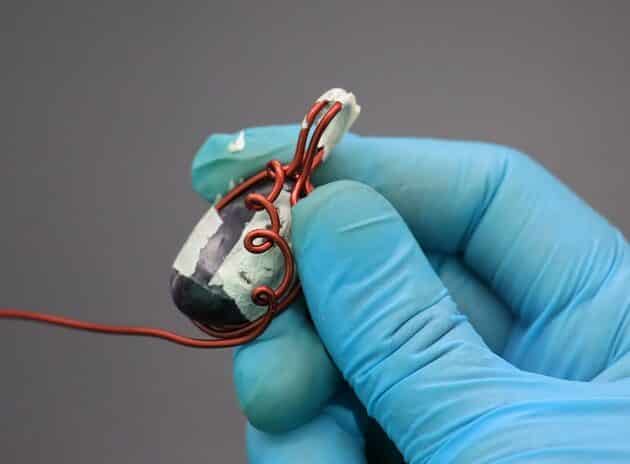
From this step to Step 6, we will use the remaining 16-gauge wires to create details for the back of the pendant (fig. 4a).
Start by making small loops from the left copper wire (fig. 4b, 4c).
Then, add three more small loop pattern across your pendant back until you reach the bottom right (fig. 4d, 4e, 4f).
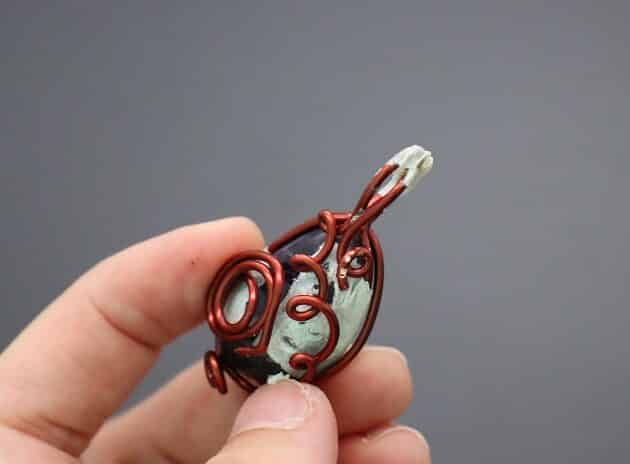
Step 5 of 20
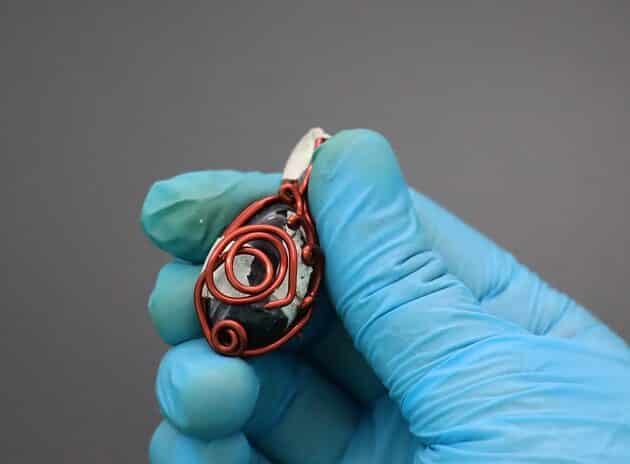
Moving on, push the small loops to the top right side of the pendant back (fig. 5a).
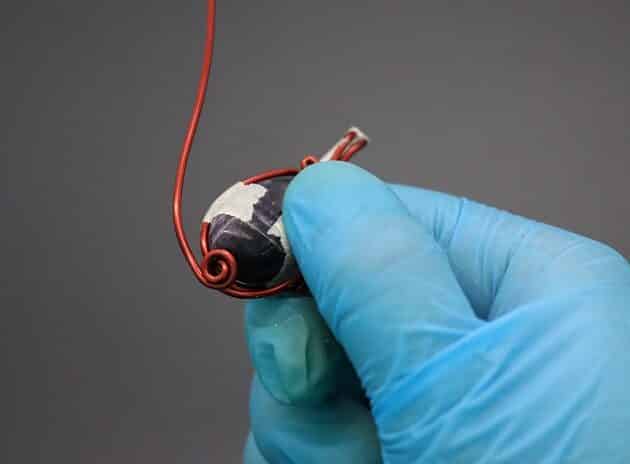
Then, make a small spiral at the bottom of the stone (fig. 5b).
Lastly, use the remaining wire to create a rose out of crooked spiral pattern as shown (fig. 5c).

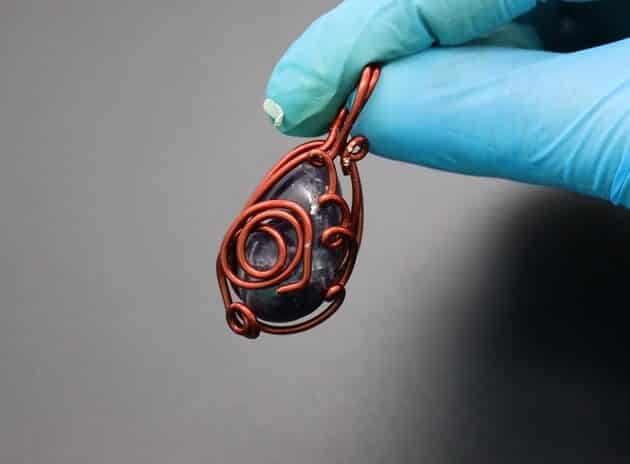
Step 6 of 20
For the right 16-gauge copper wire, make one small loop and cut off the excess wire as shown (fig. 6a, 6b).
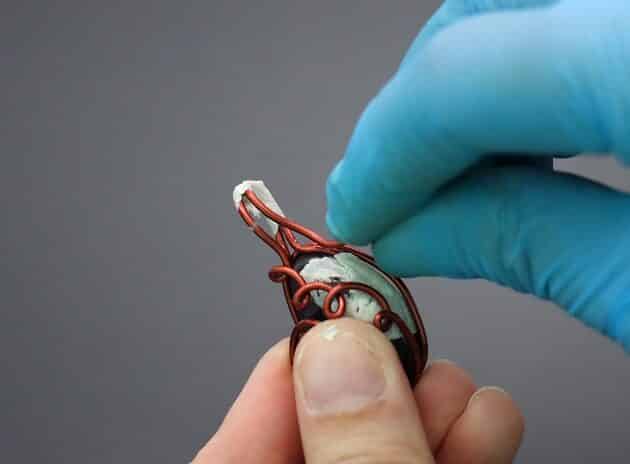
Checkpoint: This is how the back side of your pendant should look (fig. 6c).
Step 7 of 20
Now that we are done with the primary frame, we will work on the secondary frame next.
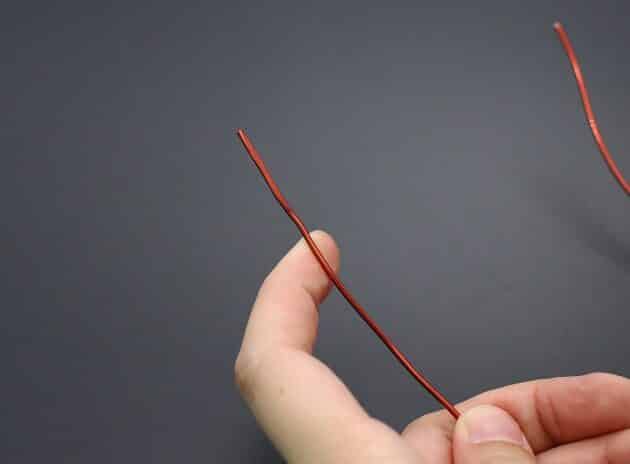
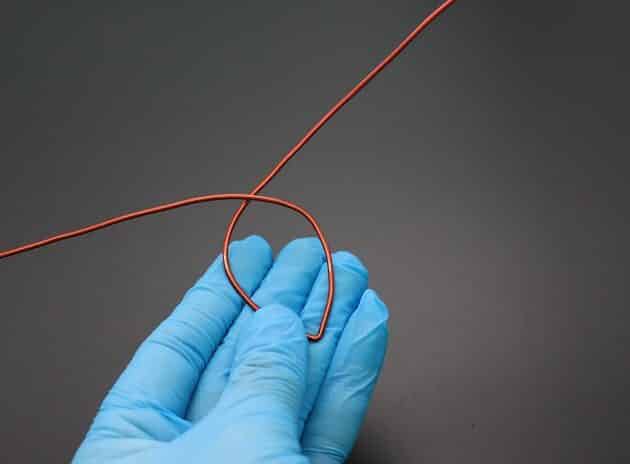
Start a new string of 14-gauge brown copper wire and form a tip as shown (fig. 7a, 7b).
Then, use the primary frame as a reference for the secondary frame sizing (fig. 7c, 7d, 7e).