Welcome my dear wire wrapper!
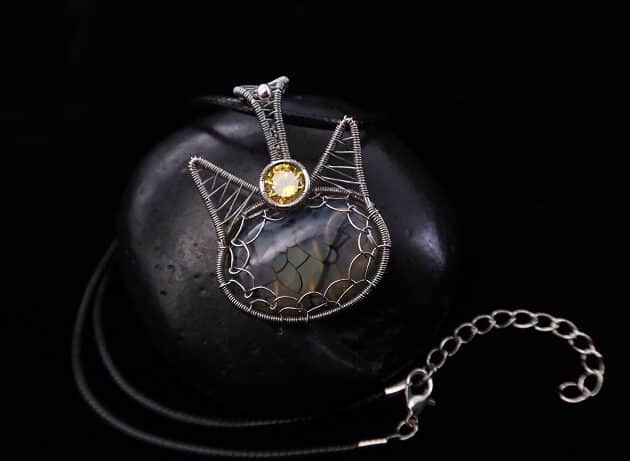
Let’s learn how to make a wire cat pendant with silver wire and gemstones.
In my Wire-Wrapping Cute Tabby Cat Head Gemstone Silver Pendant Tutorial, you will practice wire jewelry making skills such as wire framing, weaving and more.
Plus, you can customize your own cat pendant with gemstones that reflect your cat’s color.

FREE WIRE-WRAPPING GUIDE TO YOUR EMAIL!
JOIN NEWSLETTER
We respect your privacy. Unsubscribe at anytime.
Follow along my simple step-by-step instructions and detailed progress pictures to start your crafting journey.
Happy wrapping!
LEVEL: INTERMEDIATE
MATERIALS + TOOL
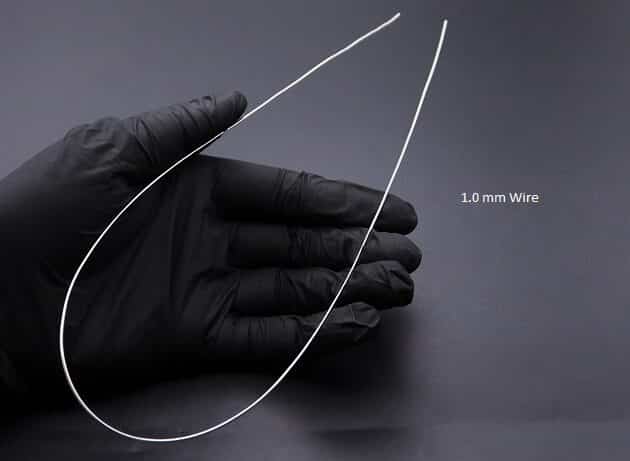
- Silver Copper Wire (18 AWG)
- Silver Copper Wire (26 AWG)
- Silver Copper Wire (32 AWG)
- Small Round Yellow Diamond (1 pc)
- Decorative Oval Stone (1 pc)
- Silver Spacer Beads (1 pc)
- Wire Cutter
- Chain Nose Pliers
- Round Nose Pliers
- Nylon Jaw Pliers
- Stepped Bail-Making Pliers
- Finest Steel Wire Wool
- Masking Tape
- Designed Template
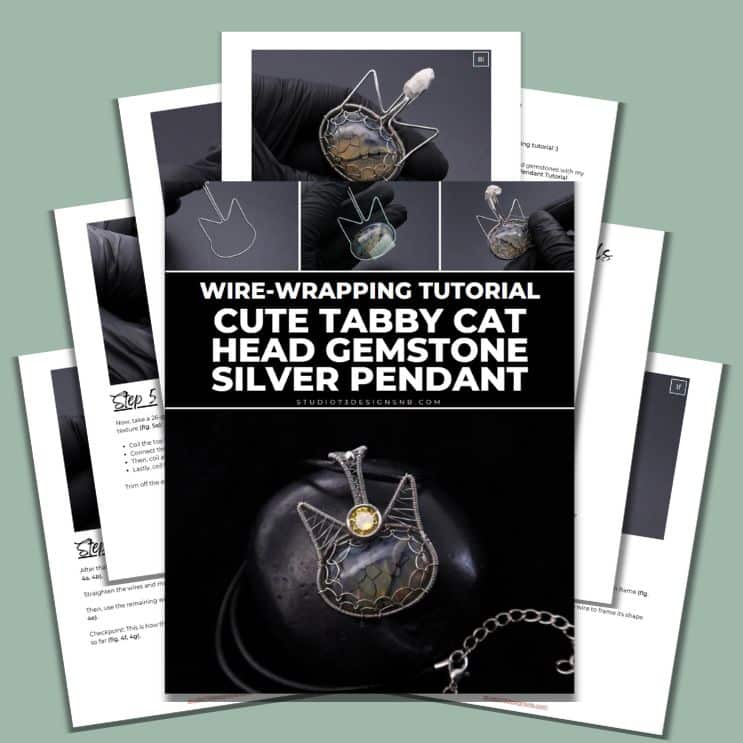
Prefer this wire-wrapping tutorial in a PRINTABLE FORMAT? (High Resolution Photos)
WIRE-WRAPPING CUTE TABBY CAT HEAD GEMSTONE SILVER PENDANT TUTORIAL
Step 1 of 14
Ready all items from the Materials and Tool list (fig. 1a).
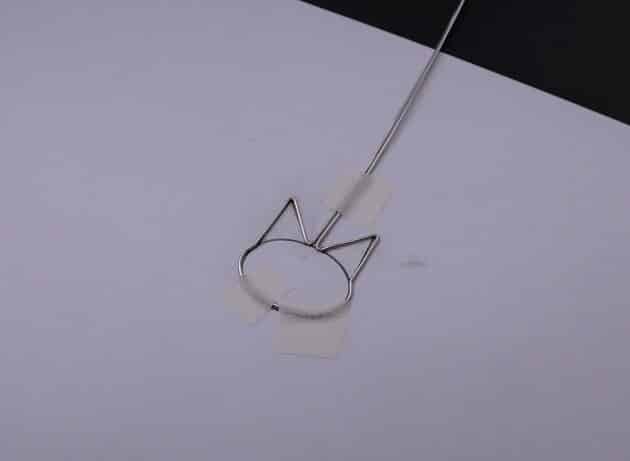
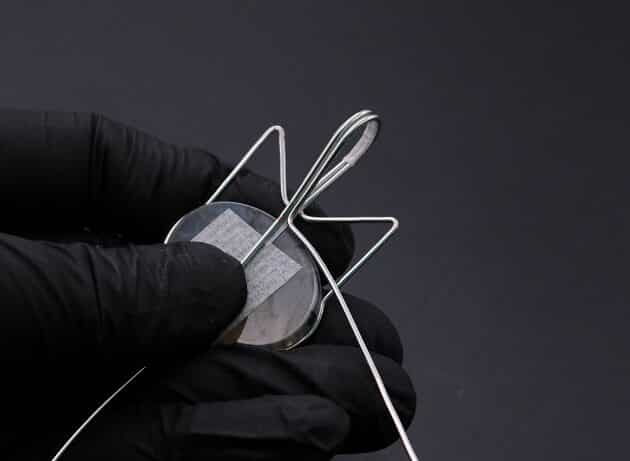
Firstly, take a 18-gauge silver copper wire to form your pendant main frame (fig. 1b).
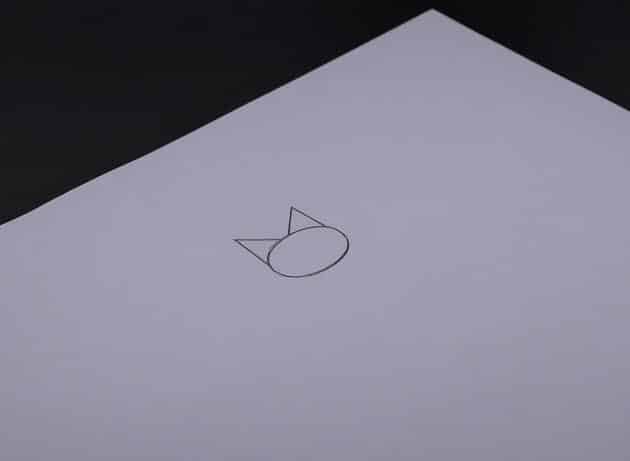
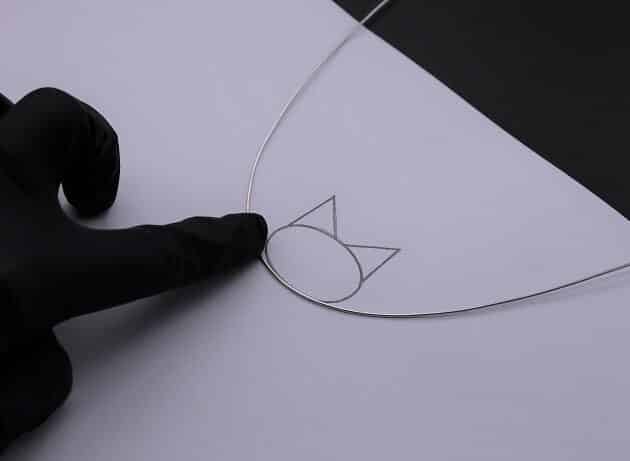
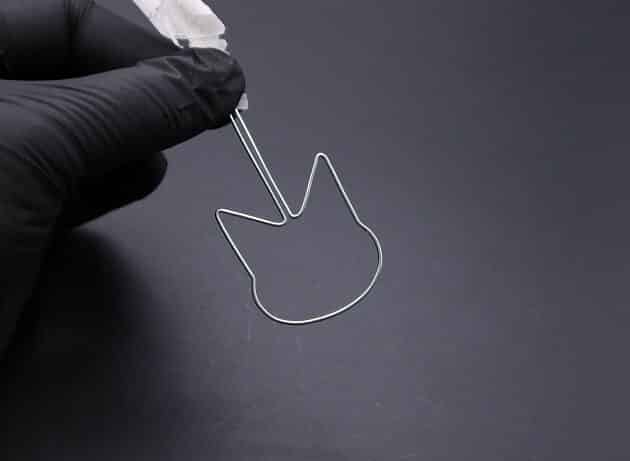
Draw a cat head design template on a paper then trace wire to frame its shape (fig. 1c, 1d, 1e).
Pull the extra wires upwards into straight lines (fig. 1f).

Step 2 of 14
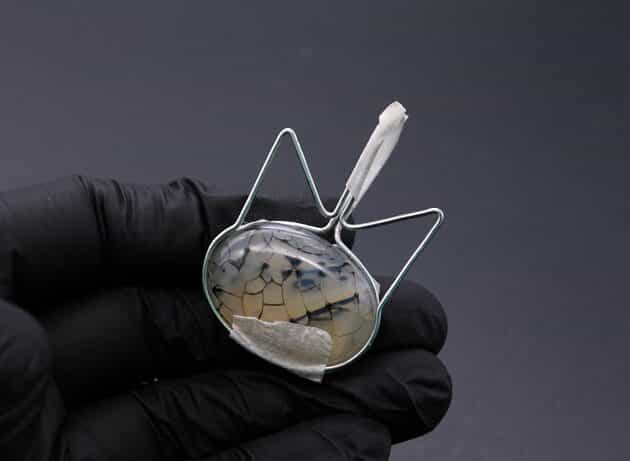
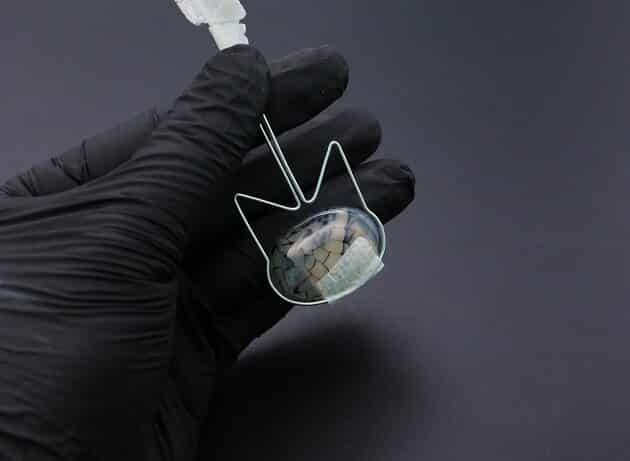
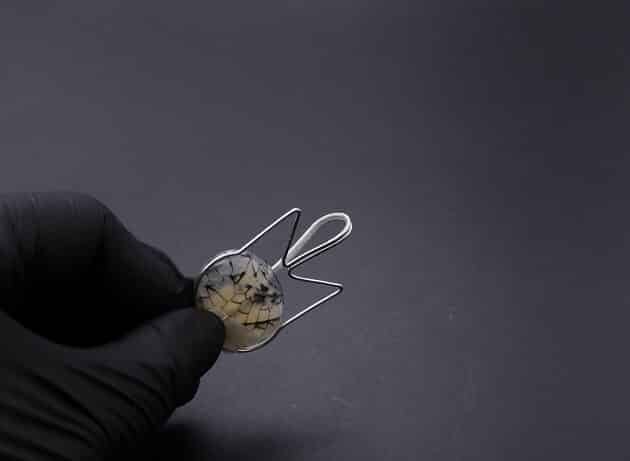
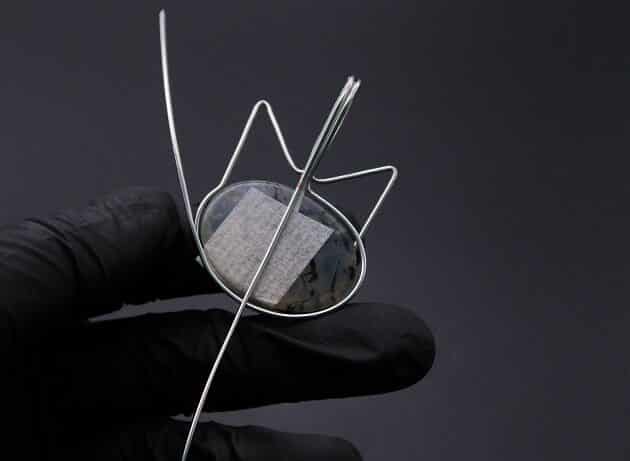
Next, place a decorative oval stone as the face for your cat head pendant (fig. 2a, 2b).
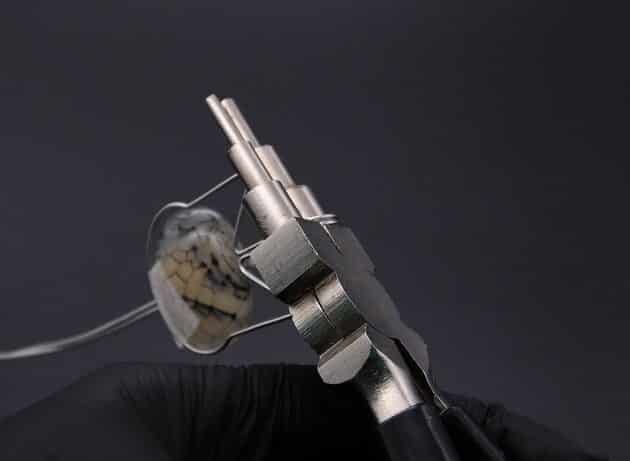
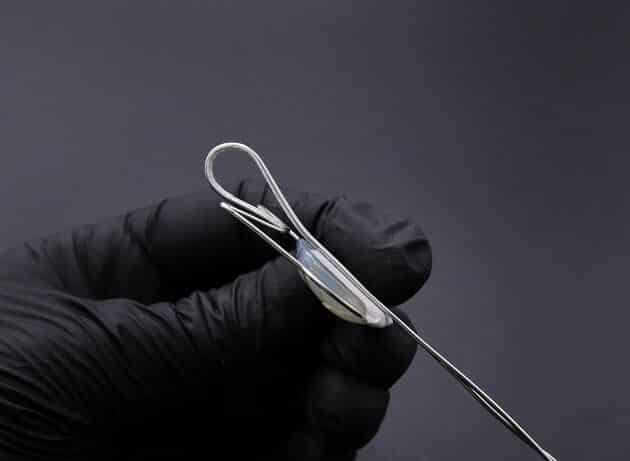
Then, curl the straight wires to the back with a stepped bail-making pliers to form a wire bail (fig. 2c, 2d, 2e, 2f).


Step 3 of 14
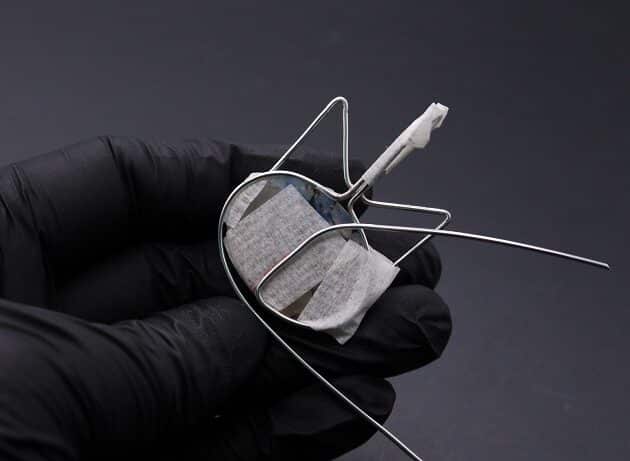
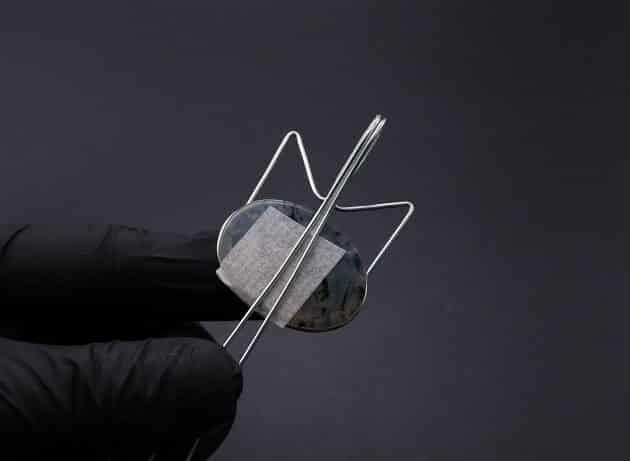
Moving on, let’s make the back stone holder frame for your pendant.
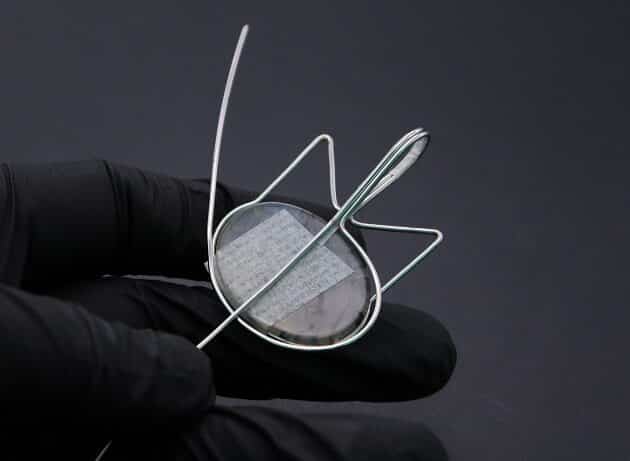
Mark the point where the remaining straight wires meet the top of your oval stone (fig. 3a).
Then, use a chain nose pliers to make a 90-degree bend on the right loose wire (fig. 3b, 3c).
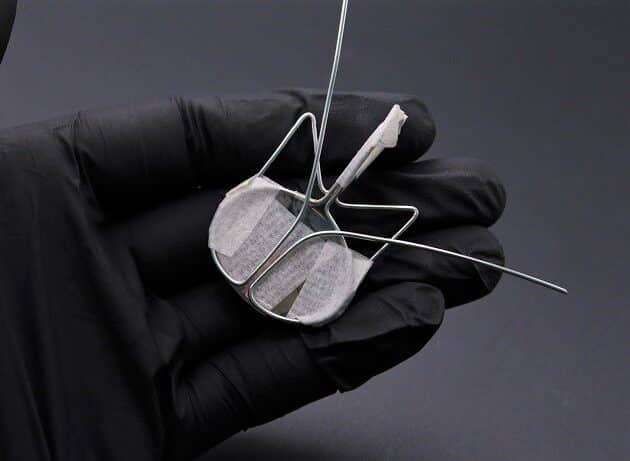
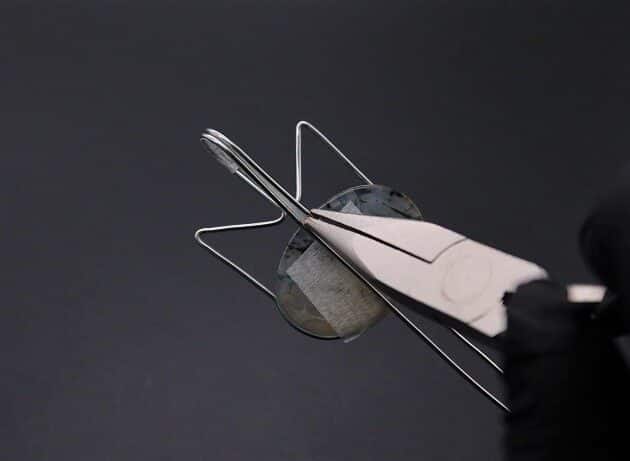
Wrap the bent right loose wire around the oval gemstone (fig. 3d).
Repeat the process on the left loose wire (fig. 3e, 3f, 3g).
Step 4 of 14
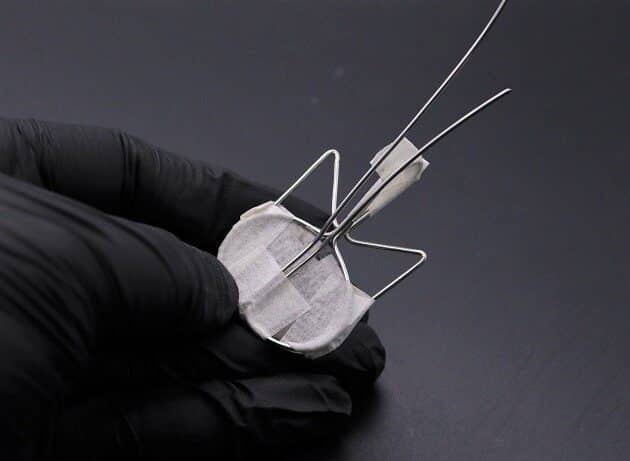
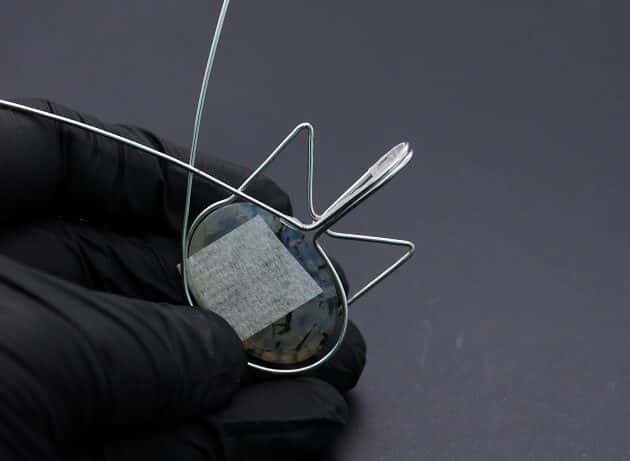
After that, bend the overlapping wires at the midpoint of the bottom frame (fig. 4a, 4b).
Straighten the wires and mark the intersecting point at the top frame (fig. 4c).
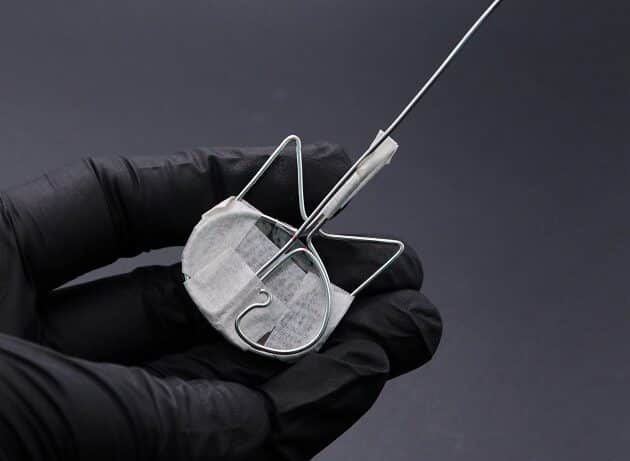
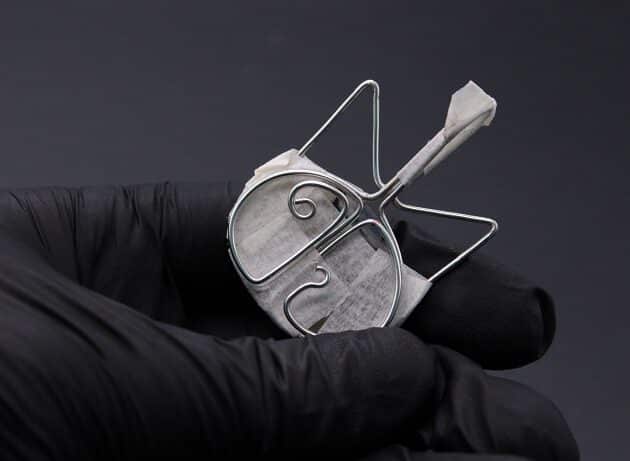
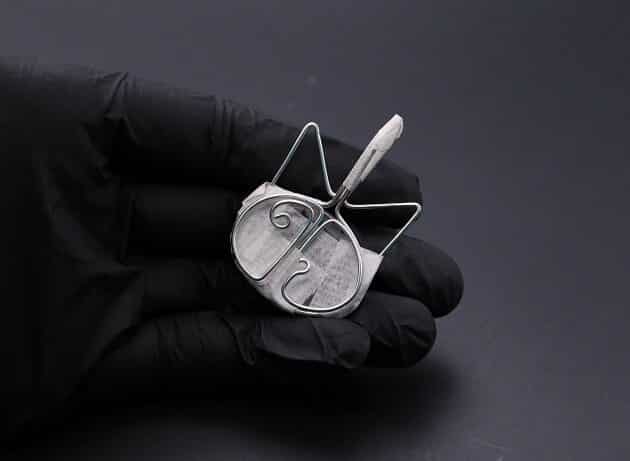
Then, use the remaining wires to design a curved inner frame with swirls (fig. 4d, 4e).
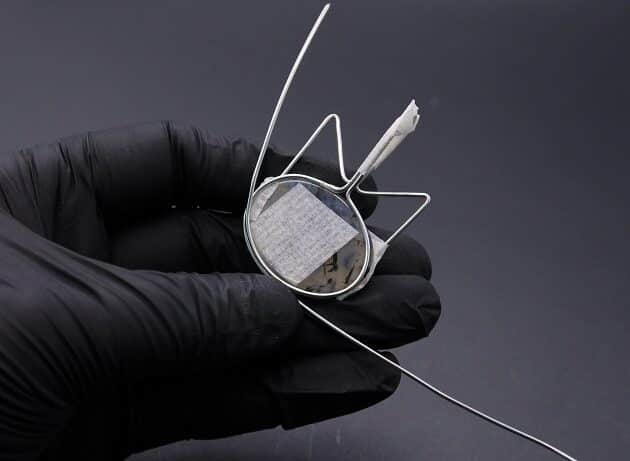
Checkpoint: This is how the back and front of your cat head pendant should look so far (fig. 4f, 4g).