• Skip to main content
  • Skip to secondary menu
  • Skip to primary sidebar
  • Skip to footer
Studio 73 Designs

Studio 73 Designs

Wire Jewelry Making & Wire Wrapping Techniques

  • Start Here!
  • FREE Wire-Wrapping Guides
  • Shop Tutorials
    • Cart
    • Checkout
  • Contact
  • Join Member
  • Member Login
Join PREMIUM MEMBERSHIP (FREE-TRIAL): 70+ Wire Wrapping Tutorials: Gain access to ALL step-by-step tutorials with high-quality images, no ads, plus all future tutorials. Check it out HERE.

Wire-Wrapping Copper Vine Purple Crystal Point Pendant Tutorial

January 10, 2026 by Madelynn

Welcome my dear wire wrapper!

Are you a plant lover? Or do you have family and friends with green thumbs?

Surprise them with a handmade gift or add to your personal style with my Wire-Wrapping Copper Vine Purple Crystal Point Pendant Tutorial.

Follow my simple step-by-step instructions and detailed progress picture guide to start your wire jewelry making journey today.

wire wrap jewelry

FREE WIRE-WRAPPING GUIDE TO YOUR EMAIL! 

JOIN NEWSLETTER

SEND GUIDE TO EMAIL

We respect your privacy. Unsubscribe at anytime.

Happy wrapping!

Wire-Wrapping Copper Vine Purple Crystal Point Pendant Tutorial 0
Wire-Wrapping Copper Vine Purple Crystal Point Pendant Tutorial

LEVEL: BEGINNER

MATERIALS + TOOL

  • Copper Wire (18 AWG)
  • Copper Wire (22 AWG)
  • Copper Wire (26 AWG)
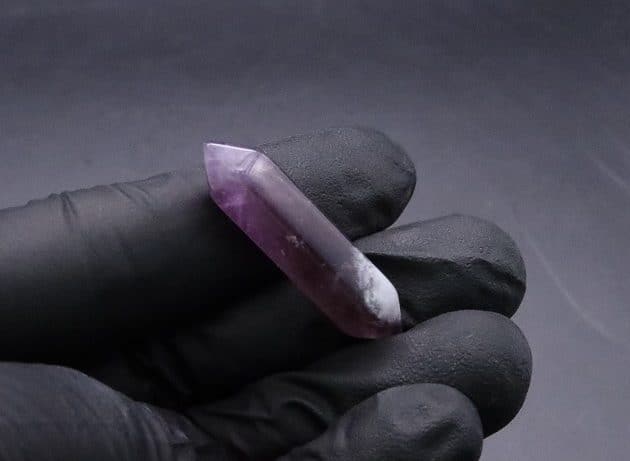
  • Purple Crystal Point (1 pc)
  • Wire Cutter
  • Chain Nose Pliers
  • Round Nose Pliers
  • Nylon Jaw Pliers
  • Stepped Bail-Making Pliers
  • Finest Steel Wire Wool
  • Masking Tape

Copper Vine Purple Crystal Point Pendant Tutorial-Cover


Prefer this wire-wrapping tutorial in a PRINTABLE FORMAT? (High Resolution Photos)

Click here for the PDF version of “Wire-Wrapping Copper Vine Purple Crystal Point Pendant Tutorial”


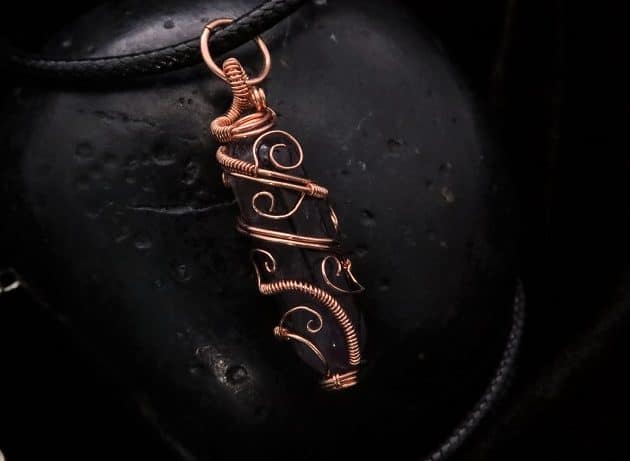
WIRE-WRAPPING COPPER VINE PURPLE CRYSTAL POINT PENDANT TUTORIAL

Step 1 of 6

Ready all items from the Materials and Tool list (fig. 1a).

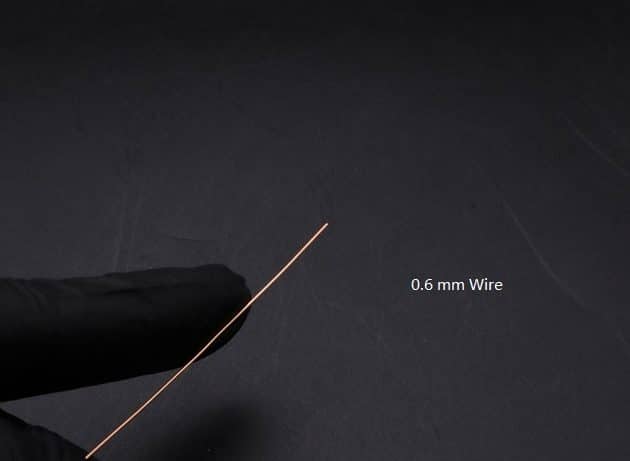
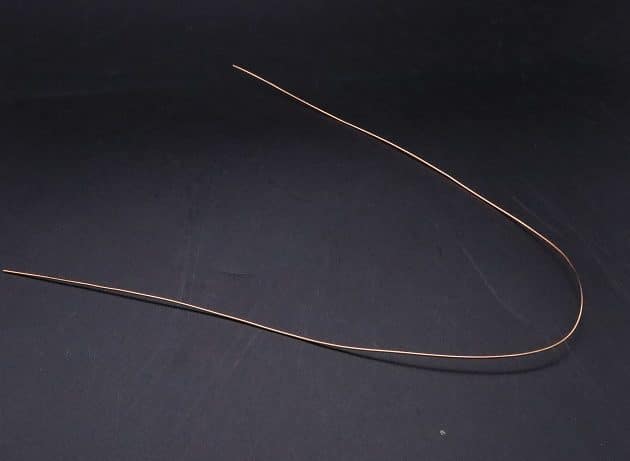
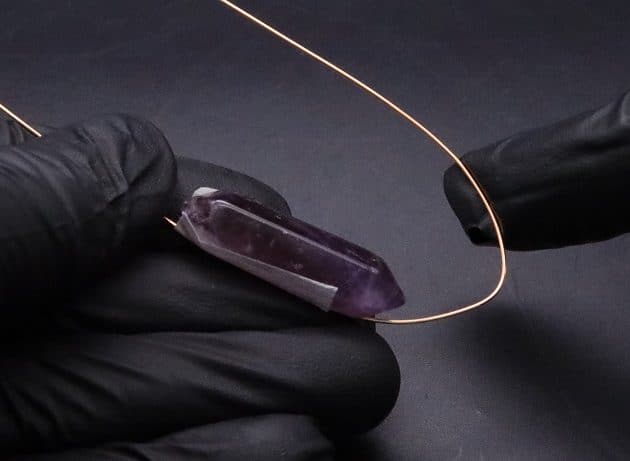
Cut a long string of 22-gauge copper wire (fig. 1b, 1c).

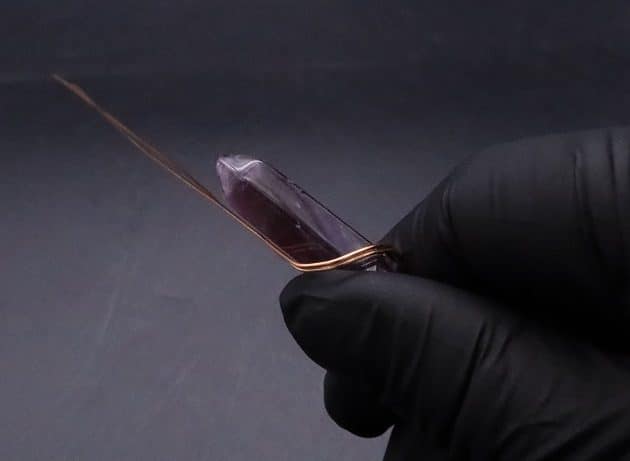
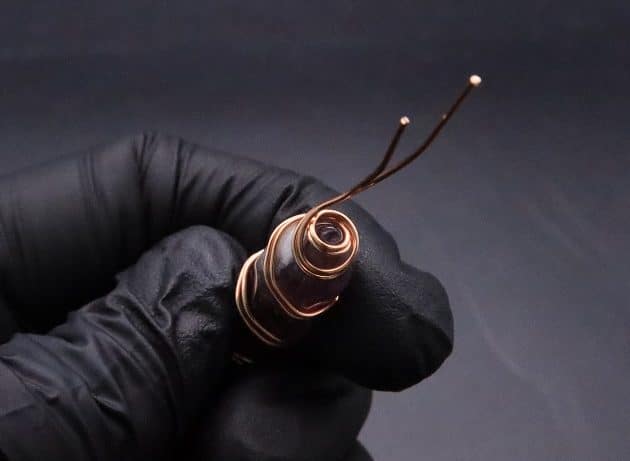
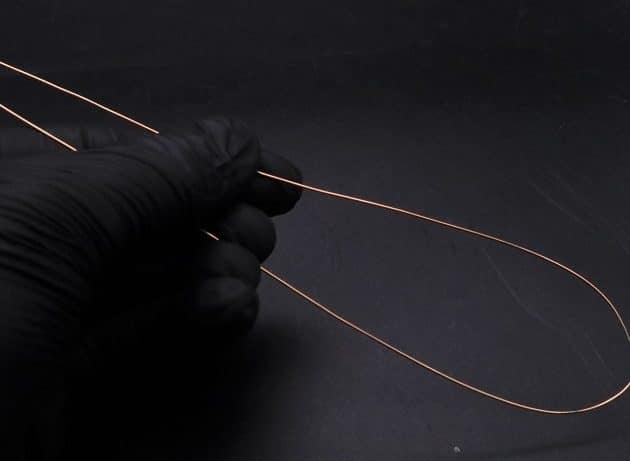
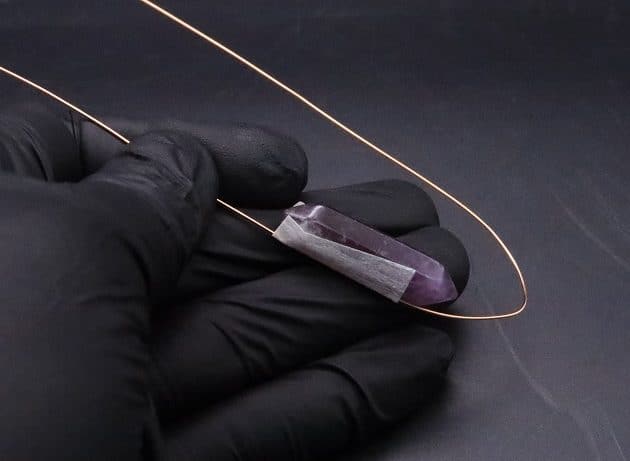
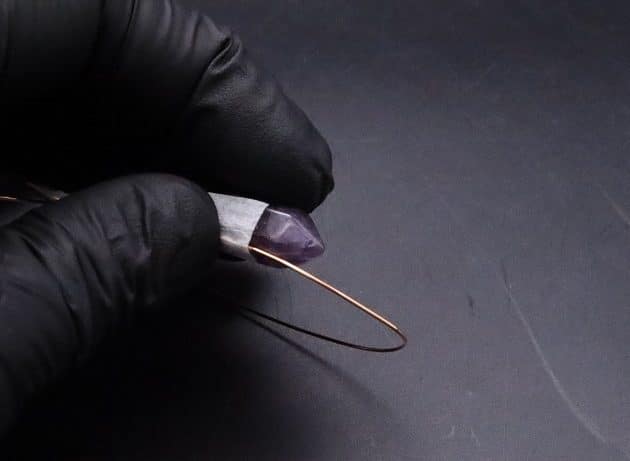
Then loosely bend the wire in half, and tape the purple crystal point onto the bottom left of the wire (fig. 1d, 1e, 1f).

Wire-Wrapping Copper Vine Purple Crystal Point Pendant Tutorial 1
fig. 1a

Wire-Wrapping Copper Vine Purple Crystal Point Pendant Tutorial 2
fig. 1b

Wire-Wrapping Copper Vine Purple Crystal Point Pendant Tutorial 3
fig. 1c

Wire-Wrapping Copper Vine Purple Crystal Point Pendant Tutorial 4
fig. 1d

Wire-Wrapping Copper Vine Purple Crystal Point Pendant Tutorial 5
fig. 1e

Wire-Wrapping Copper Vine Purple Crystal Point Pendant Tutorial 6
fig. 1f

Step 2 of 6

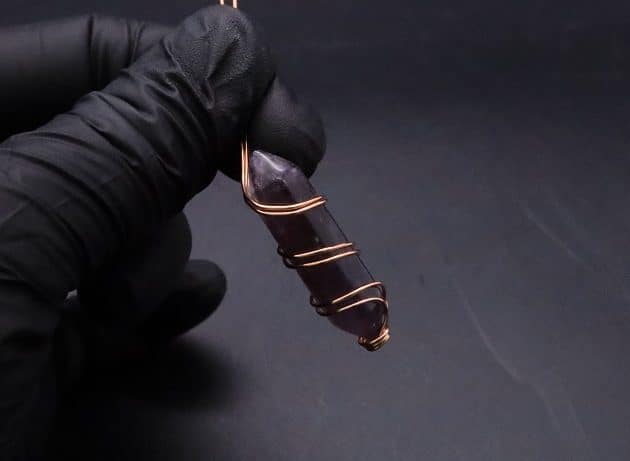
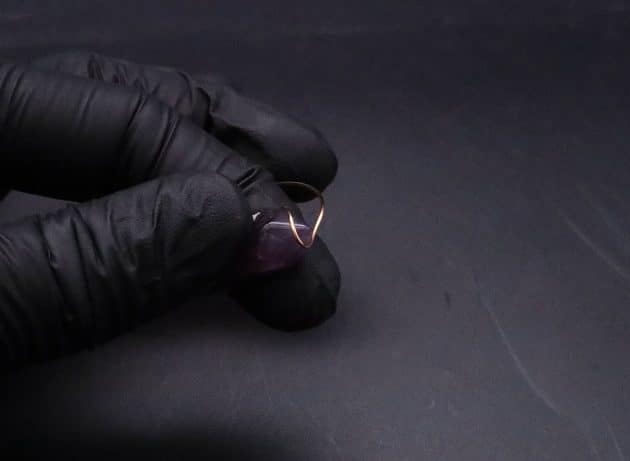
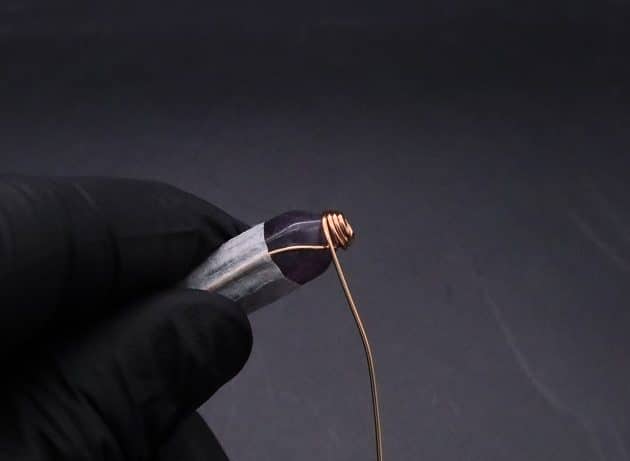
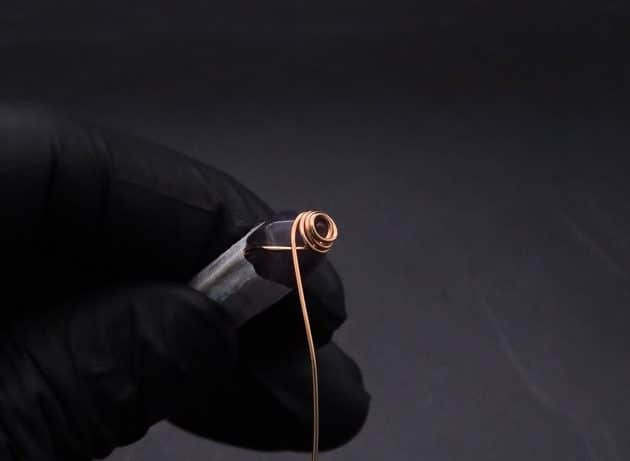
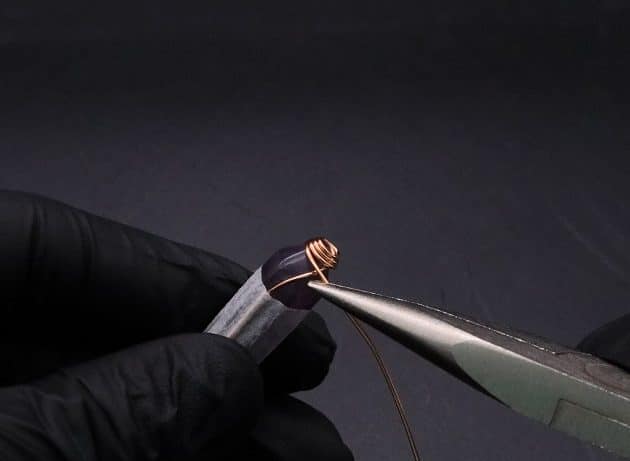
Use the right loose wire to form thick coils the bottom tip of your crystal point (fig. 2a, 2b, 2c, 2d).

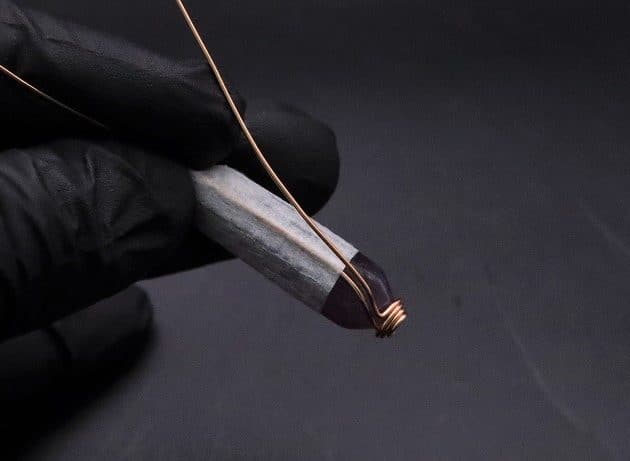
Then, bend the extra wire and line it along the taped wire for a double wire effect (fig. 2e, 2f, 2g).

Wire-Wrapping Copper Vine Purple Crystal Point Pendant Tutorial 7
fig. 2a

Wire-Wrapping Copper Vine Purple Crystal Point Pendant Tutorial 8
fig. 2b

Wire-Wrapping Copper Vine Purple Crystal Point Pendant Tutorial 9
fig. 2c

Wire-Wrapping Copper Vine Purple Crystal Point Pendant Tutorial 10
fig. 2d

Wire-Wrapping Copper Vine Purple Crystal Point Pendant Tutorial 11
fig. 2e

Wire-Wrapping Copper Vine Purple Crystal Point Pendant Tutorial 12
fig. 2f

Wire-Wrapping Copper Vine Purple Crystal Point Pendant Tutorial 13
fig. 2g

Step 3 of 6

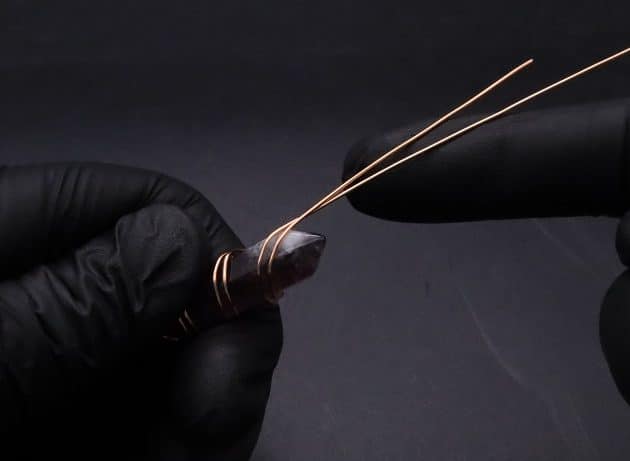
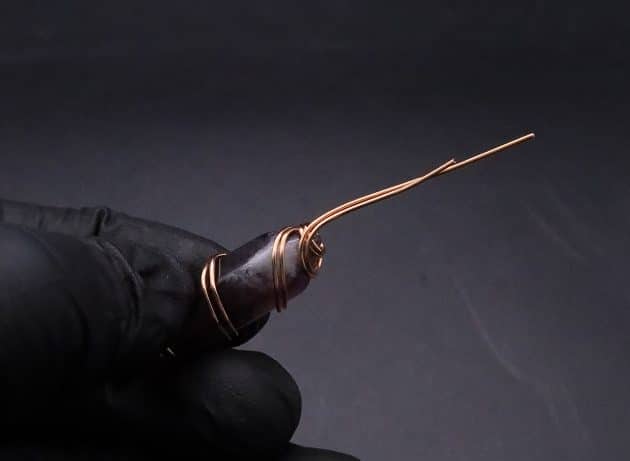
Next, form a loose spiral twist design with the double wire around the crystal body (fig. 3a, 3b).

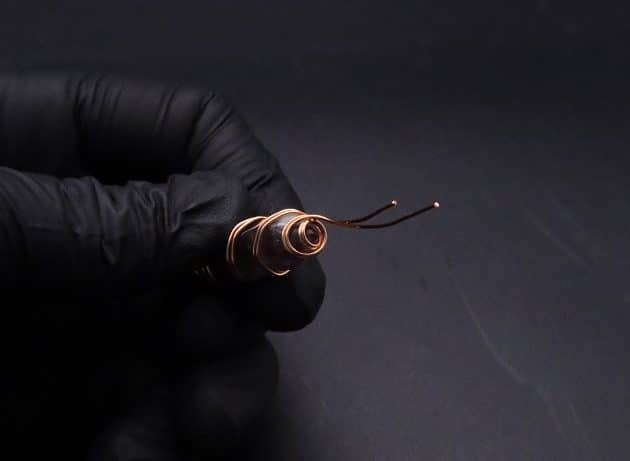
Make one loose coil at the top tip of your crystal point (fig. 3c, 3d, 3e).

Lastly, pull the remaining double wire upwards (fig. 3f).

Wire-Wrapping Copper Vine Purple Crystal Point Pendant Tutorial 14
fig. 3a

Wire-Wrapping Copper Vine Purple Crystal Point Pendant Tutorial 15
fig. 3b

Wire-Wrapping Copper Vine Purple Crystal Point Pendant Tutorial 16
fig. 3c

Wire-Wrapping Copper Vine Purple Crystal Point Pendant Tutorial 17
fig. 3d

Wire-Wrapping Copper Vine Purple Crystal Point Pendant Tutorial 18
fig. 3e

Wire-Wrapping Copper Vine Purple Crystal Point Pendant Tutorial 19
fig. 3f

Pages: Page 1 Page 2

Filed Under: Tutorials/DIY

Primary Sidebar

MadelynnHey there! Thanks for visiting 🙂

My name is Madelynn and I’m the owner of Studio 73 Designs.

Studio 73 Designs is managed by a team of wire wrapping jewelry enthusiasts 🙂 Cheers!

Follow Me

  • Facebook
  • Instagram
  • Pinterest
  • Twitter
  • YouTube

ARE YOU INTERESTED IN WIRE-WRAPPING?

Sign up below and get access to my FREE wire-wrapping guides!

Sign Up
Wire Wrapping Tutorials
Wire Wrapping for Beginners Start Here
Beginner's Guide to Jewelry Wire for Wire-Wrapping
Wire Wrapping Tools and Supplies for Beginners
How to wire wrap stones without holes wire-wrapping tutorial for beginners
Wire Wrapping Tutorials DIY Jewelry Kits

Footer

ARE YOU INTERESTED IN WIRE-WRAPPING?

Sign up below and get access to my FREE wire-wrapping guides!

Sign Up

Site Navigation

Home
About
Contact
Blog
Privacy Policy
Disclaimer
Terms & Conditions

Follow Me

  • Facebook
  • Instagram
  • Pinterest
  • Twitter
  • YouTube

© 2026 · Studio 73 Designs

wire-wrapping tutorials

Learn Wire-Wrapping

Want to create beautiful wire-wrapped jewelry? Join membership today and get access to 70+ step-by-step wire-wrapping tutorials with high-quality images

Learn More
x