Step 5 of 15
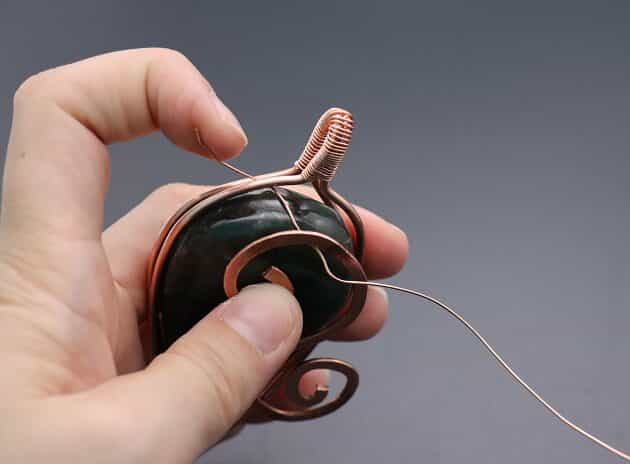
Now, let’s continue the second part of your 12-gauge main frame design.
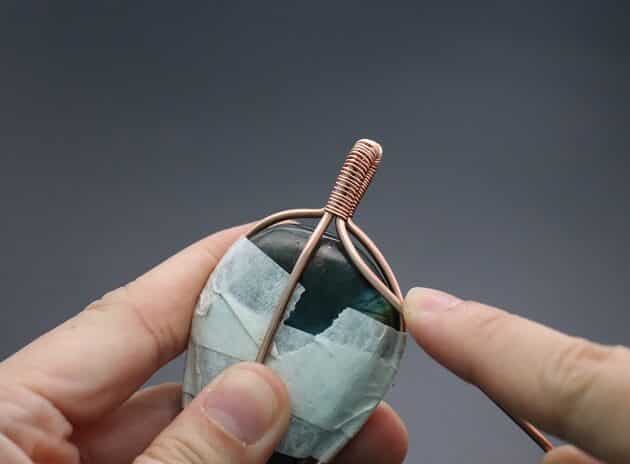
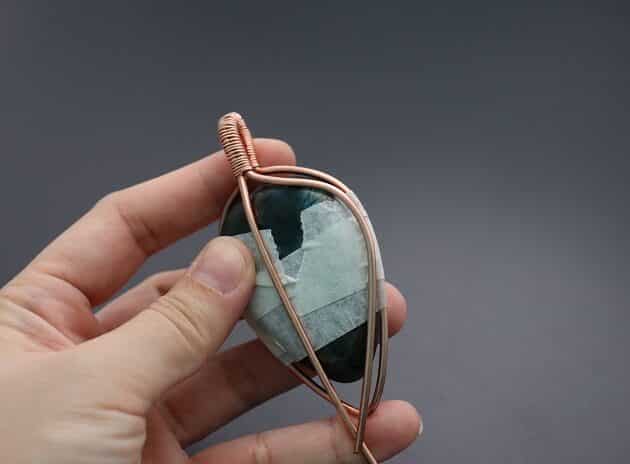
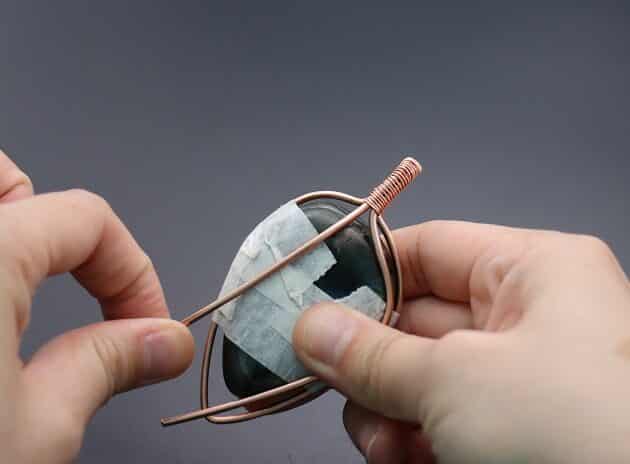
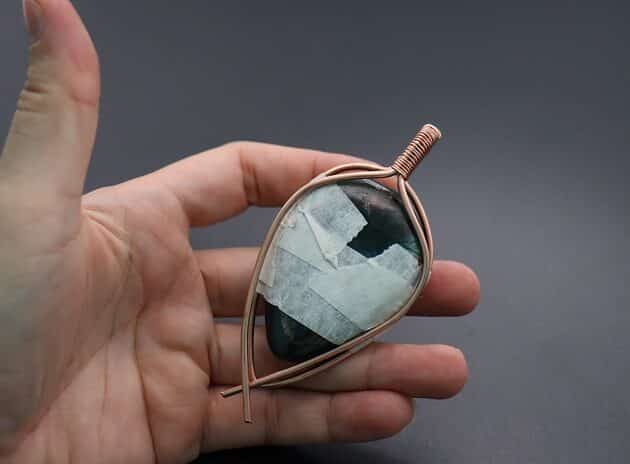
At the back of your pendant, curve the right loose wire along the side of your stone (fig. 5a, 5b).
Repeat the same curve process on the left loose wire (fig. 5c, 5d).

FREE WIRE-WRAPPING GUIDE TO YOUR EMAIL!
JOIN NEWSLETTER
We respect your privacy. Unsubscribe at anytime.
Prefer this wire-wrapping tutorial in a PRINTABLE FORMAT? (High Resolution Photos)
Click here for the PDF version of “Wire-Wrapping Contemporary Black Labradorite Pendant Tutorial”
Step 6 of 15
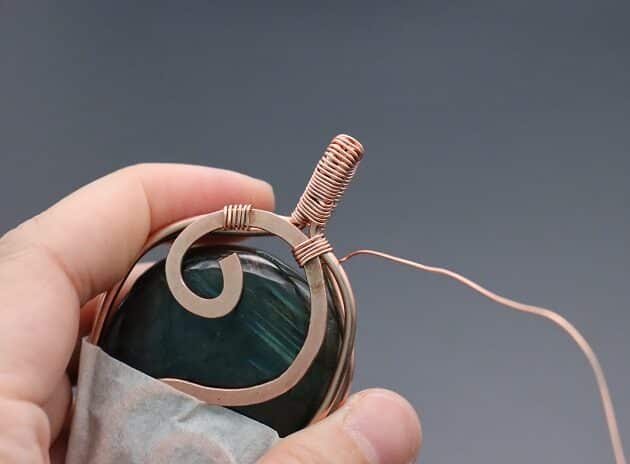
Moving on, time to work on the front detailing of your pendant.
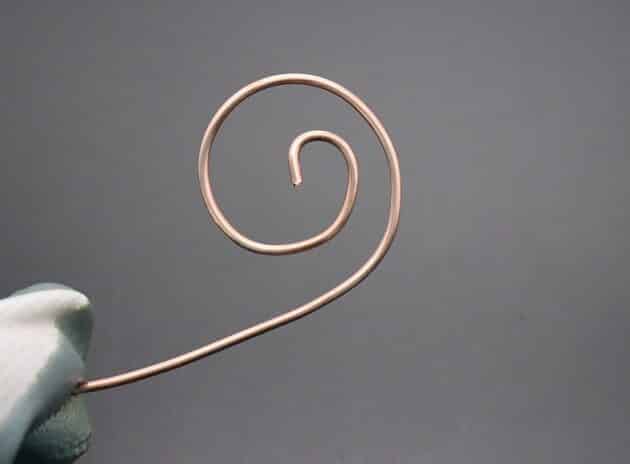
This is where we will add the contemporary element into your pendant by introducing beautiful spiral shapes.
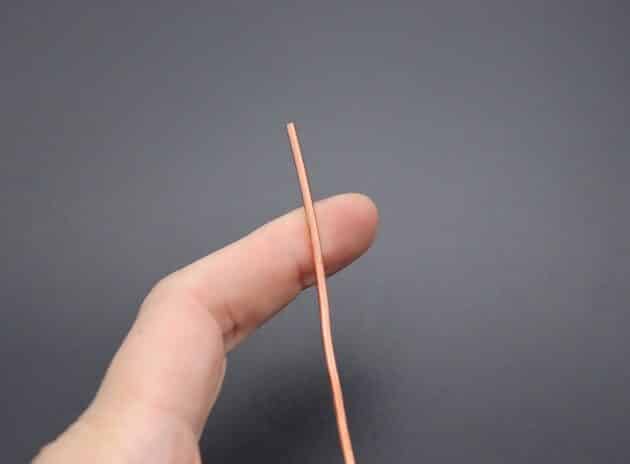
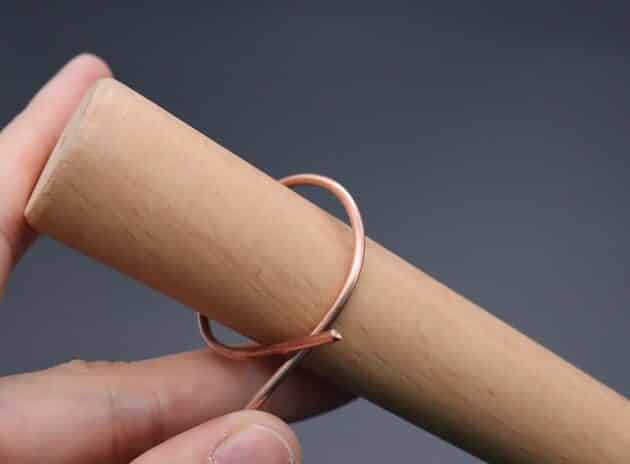
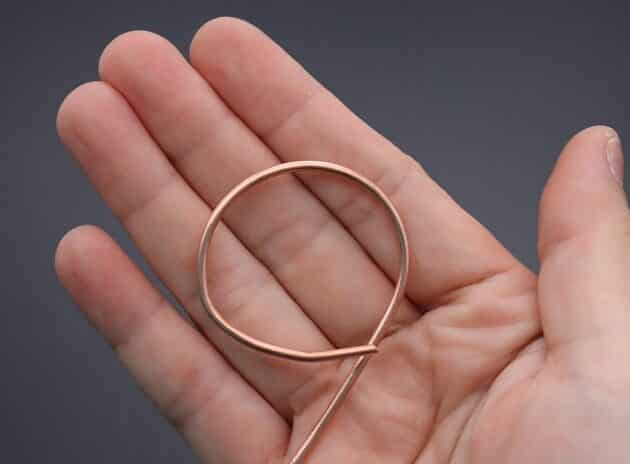
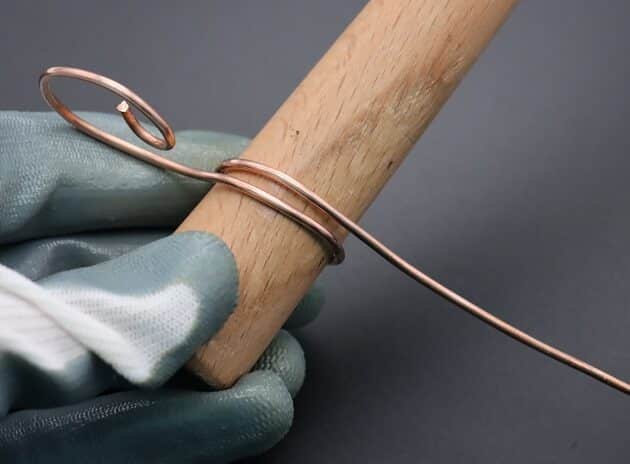
Wrap a 12-gauge gold copper wire around the base of your wood ring mandrel for a circular wire shape (fig. 6a, 6b, 6c).
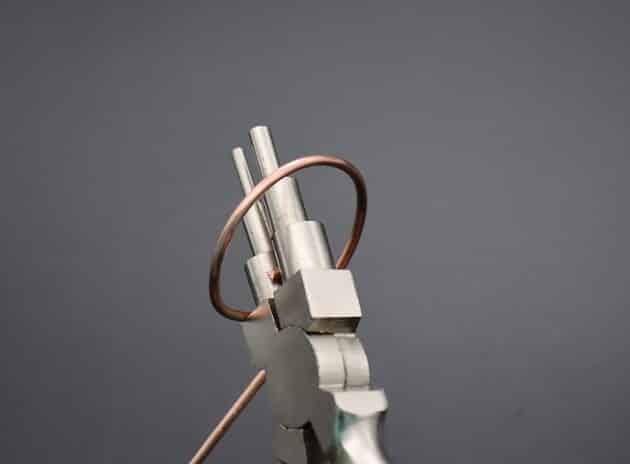
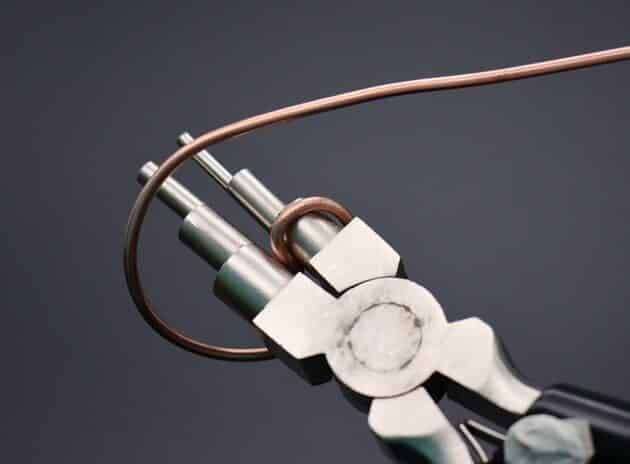
Then, curl your wire towards the center with a stepped bail-making pliers (fig. 6d, 6e, 6f).
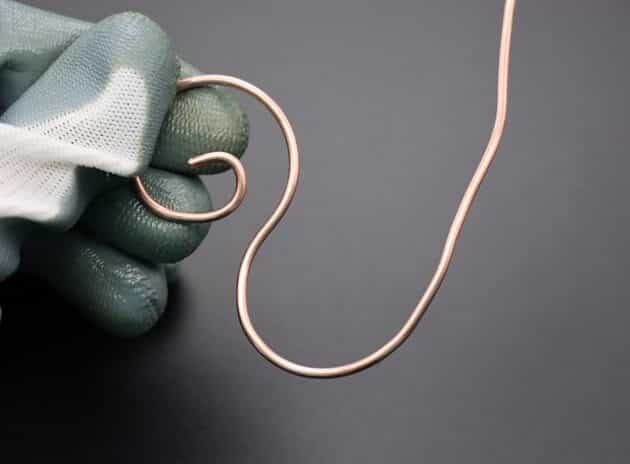
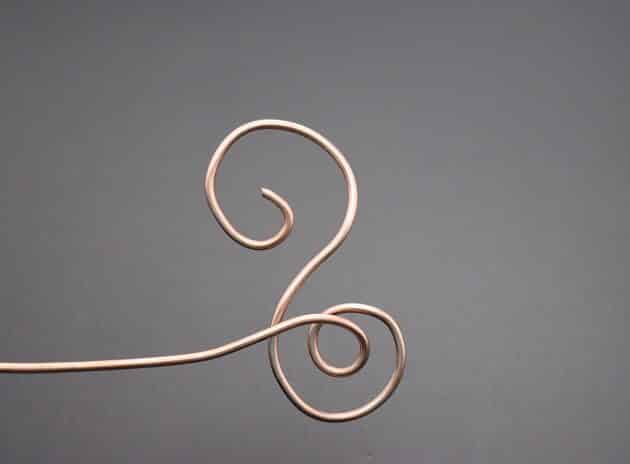
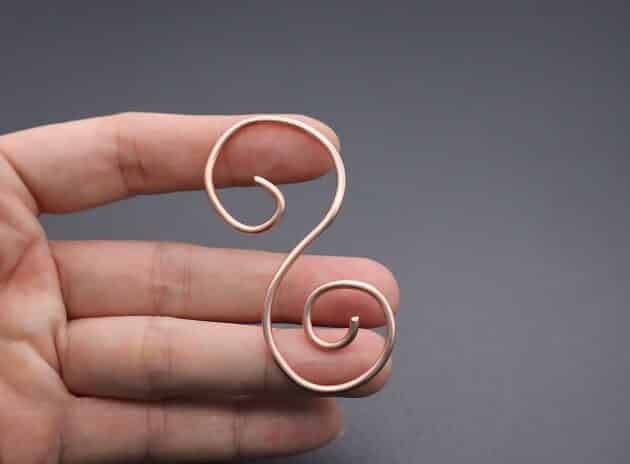
Next, make a second spiral shape with an opposite curl direction (fig. 6g, 6h, 6i).
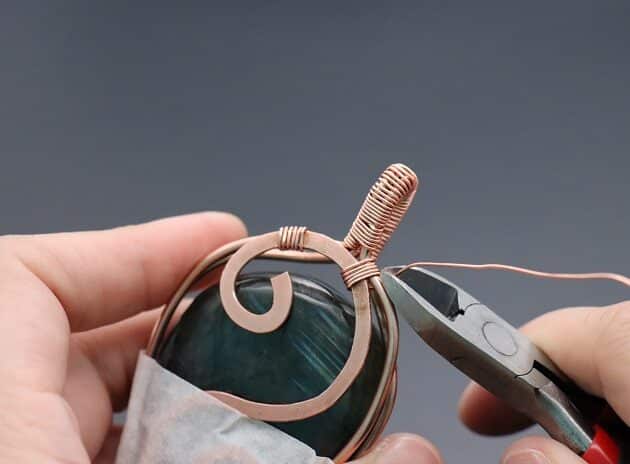
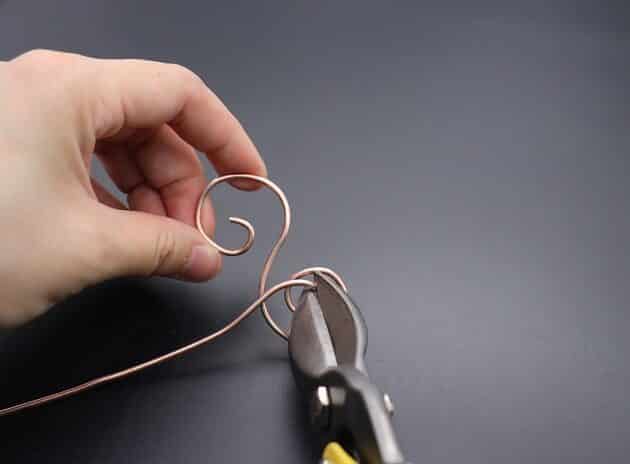
Use a big wire cutter to trim off the excess 12-gauge wire (fig. 6j).
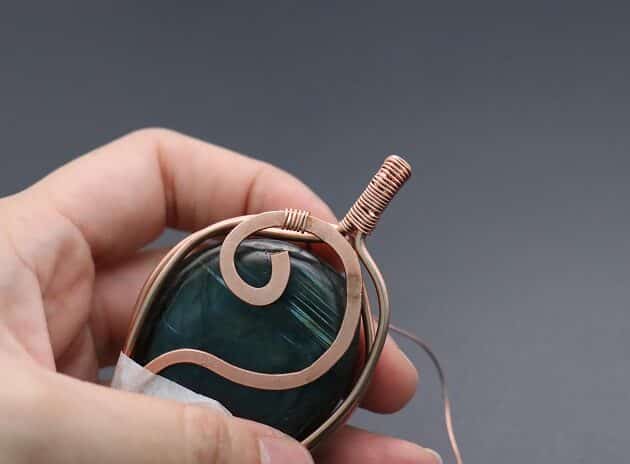
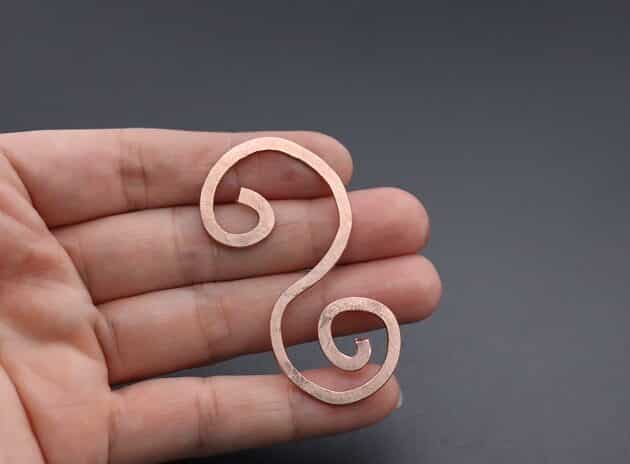
Take note that the upper spiral should be wider and the lower spiral should be tighter to fit in your pendant main wire frame (fig. 6k).
Step 7 of 15
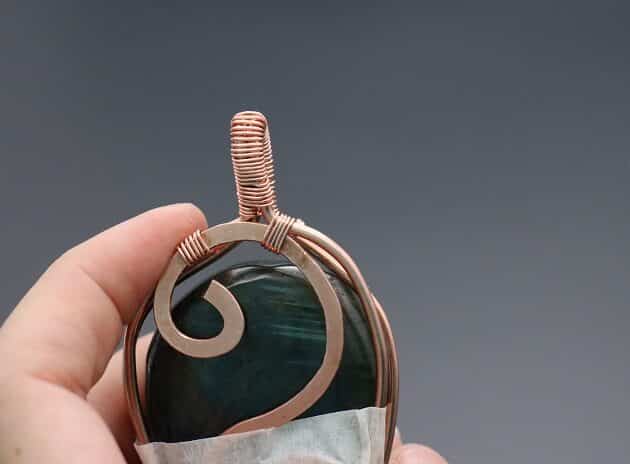
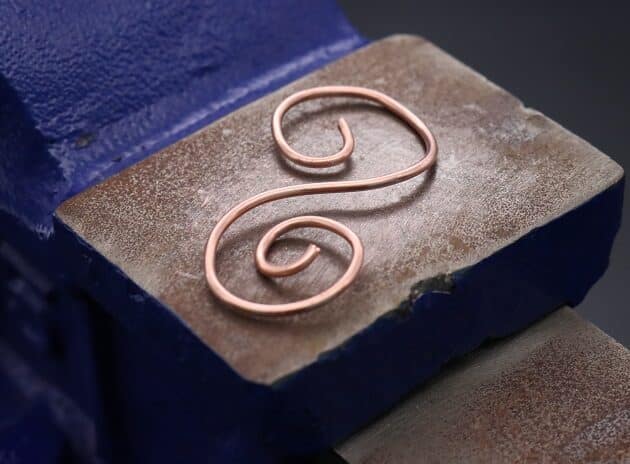
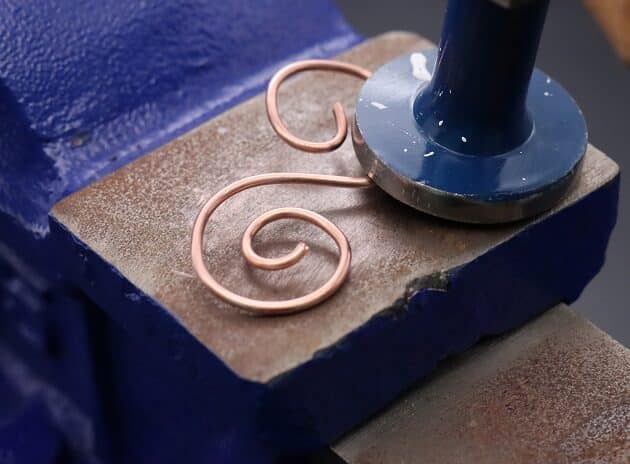
Continue on, flatten your spiral design piece by hammering it on a base metal plate or on your jewelry anvil (fig. 7a, 7b, 7c).
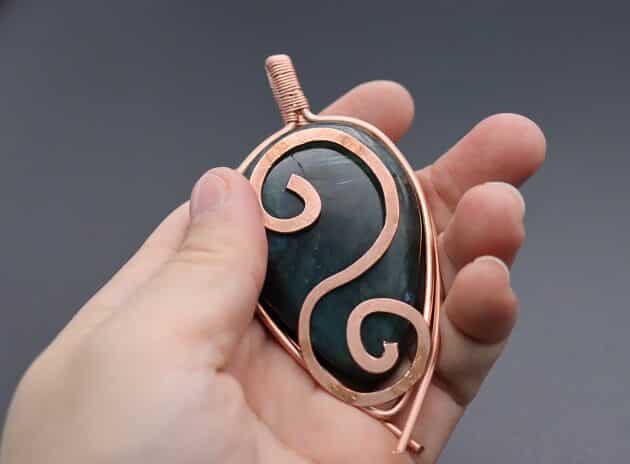
Then, place the your flat spiral design piece on the front of your stone pendant (fig. 7d).
Step 8 of 15
Fix your flat spiral design piece in position with the wire coiling technique.
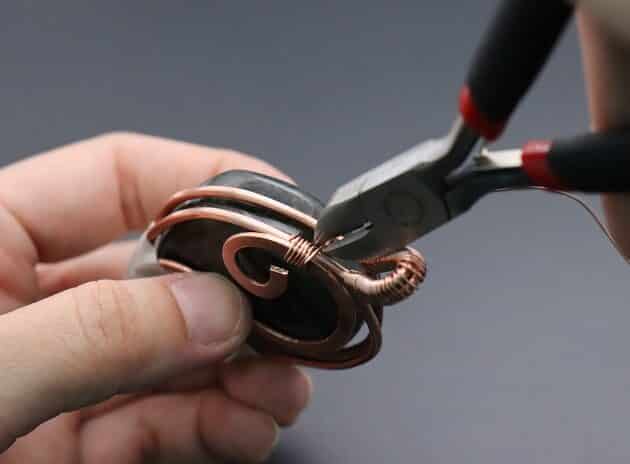
On the top left of your pendant, use a string of 22-gauge gold copper wire to anchor your flat spiral design piece onto the main wire frame (fig. 8a, 8b).
Cut off the excess wire with a wire cutter (fig. 8c).
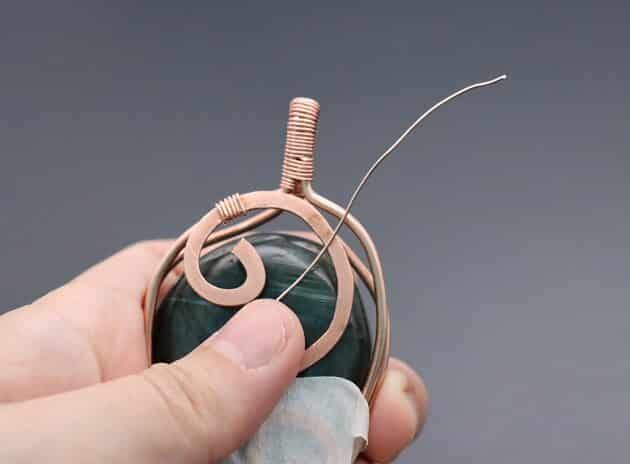
Then, repeat the same wire coiling process on the top right side of your pendant frame and cut off the excess wire (fig. 8d, 8e, 8f, 8g).
Checkpoint: This how the front of your pendant should look (fig. 8h).