Using necklace cards is a great way to package your DIY jewelry, for selling or giving away as a gift.
In this post, I’ll explain what necklace cards are as well as their benefits. I’ll also show you how to use necklace cards so you can get busy with your packaging. I’ve included a FREE necklace card template which you can easily edit with Canva.
Sign up below and instantly get your free template along with a quick start guide to edit in Canva. Keep reading to learn how to use your necklace card template.
Sign Up Below To Get Access
Subscribe today and get a FREE Canva Necklace Card!

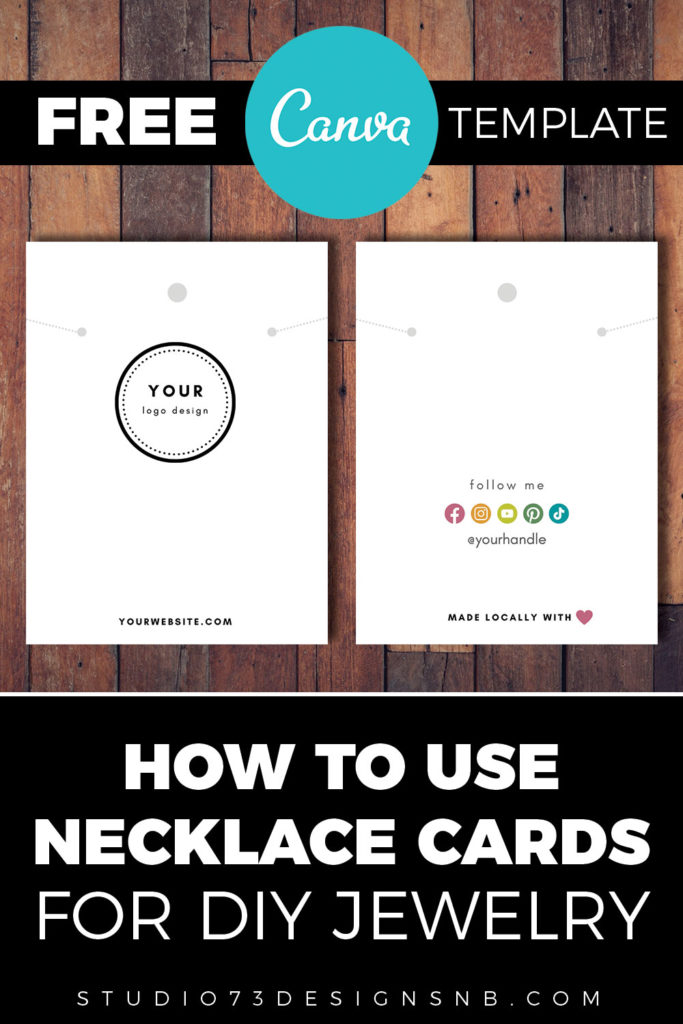
What are Necklace Cards?
Necklace display cards are an essential tool for any jewelry business – they help to create a professional and stylish look for your products, and can create a positive first impression on potential customers.
Necklace cards also provide important information about your jewelry, such as the materials used, the care instructions, and the size of the piece. Also, much like a business card, they may display your website address, email, social platform information…basically any information you want your customer to know about you and your business.
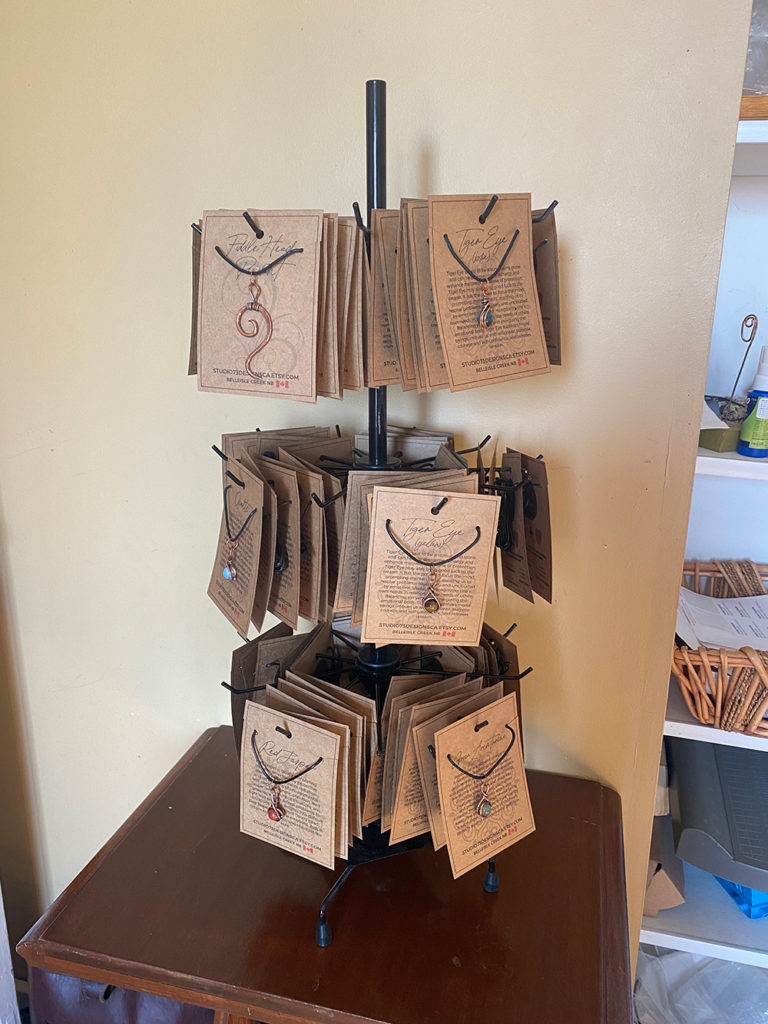
Having high-quality necklace display cards can help you to stand out from the competition and attract more customers. They are typically printed on heavy cardstock paper and some have a hole punched in the top so they can be hung on a necklace stand or rack.
Necklace cards can be simple and elegant, or more eye-catching and flashy, depending on your brand identity. The colors, fonts, and images you use should all reflect the style of your jewelry and your business.
Another bonus of using them is that they help keep all your necklace cords organized and free from tangling…which is super important, especially if you are traveling to and from craft shows.
Check out my bundle of 5 Necklace Card Templates [Canva]
How to use Necklace Cards
Necklace cards are easy to use and they add so much value to your product. Be sure to sign up below and grab your FREE necklace card template. I’ve also included a quick start guide to help you navigate Canva if you are a beginner.
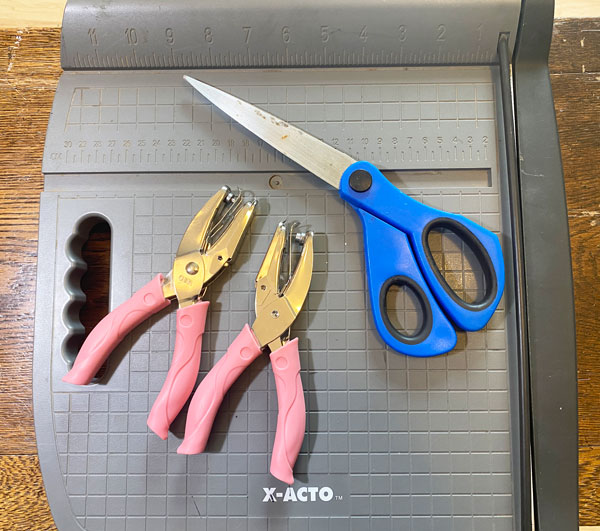
What You’ll Need to use your Necklace Card Template
I use a paper cutter to cut my cards – this ensures straight cuts. You will also need scissors to cut the slits.
To punch the holes, I use 1/4″ hole punch for the middle hole and a 1/8″ hole punch for the smaller holes.
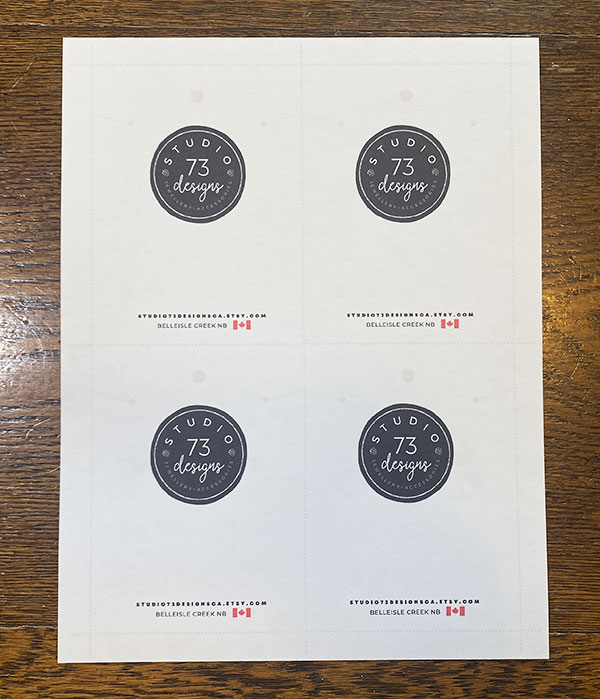
Step 1
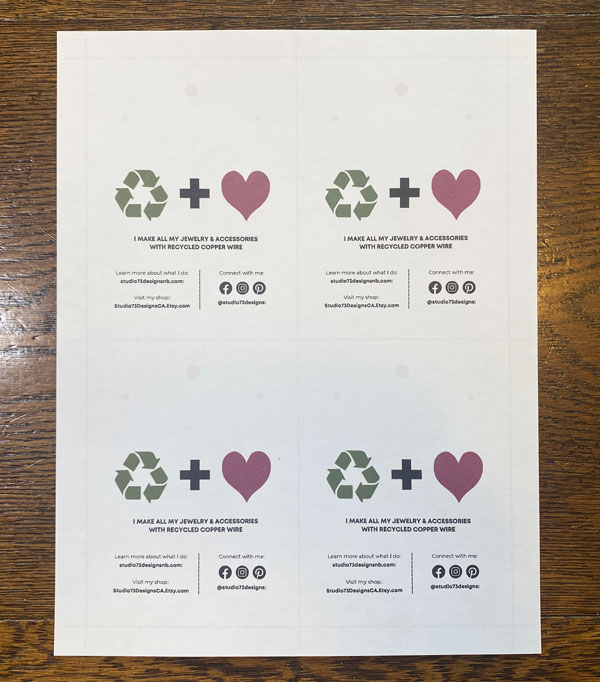
If you haven’t already, sign up above and grab your free necklace card template which includes a quick start guide. Once you’ve edited your necklace card template in Canva, save it to your PC and print it off.
I recommend using the thickest cardstock paper you can find – I’m using 110 lb. In this blog post, I am using white cardstock but I have also used kraft cardstock.
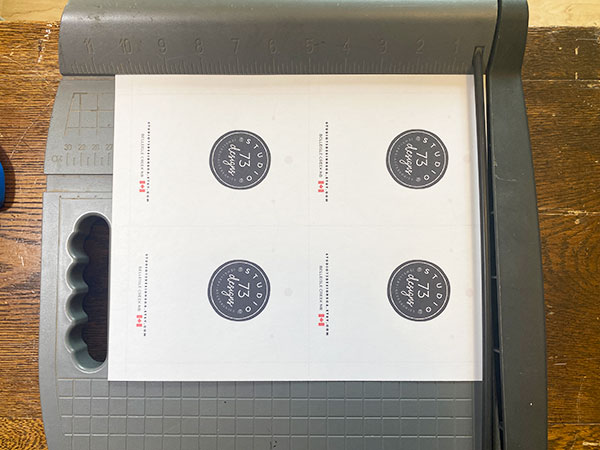
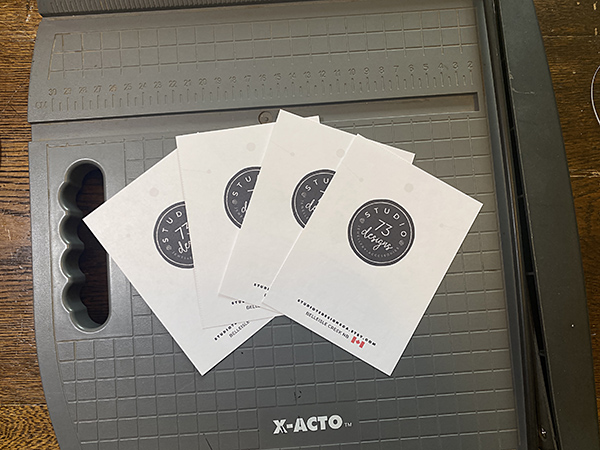
Step 2
Using a paper cutter, trim the template along the cut lines which, as you can see, are very faint because they are just meant as guides.
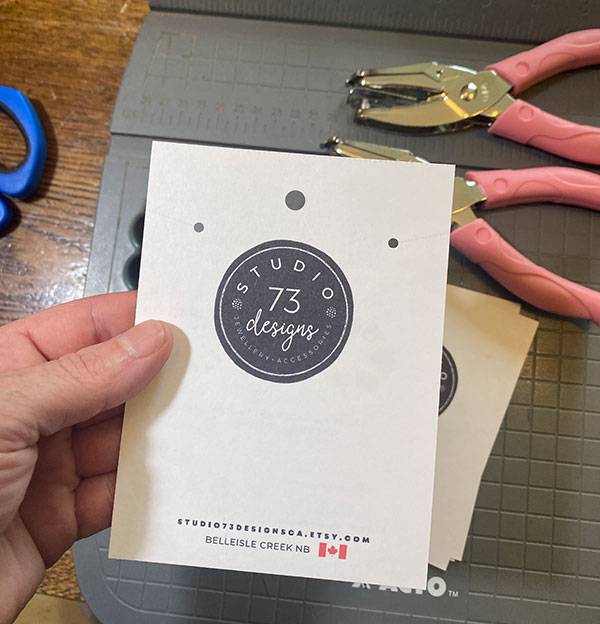
Step 3
Using your hole punch tools, punch out the bigger hole (1/4″) and then the smaller holes (1/8″).
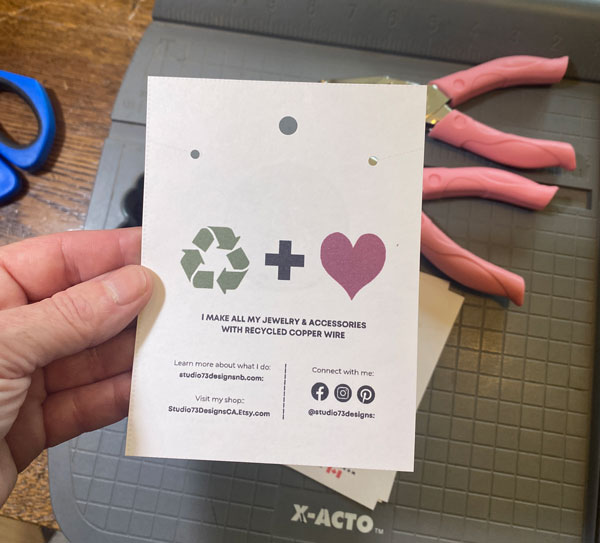
Step 4
Using a pair of scissors, cut a slit on each side by following the cut lines provided.

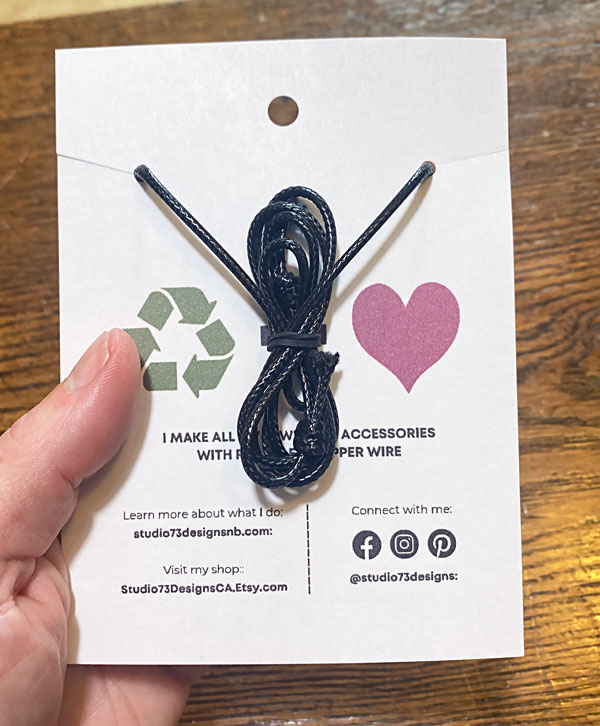
Step 5
Now your necklace card is ready for use! Simply slide the necklace cord through the slits so it is resting in the smaller side holes. I use a small elastic band to tie the excess cord in the back. You can also use clear tape.
Voila!!!

If you’d like to see my work and follow my wire journey, you can find me here:
Facebook
Instagram
Twitter
Pinterest
YouTube
Etsy

