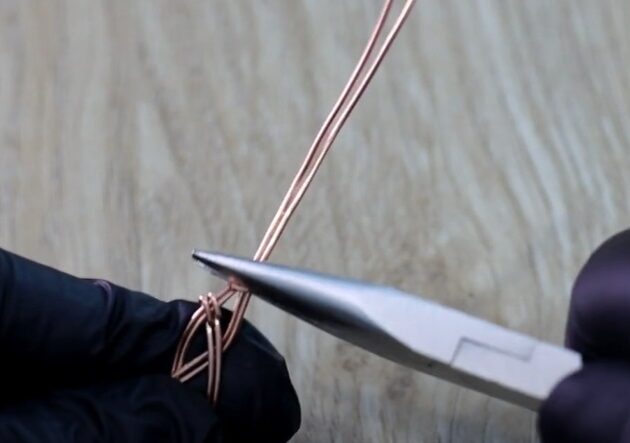
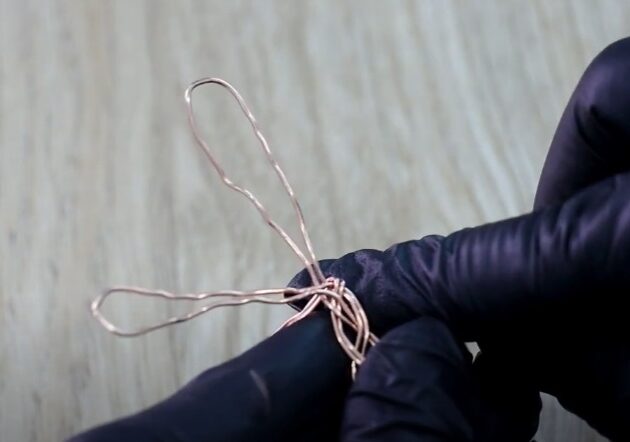
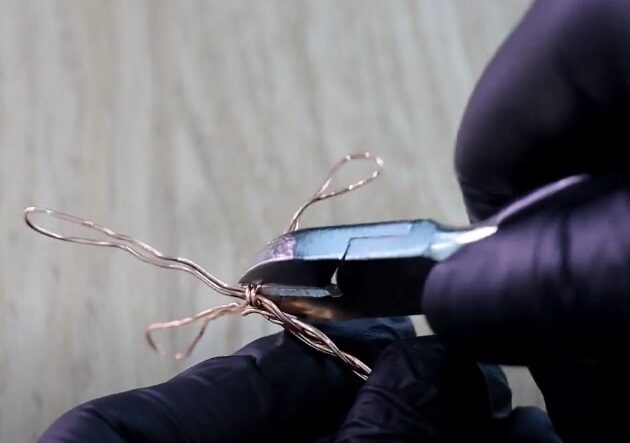
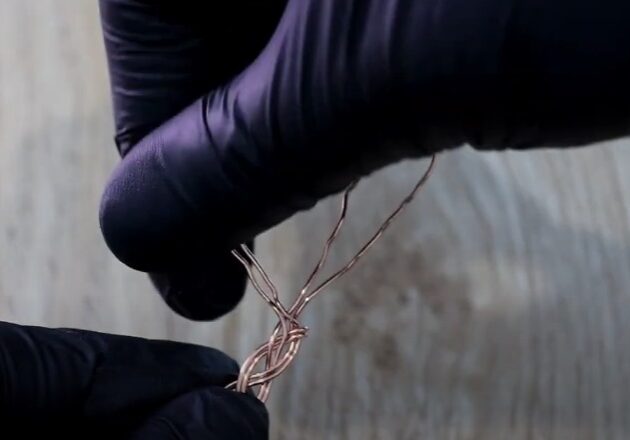
Step 5 of 8
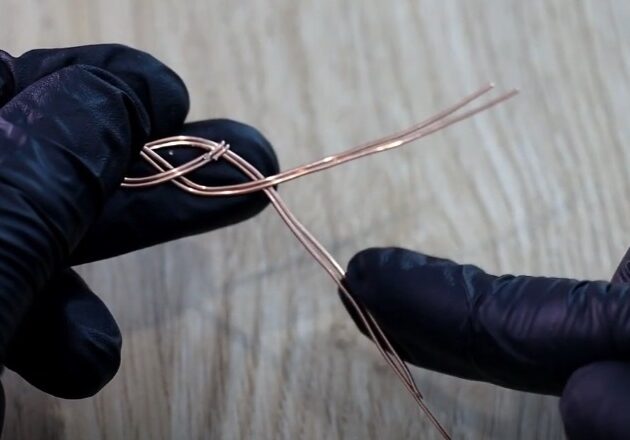
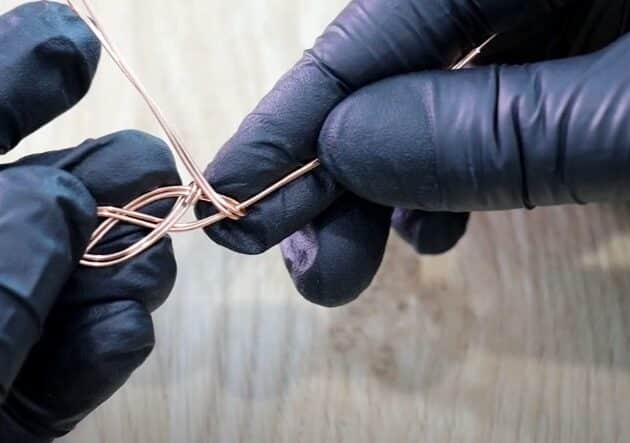
Similarly, fold the left wire upwards and onto the wire braid (fig. 5a, 5b).
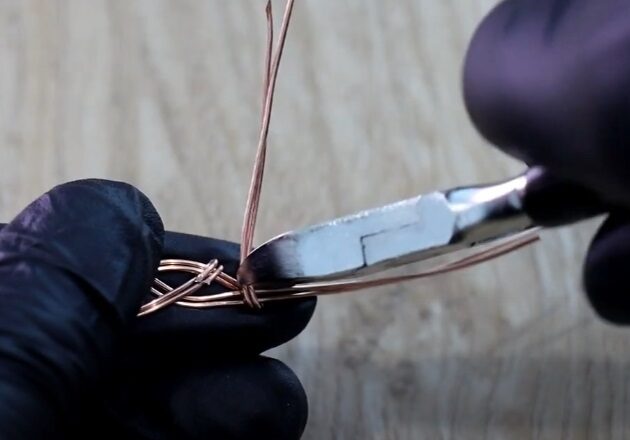
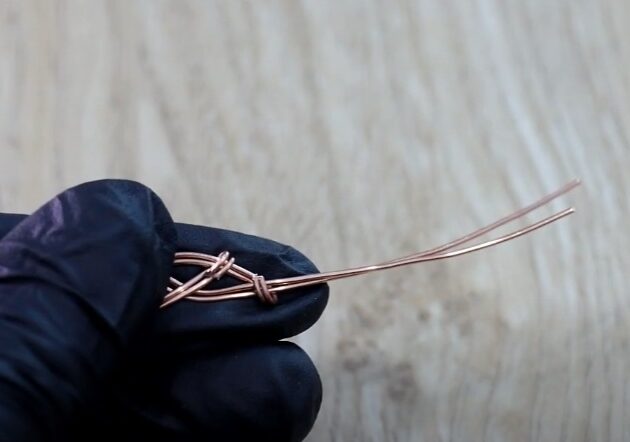
Trim off the excess wire and secure the anchor point using a wire cutter and a needle nose pliers respectively (fig. 5c, 5d, 5e).
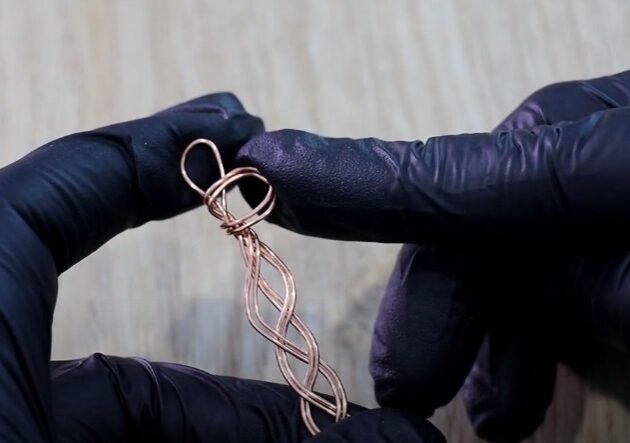
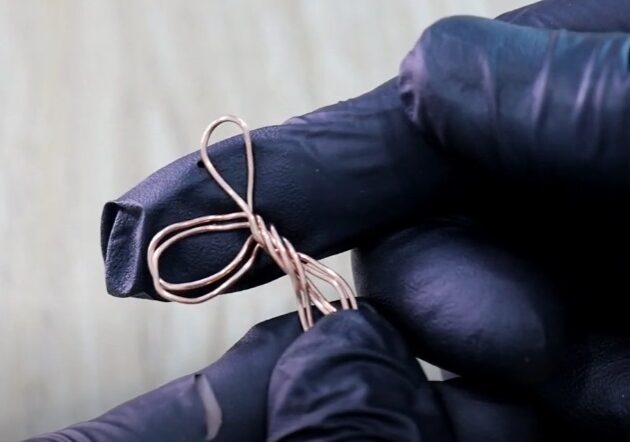
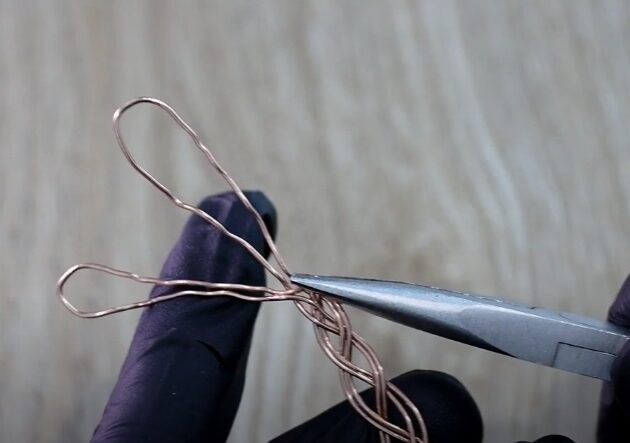
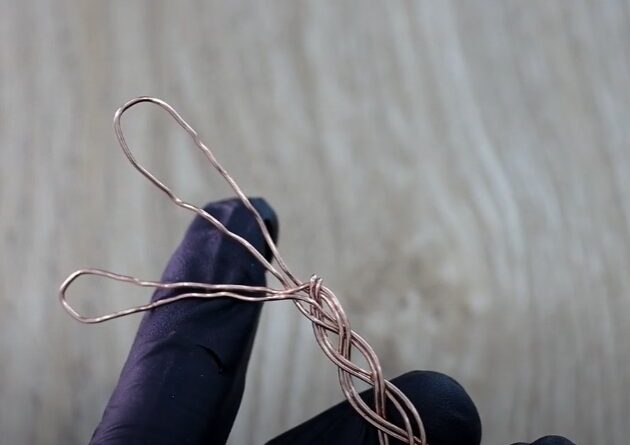
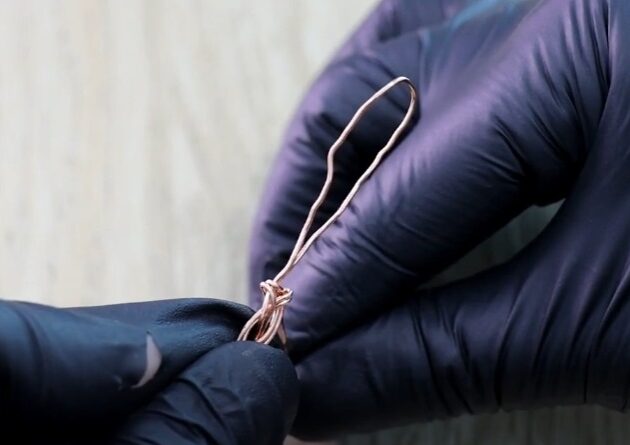
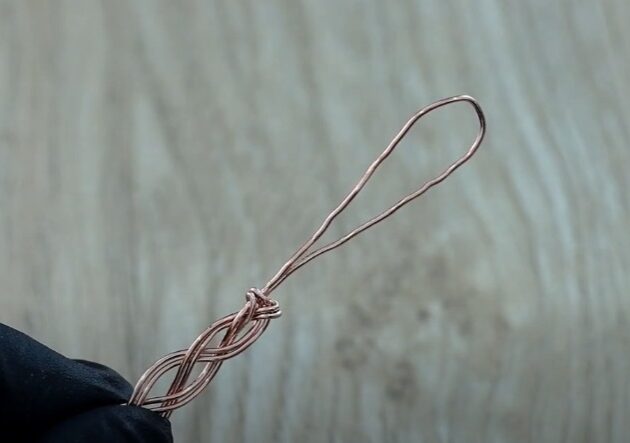
Step 6 of 8
Moving on, undo the knot at the top of your wire braid (fig. 6a, 6b).

FREE WIRE-WRAPPING GUIDE TO YOUR EMAIL!
JOIN NEWSLETTER
We respect your privacy. Unsubscribe at anytime.
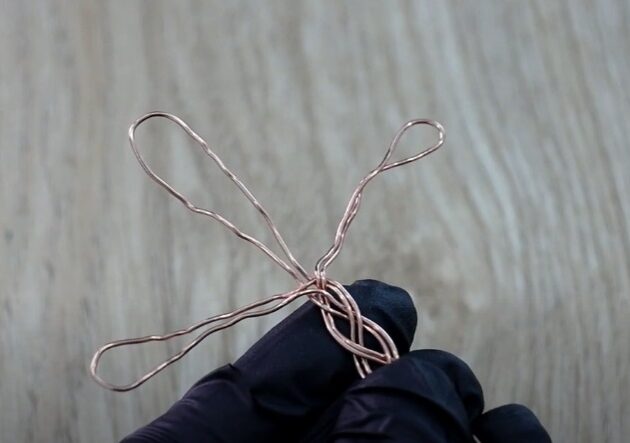
Then, leave the wire loops into three parts which are left, top and right (fig. 6c).
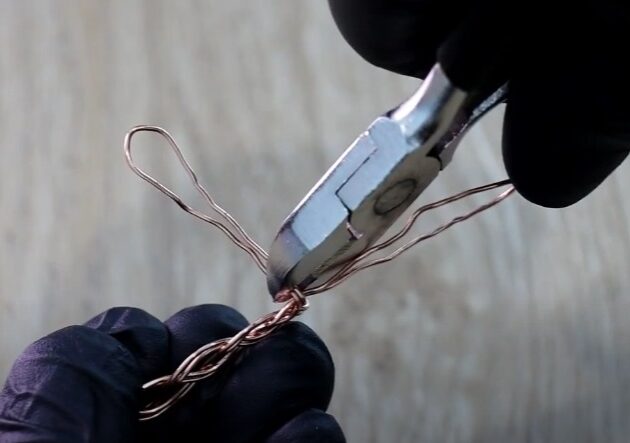
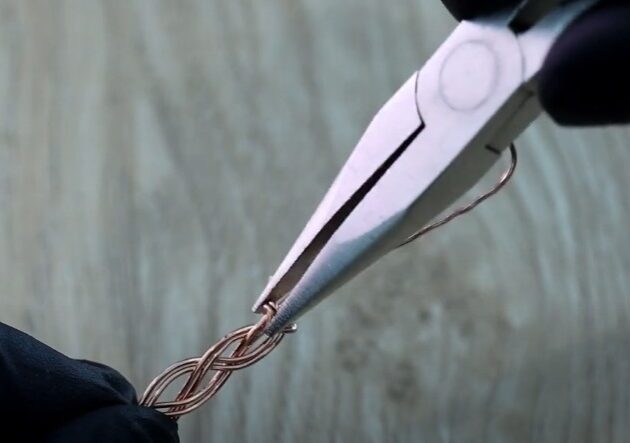
Step 7 of 8
Fold the right loop onto the braid (fig. 7a).
Then, trim off the excess wire with a wire cutter (fig. 7b).
Secure the anchor point with a needle nose pliers (fig. 7c, 7d).
Step 8 of 8
Lastly, repeat the polishing process on the left loop (fig. 8a).
Fold the left loop onto the wire braid (fig. 8b).
Then, trim off the excess wire and secure the anchor point on the braid (fig. 8c, 8d).
Checkpoint: This is how the top of your wire braid should look (fig. 8e).
Well done! You have completed your tutorial.
COMPLETED WIRE-WRAPPED WIRE BRAID

Want to Support me?
If you enjoyed my content, please consider support me on Patreon:). This helps me to create more amazing free content to share with you 🙂
If you’d like to see my work and follow my wire journey, you can find me here:
Facebook Instagram Twitter Pinterest YouTube Etsy

