Welcome my dear wire wrapper!
In this tutorial, we will learn How To Make Wire Braid.
This minimal yet elegant wire-wrapping design is suitable to craft as a bracelet or necklace.
Join me in my step-by-step instructions and picture guide to start handcrafting.

FREE WIRE-WRAPPING GUIDE TO YOUR EMAIL!
JOIN NEWSLETTER
We respect your privacy. Unsubscribe at anytime.
Happy wrapping!
LEVEL: BEGINNER
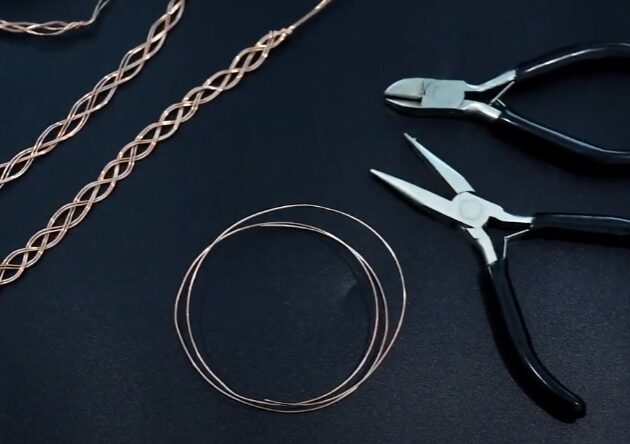
MATERIALS + TOOL
- Gold Copper Wire (20 AWG)
- Wire Cutter
- Mini Long Needle Nose Pliers
HOW TO MAKE WIRE BRAID (WIRE-WRAPPING TUTORIAL)
Step 1 of 8
Prepare items from the Materials and Tool list.
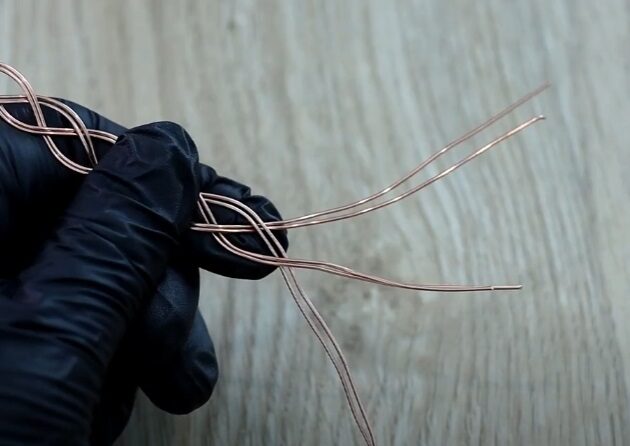
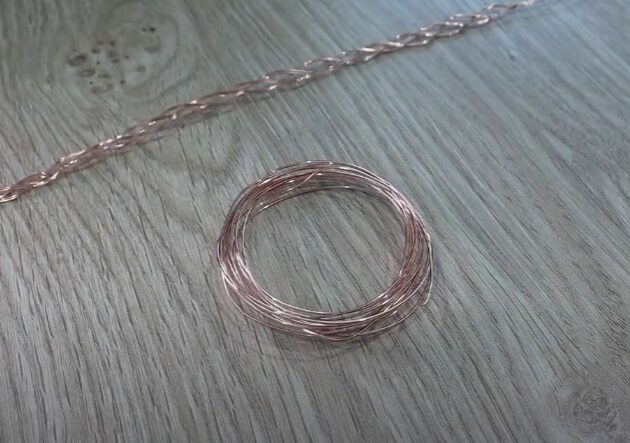
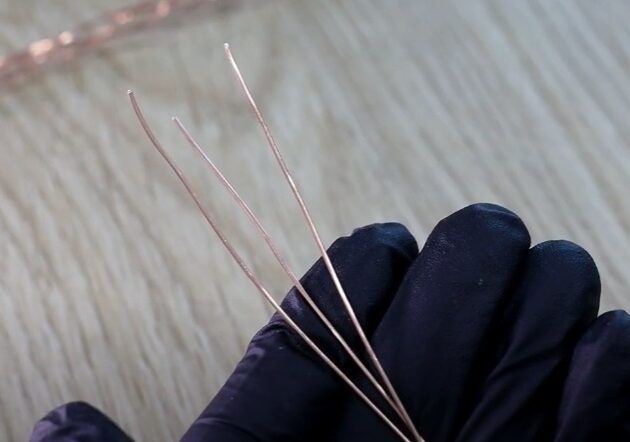
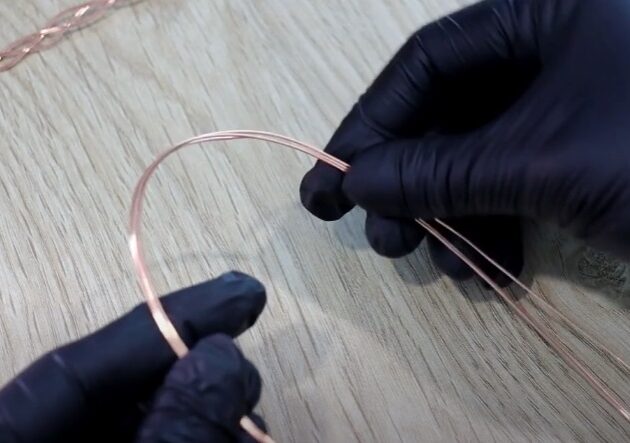
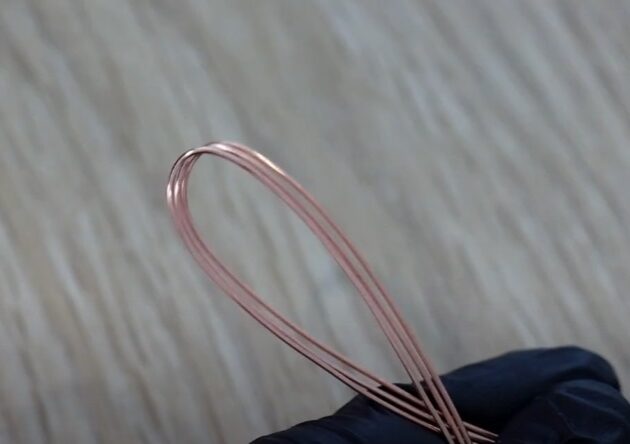
Ready three strings of 20 gauge gold copper wire with equal lengths (fig. 1a, 1b).
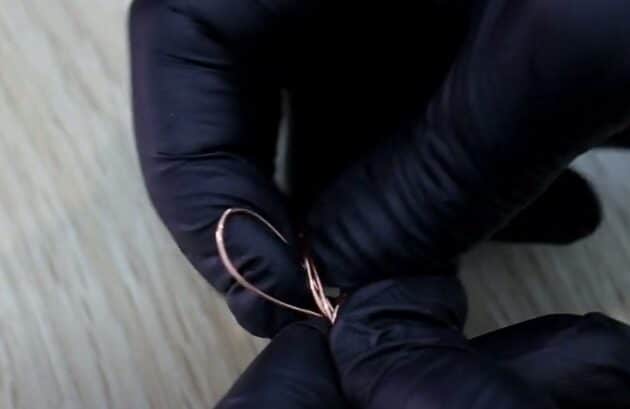
Then, bend the wires in half and into a loop as shown (fig. 1c, 1d).
Step 2 of 8
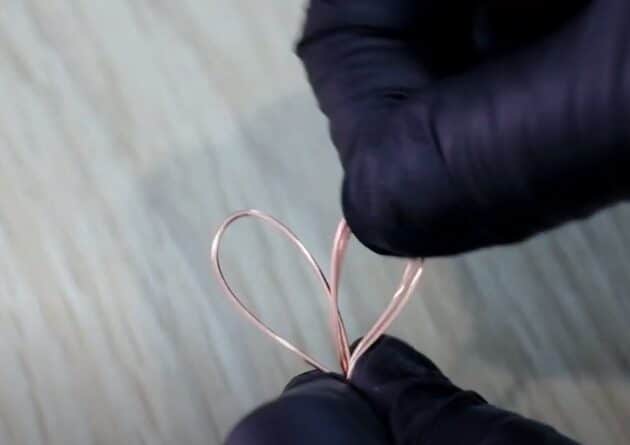
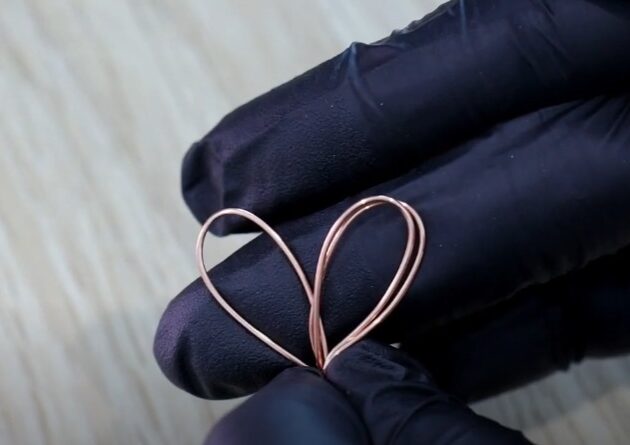
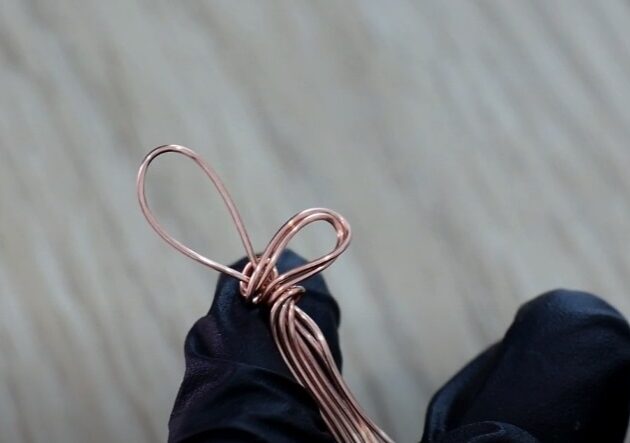
Next, split two loops from the bundle until you got a heart shape (fig. 2a, 2b).
This heart shape is for you because you are awesome!
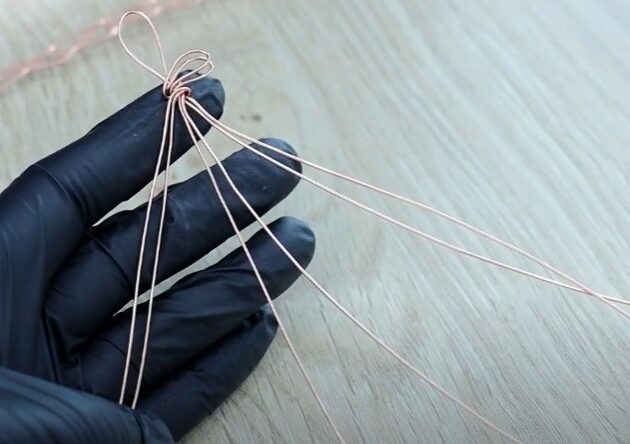
Then, make a knot by twisting the two loops around the bottom end of the single loop (fig. 2c, 2d).
After that, split the remaining wires evenly into 3 bundles (fig. 2e).
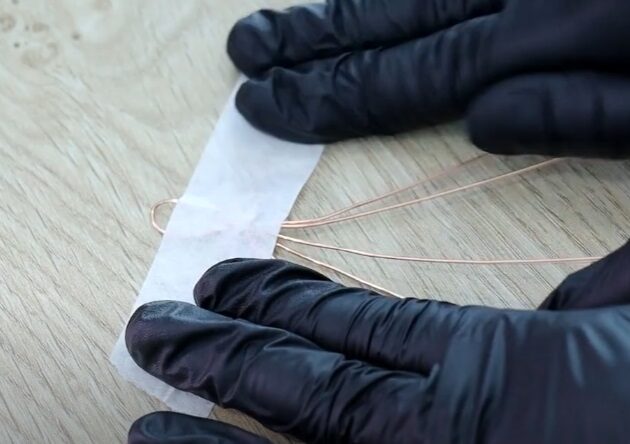
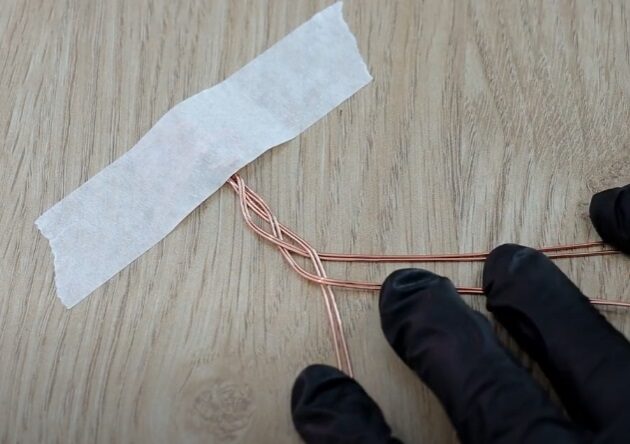
Tape the wire knot on top of your table for easy accessibility (fig. 2f).
Or, you can just leave the wire knot on your hand and work with it.
Step 3 of 8
Now, we will begin the wire braiding sequence:
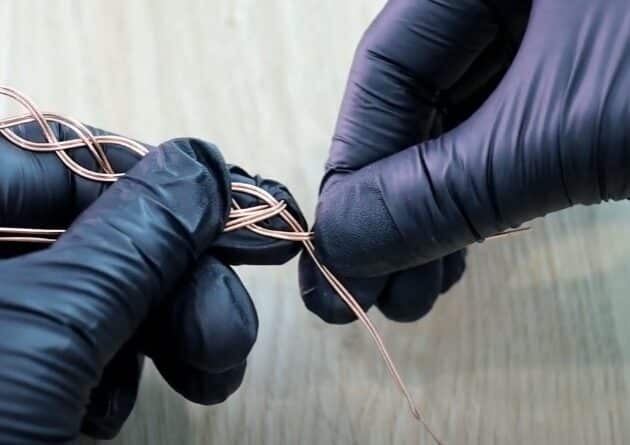
- Firstly, let the right most wire bundle cross over the middle wire bundle (fig. 3a, 3b).
- Secondly, let the left most wire bundle cross over the new middle wire bundle (fig. 3c, 3d).
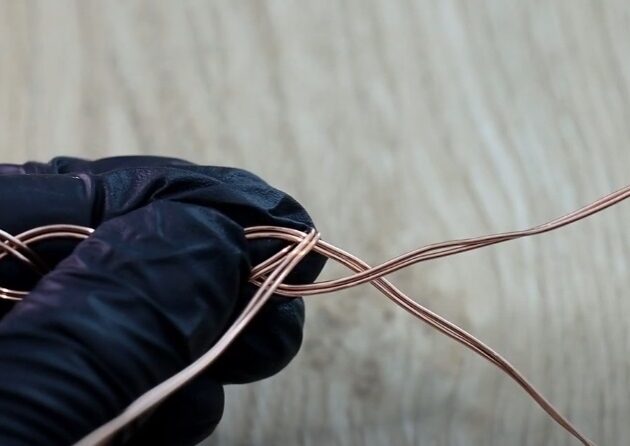
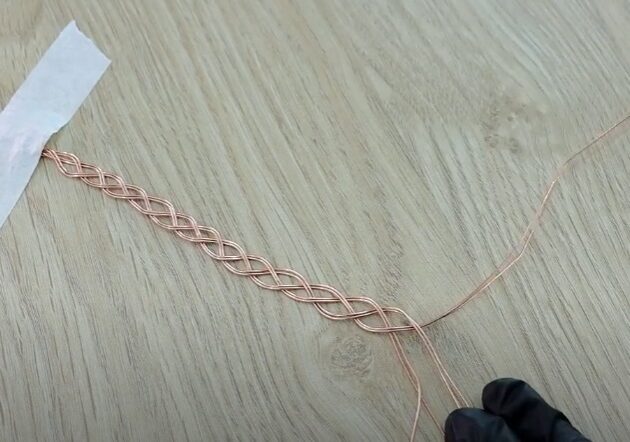
Repeat the same sequence throughout the whole length of your wires (fig. 3e, 3f, 3g).
Checkpoint: This is how your wire braid should look like.
Pro tip: Use your finger to hold your wires while curving for a beautiful consistent wire braids.

Step 4 of 8
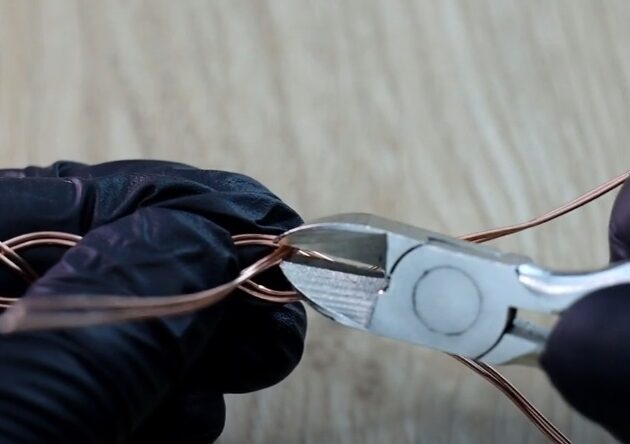
Leave at least 1.5 inch of wires at the end of your wire braid (fig. 4a).
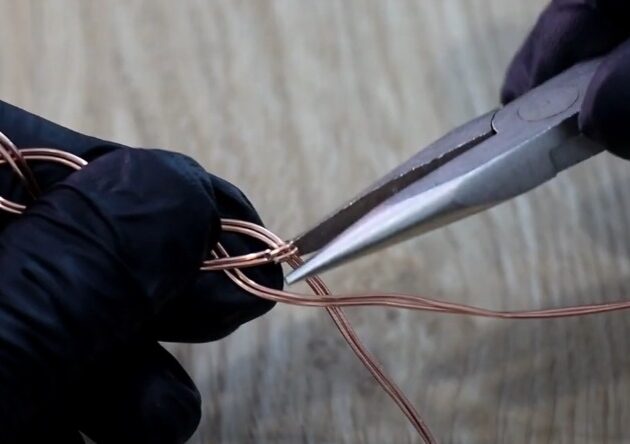
Then, fold your right wire upwards onto the braid and anchor (fig. 4b, 4c).
Trim off the excess wire with a wire cutter (fig. 4d).
Use a needle nose pliers to tighten the anchor grip (fig. 4e).