Hello there my dear wire wrapper!
Do you have spare precious beads rolling around in your collection box?
Let’s reuse them as a piece of jewelry that you can wear daily.
Learn How To Make An Elastic Bracelet with me in this simple step-by-step tutorial.

FREE WIRE-WRAPPING GUIDE TO YOUR EMAIL!
JOIN NEWSLETTER
We respect your privacy. Unsubscribe at anytime.
I have added pictures so it is easier for you to follow along.
Happy crafting!
LEVEL: BEGINNER
MATERIALS + TOOL
- Stretchy Elastic Beading Thread Cord
- Beads of your choice
- Flush Cutter
HOW TO MAKE AN ELASTIC BRACELET
Step 1 of 5
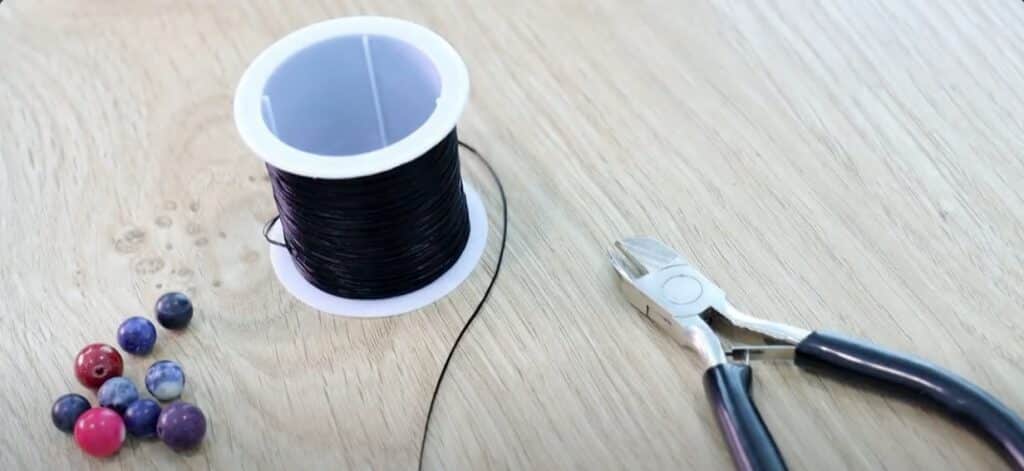
Ready all items from the Materials and Tool list (fig. 1a).
Then, pull a length of stretchy elastic beading thread cord that is long enough to wrap your wrist (fig. 1b).
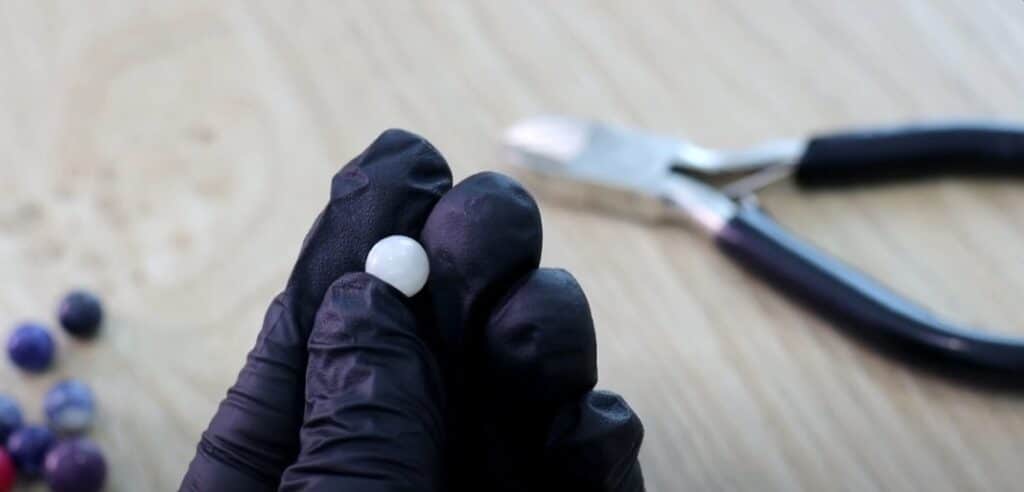
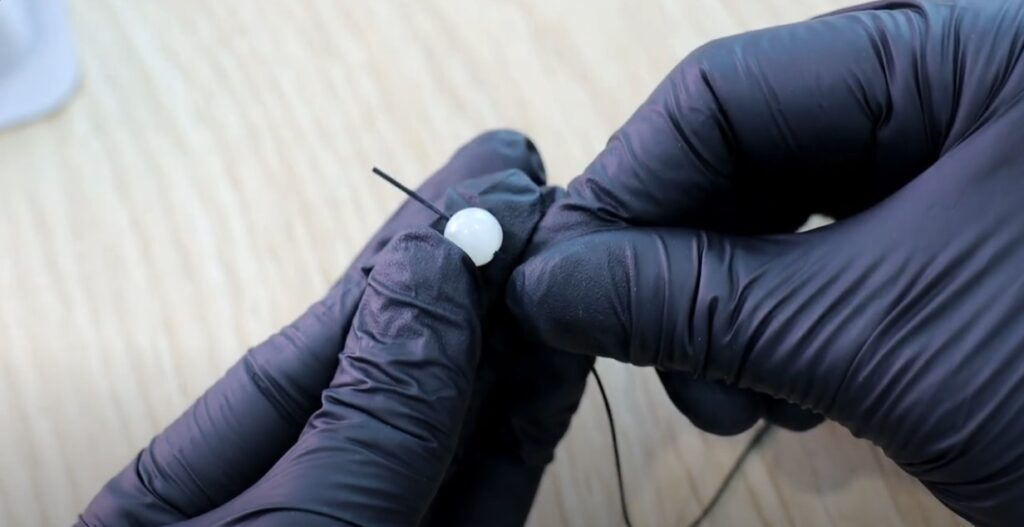
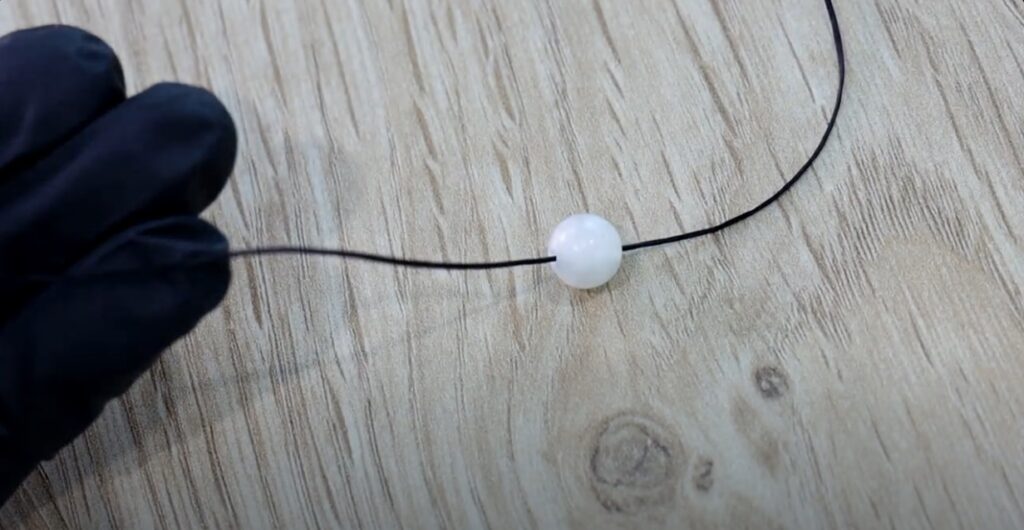
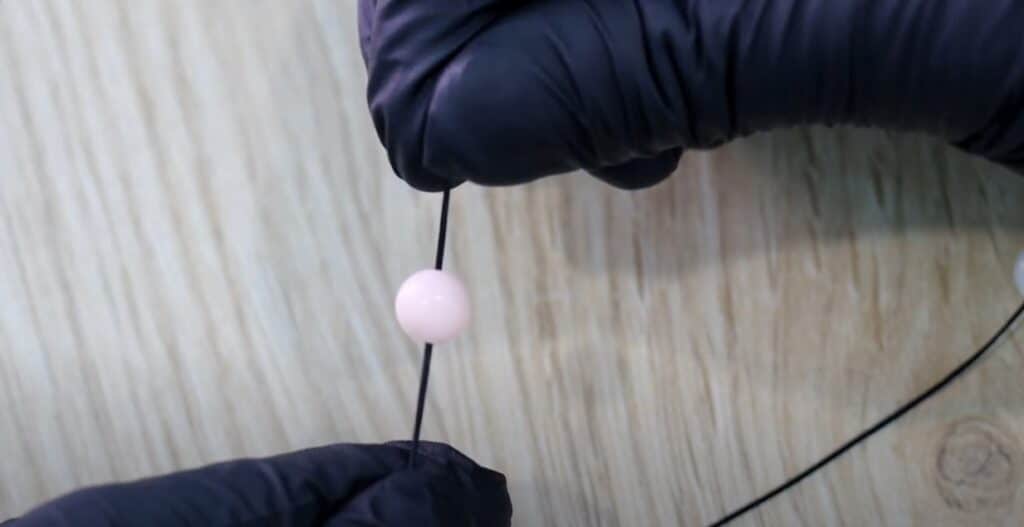
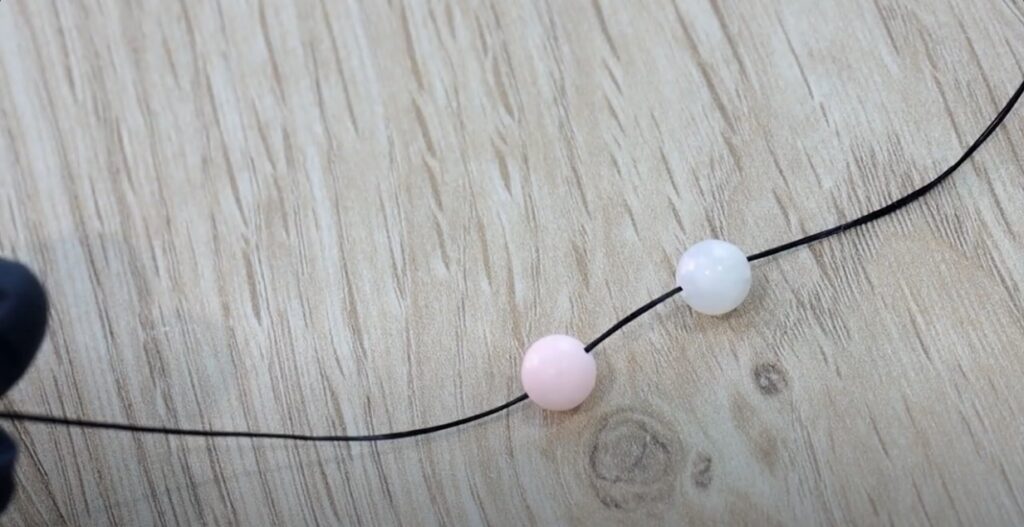
Take your first bead and slide it onto your elastic thread (fig. 1c, 1d, 1e).

Step 2 of 5
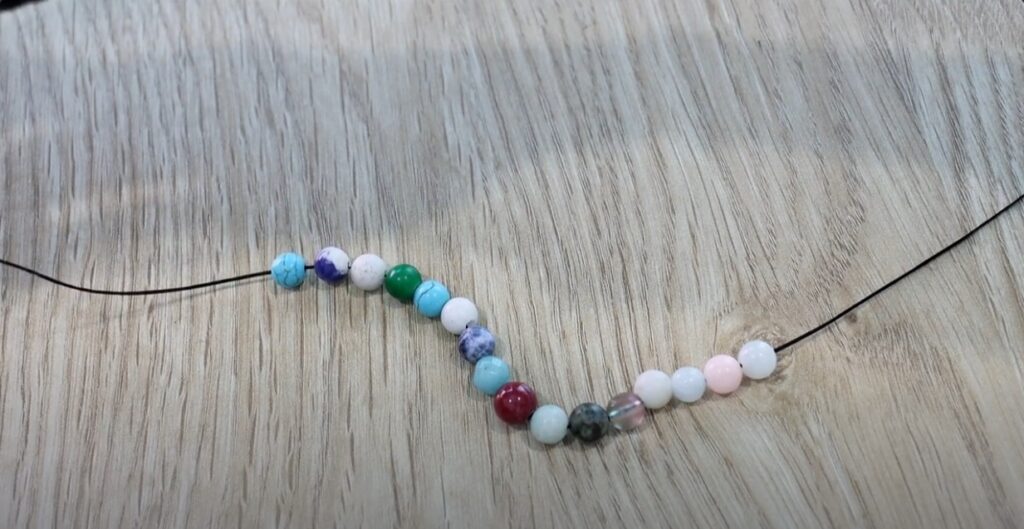
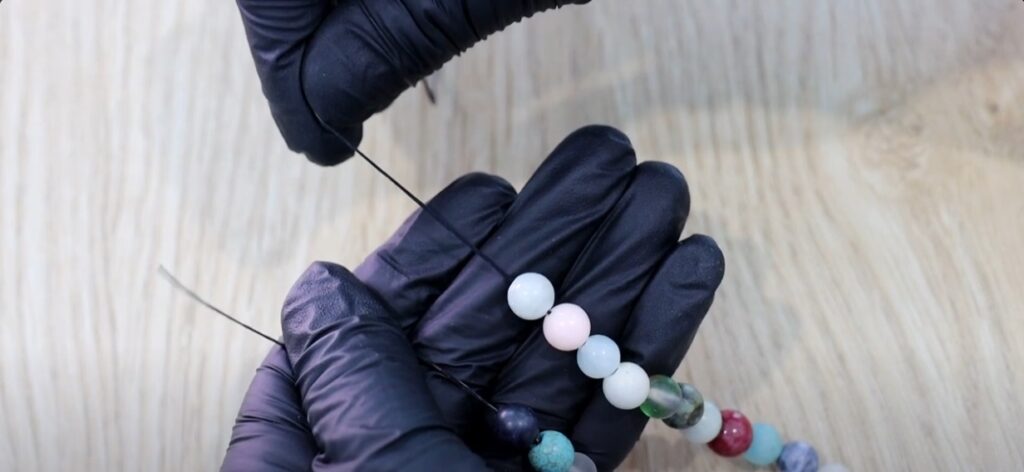
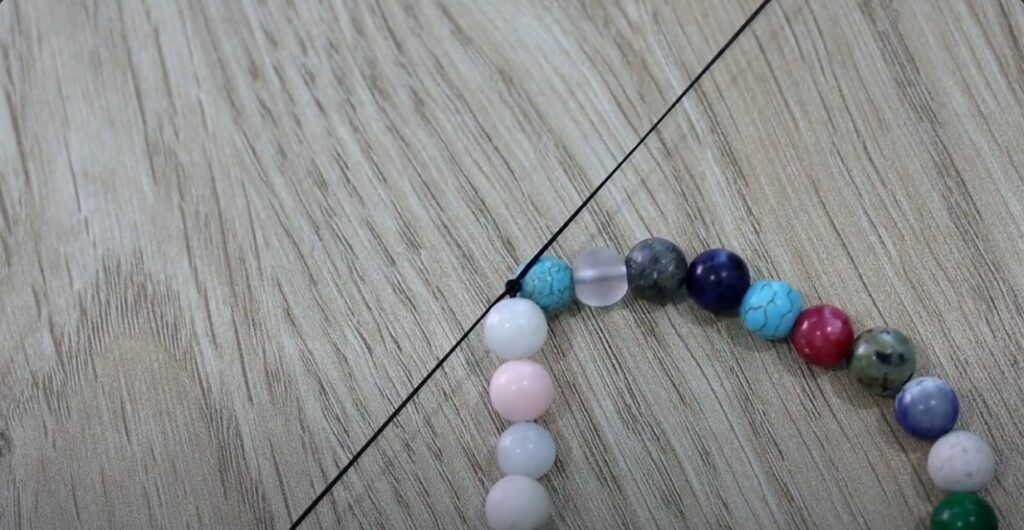
Continue to build your bracelet by stringing in more beads (fig. 2a, 2b, 2c, 2d).
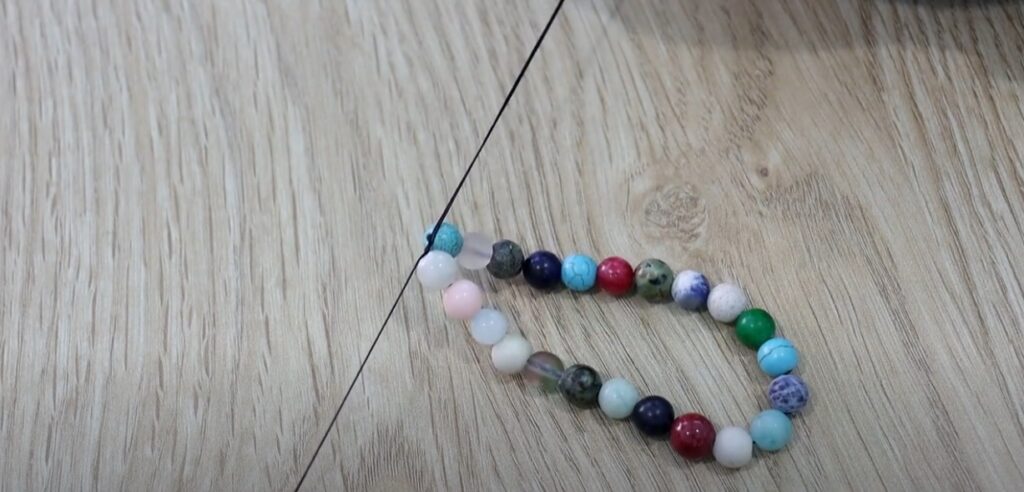
Place enough beads to wrap around your wrist (fig. 2e).


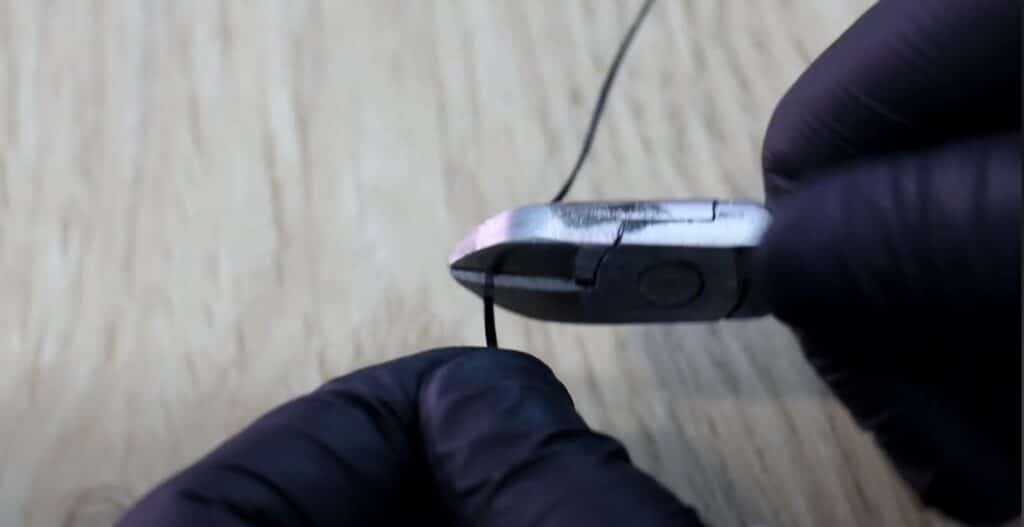
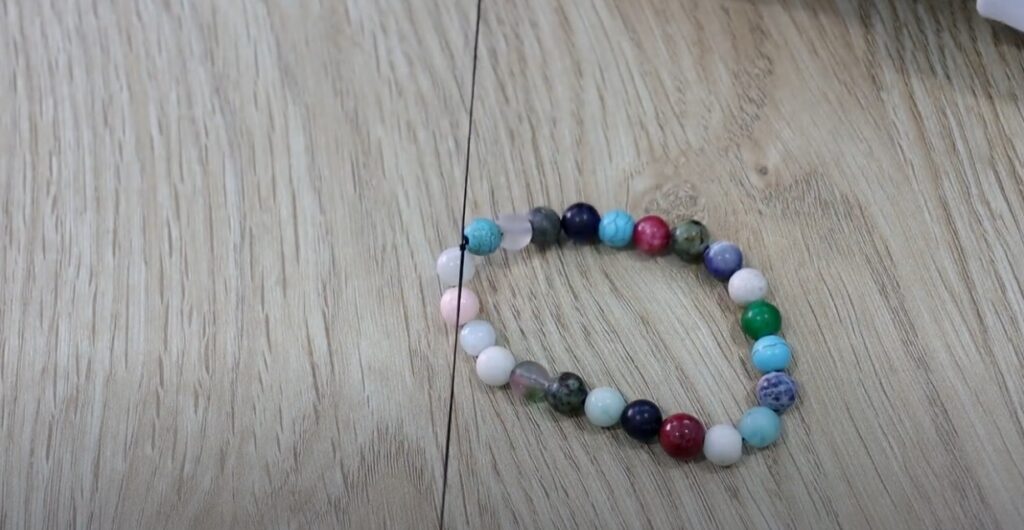
Step 3 of 5
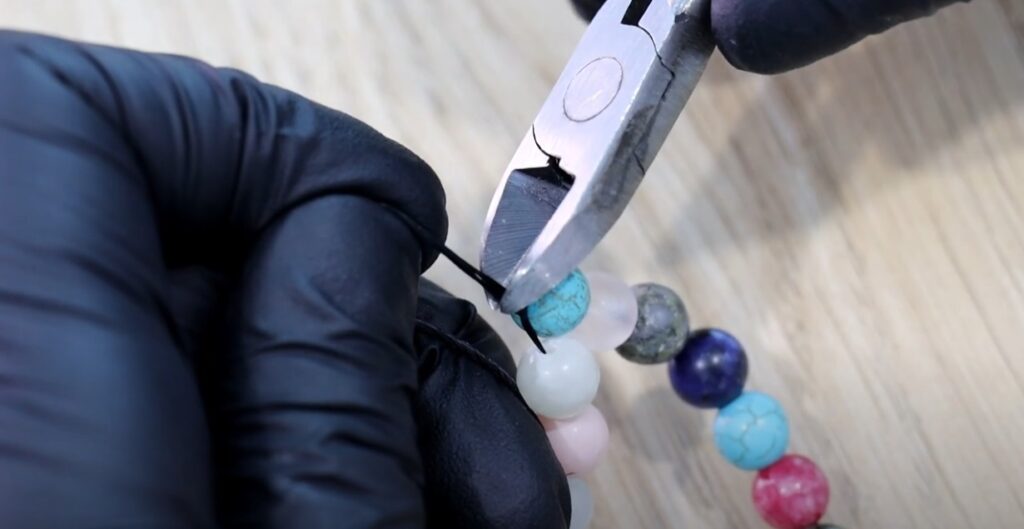
Once you have your desired bracelet size, trim off the excess elastic thread with a flush cutter (fig. 3a, 3b, 3c, 3d).

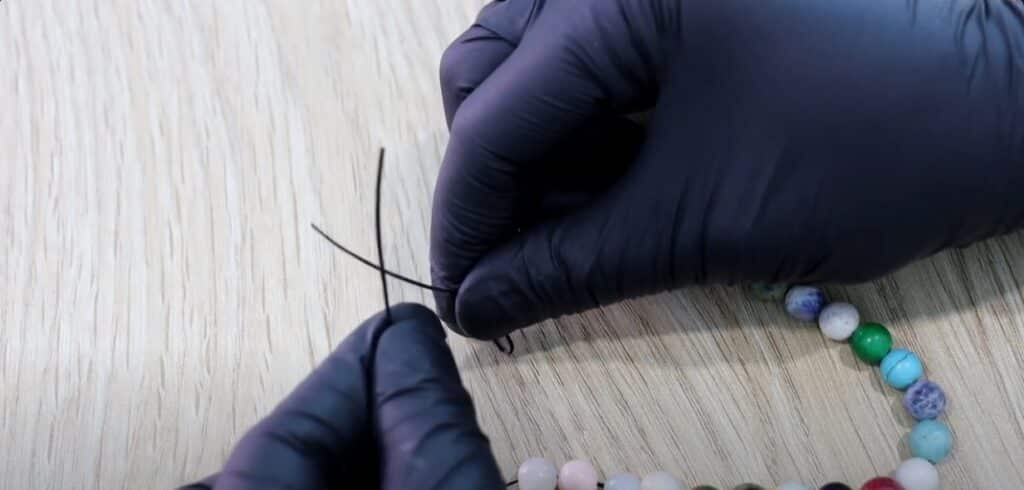
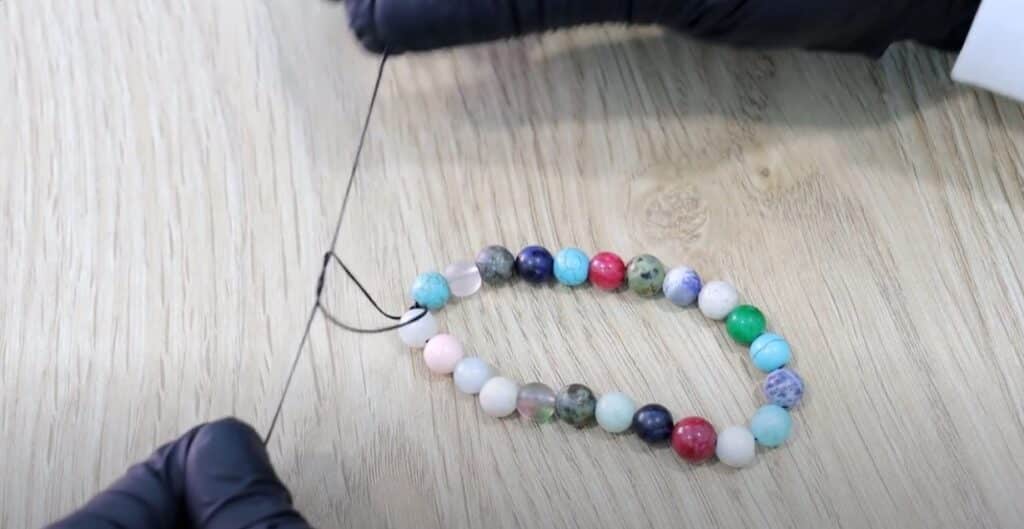
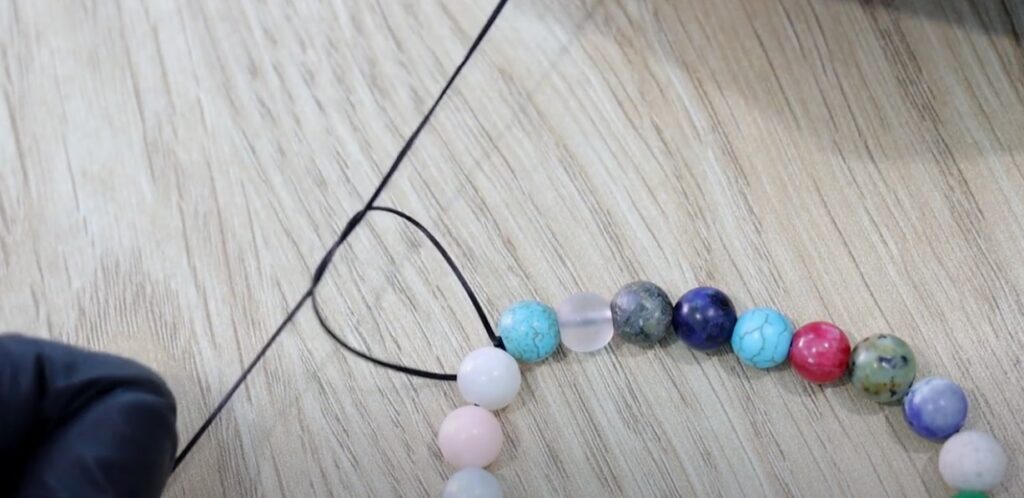
Step 4 of 5
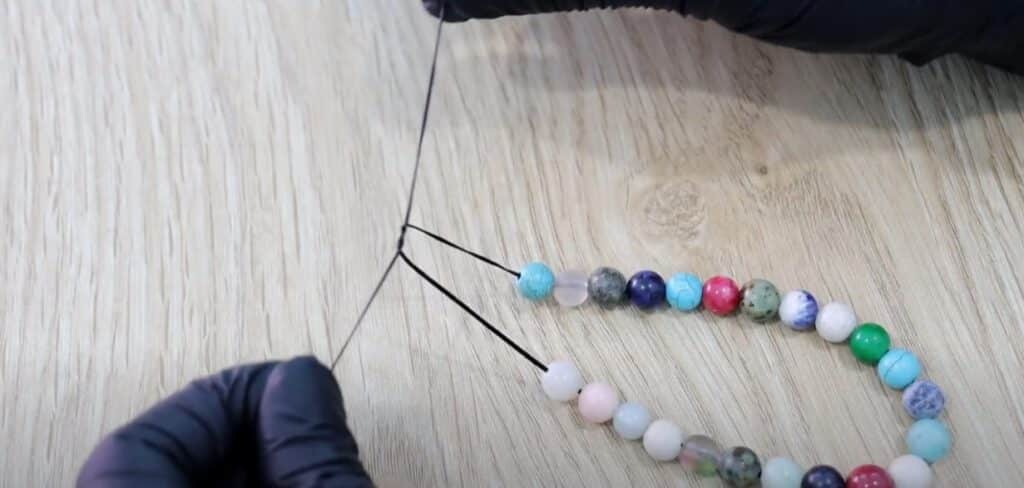
Next, join the two ends of your bracelet with a double half knots:
- First half knot (fig. 4a, 4b).
- Second half knot (fig. 4c, 4d).
Step 5 of 5
Tie an additional half knot for security (fig. 5a, 5b).
Finally, trim off the excess elastic thread using a flush cutter (fig. 5c).
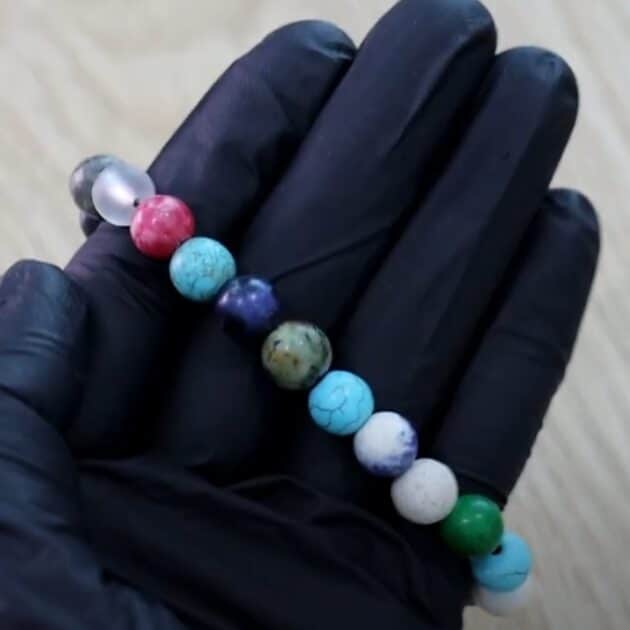
Amazing! You have completed your tutorial.
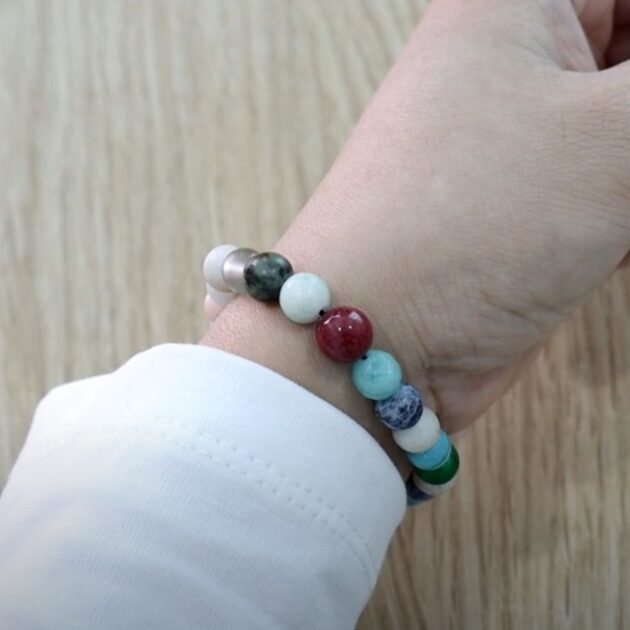
COMPLETED COLORFUL ELASTIC BEAD BRACELET
Want to Support me?
If you enjoyed my content, please consider support me on Patreon:). This helps me to create more amazing free content to share with you 🙂
If you’d like to see my work and follow my wire journey, you can find me here:
Facebook Instagram Twitter Pinterest YouTube Etsy

