How to use coiling gizmo for wire wrapping? And how do you install it?
A coiling gizmo is a handy tool used by wire wrapping artists to wind and coil wires of different sizes quickly and effectively.
Besides, you can create delicate jewelry out of thin crank rods and jump rings from the thicker crank rods.
In this guide, I will be walking you through the basic instructions on how to install and use a coiling gizmo in your work studio.

FREE WIRE-WRAPPING GUIDE TO YOUR EMAIL!
JOIN NEWSLETTER
We respect your privacy. Unsubscribe at anytime.
Or, you can watch my video demonstration below:
Beginner’s Guide To Install And Use A Coiling Gizmo
Article key points:
- Clamp gizmo on the working table with the built-in table-mount base.
- Insert crank rod onto gizmo and secure wire on the crank.
- Wind the wire against the metal bar to create a compact wire coil.
- Unfasten the coiled wire from the crank and remove excess wire with a cutter.
- Clamp gizmo on the working table with the built-in table-mount base.
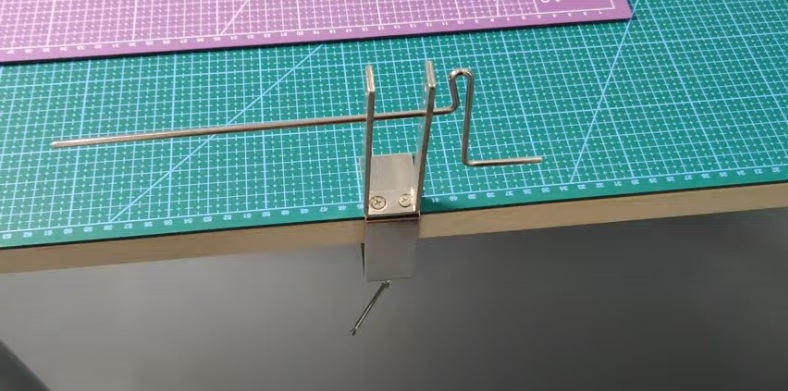
Firstly, place the coiling gizmo at your preferred work position. Then, clamp the built-in table-mount base on your working table.
However, I prefer to work on an elevated surface to prevent a bad back. So I clamped my coiling gizmo on my makeshift platform on top of my working table.
- Insert crank rod onto gizmo and secure wire on the crank.
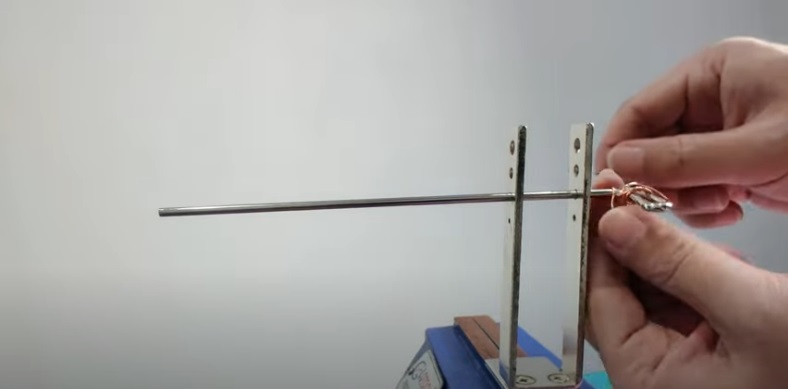
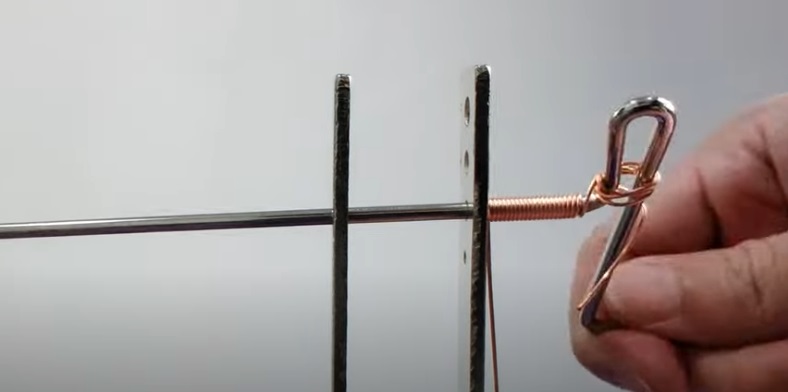
Secondly, choose the crank rod size of your choice and insert it into its designated support. Then, wrap wire around the crank for a secure hold on the rod.
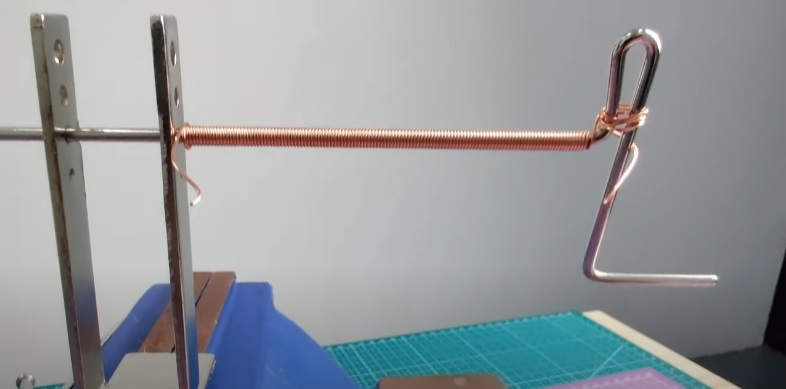
- Wind the wire against the metal bar to create a compact wire coil.
Thirdly, carefully turn the crank and tug the remaining wire downwards with your free hand. Also, remember to wind the wire against the metal bar for a compact coil pattern.
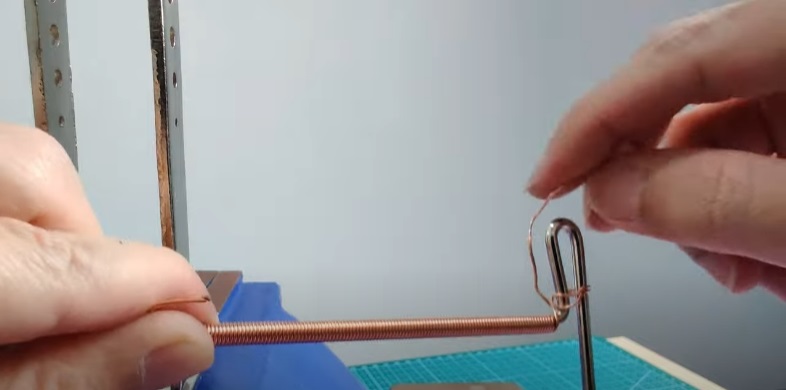
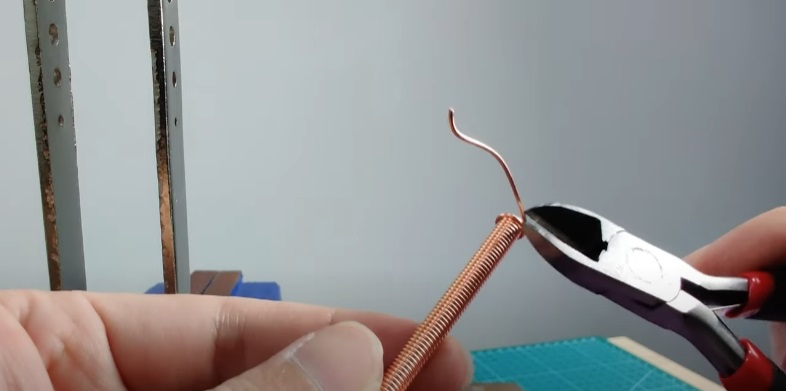
- Unfasten the coiled wire from the crank and remove excess wire with a cutter.
Finally, after coiling your desired amount of wire, unfasten the front end of the wire from the crank. Then, slide the finished product out of the rod and trim excess wire with a cutter.
Well done! You have successfully made use of your coiling gizmo!
This guide is targeted for beginners in wire wrapping. I hope this is helpful for you and thank you for reading!
