Welcome my dear reader. Are you looking for a new pastime hobby that is both creative and rewarding?
Then you should give beading a try! It is a good start for beginners if you are interested in jewelry making.
As the saying goes, “you are as good as the tools you use”. So, let’s make sure you have the right tools in hand.

FREE WIRE-WRAPPING GUIDE TO YOUR EMAIL!
JOIN NEWSLETTER
We respect your privacy. Unsubscribe at anytime.
In this article, I have summarized 9 best beading tools starter kit for jewelry making with online examples on how to use them.
Hope this sparks your motivation and happy wrapping!
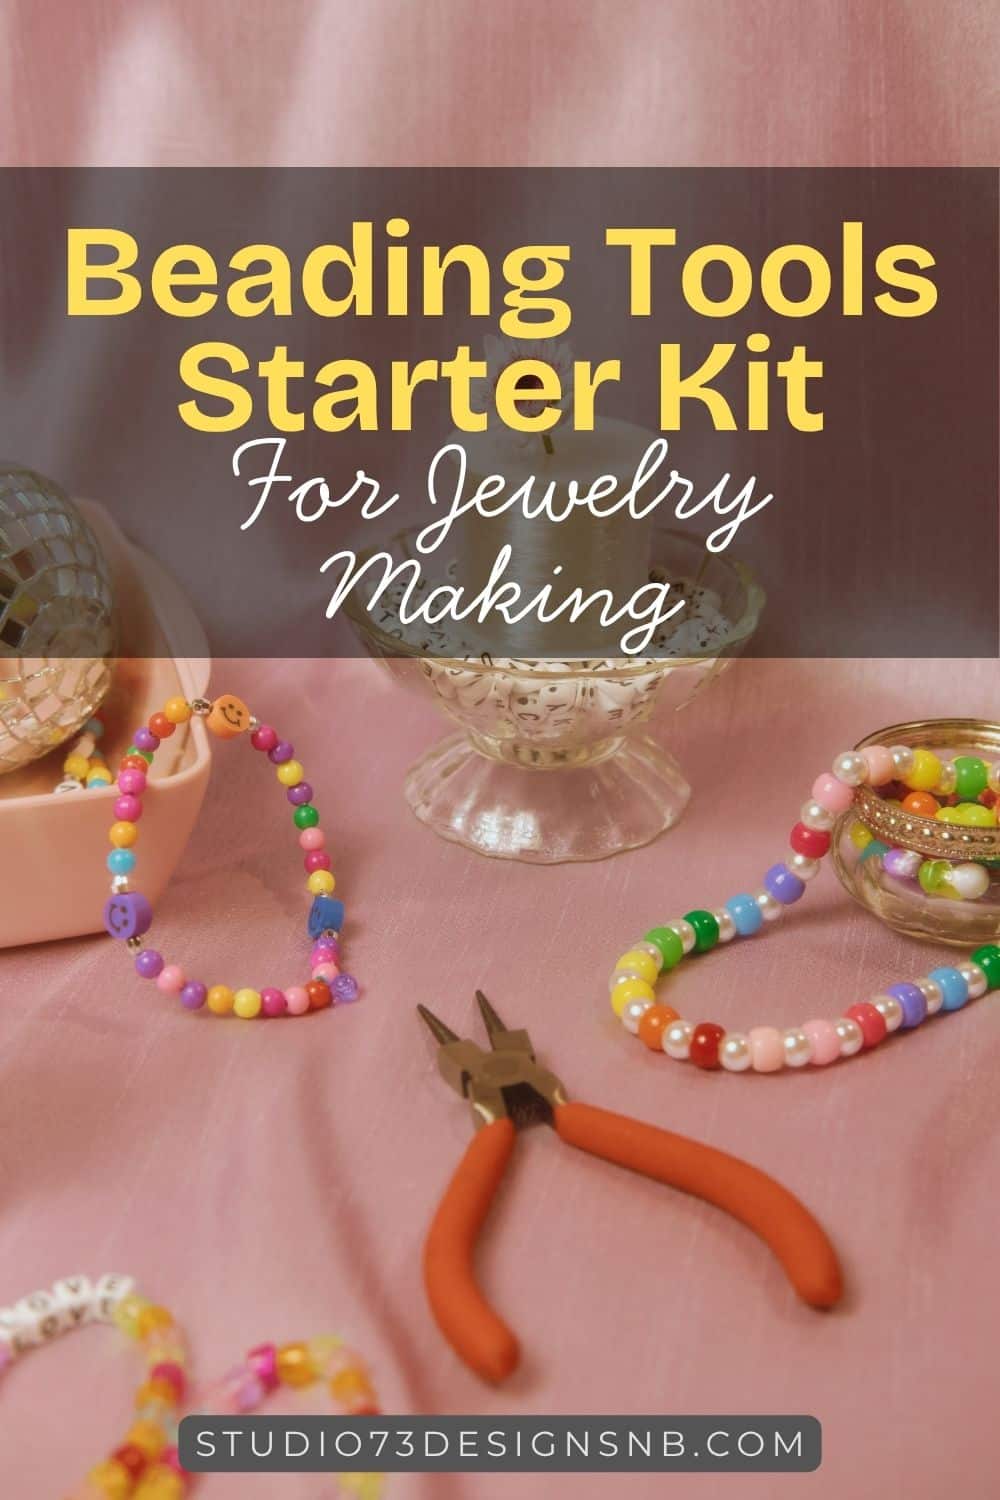
9 Must-Have Beading Tools Starter Kit For Jewelry Making
PotomacBeads on YouTube mentioned 6 out of 9 pliers that belongs in your starter kit, which are nylon jaw, needle nose, bent jaw, flat jaw, round nose and wire cutter.
So what are the remaining 3 pliers? They are chain nose, one-step looper, and lastly the bead crimper tool.
Let’s look at a few example and learn how to use these pliers in your next bead project.
Example 1: Wire Cutter and Round Nose Pliers
In the video below, Your Dream Shelf used a wire cutter to adjust the length of the silver ball pin by trimming off the extra wire.
Then, they use a round nose pliers to create a loop at the wire end. The pliers has a long tapered cone-shaped jaw where you can adjust your loop sizes.
Example 2: One-Step Looping Pliers
If you are dealing with lots of wire looping in your beading project like UniverseJewelryArt, then this one-step looping pliers is a better alternative to round nose pliers. It is time-saving and reduces the number of tools involved in making loops.
Example 3: One-Step Looping Pliers, Chain Nose Pliers and Needle Nose Pliers
This video by The Beadsmith shows how the one-step looper can produce consistent loops in no time.
They then use a chain nose pliers to twist open and close the loop to preserve the shape while linking the beads.
Lastly, they use a needle nose pliers to twist open the connecting jump ring and chain nose pliers as a support.
The needle nose is used here because its longer head has more precision compared to chain nose.
Example 4: Chain Nose Pliers and Pliers with Teeth
If you are considering to use the pliers with teeth at home, then this video by Stones and Findings will tell you otherwise.
The teeth on the pliers will leave scratches on your wire, hence it is not preferable for jewelry making.
It is better to use a chain nose pliers for its flat and smooth jaw surface.
Example 5: Bent Nose Pliers, Chain Nose Pliers
A bent nose pliers has an angled nose that is useful for handling and support.
This video by Brenda Lee shows how you can correctly open and close your jump ring using bent nose pliers and chain nose pliers.
Do not forcefully pinch your jump ring with your pliers as it can distort the ring shape and structure.
6. Flat Nose Pliers and Nylon Jaw Pilers
You must not miss out these pliers as they provide the greatest support in beading.
The rectangular jaw on a flat nose pliers has a better grip on wires.
Meanwhile, the nylon jaw is mostly used for wire straightening and forming as the nylon cover prevents scratch and mar on your wire.
Here you can see how houseofgemsonline straighten her wire by using both pliers in her YouTube video below.
7. Bead Crimper Tool
A bead crimper tool is used with crimp beads and crimp covers.
The pliers has two sections on its jaw known as the crimper and the rounder.
In the video below, Gypsy Caravan Design demonstrates the process of bead crimping to finish off her product.
If the rounder on your bead crimper tool is small, you can use a chain nose pliers to shape your crimp covers instead.