Hi there my dear wire wrapper!
Do you have a special appreciation for texture design?
If yes, you will enjoy what I have prepared for you today!
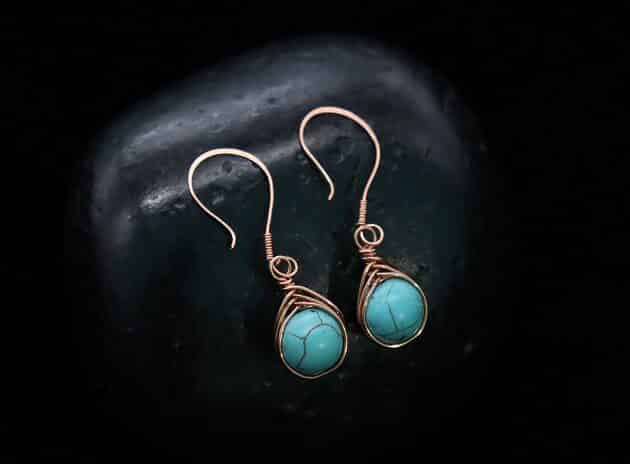
In my Wire-Wrapping Turquoise Bead Herringbone Weave Earrings Tutorial, you will master a basic wire weaving technique called the herringbone weave.

FREE WIRE-WRAPPING GUIDE TO YOUR EMAIL!
JOIN NEWSLETTER
We respect your privacy. Unsubscribe at anytime.
My tutorial comes with step-by step instructions and detailed picture guide so you can follow easily.
Happy wrapping!
LEVEL: BEGINNER
MATERIALS + TOOL
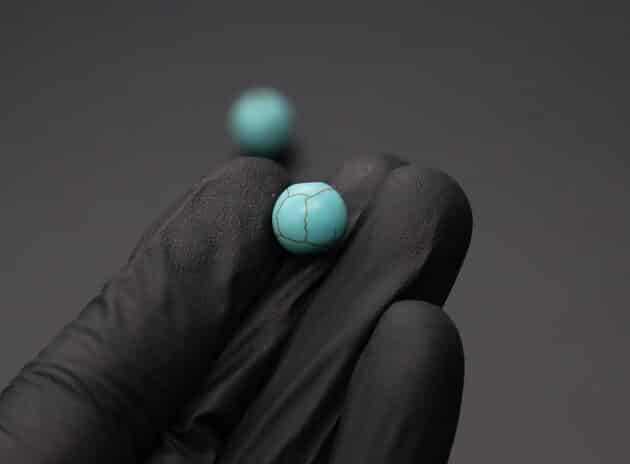
- Small Bead (2pcs)
- Gold Copper Wire (22-gauge)
- Ear Hook Wires
- Wire Cutter
- Chain Nose Pliers
- Round Nose Pliers
- Finest Steel Wire Wool
Prefer this wire-wrapping tutorial in a PRINTABLE FORMAT? (High Resolution Photos)
Click here for the PDF version of “Wire-Wrapping Turquoise Bead Herringbone Weave Earrings Tutorial”
WIRE-WRAPPING TURQUOISE BEAD HERRINGBONE WEAVE EARRINGS TUTORIAL
Step 1 of 8
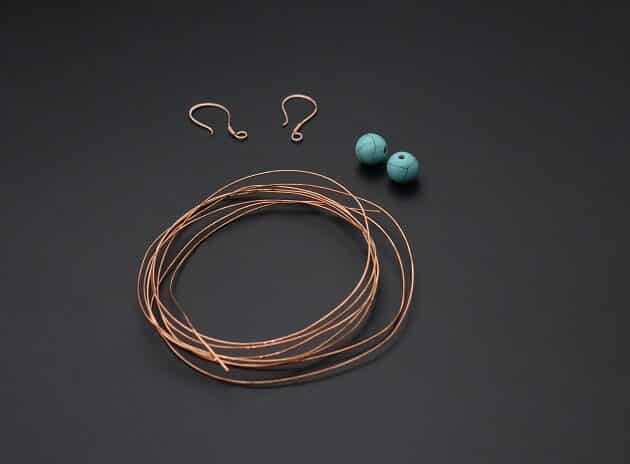
Set up your work table with items from the Materials and Tool list (fig. 1a).
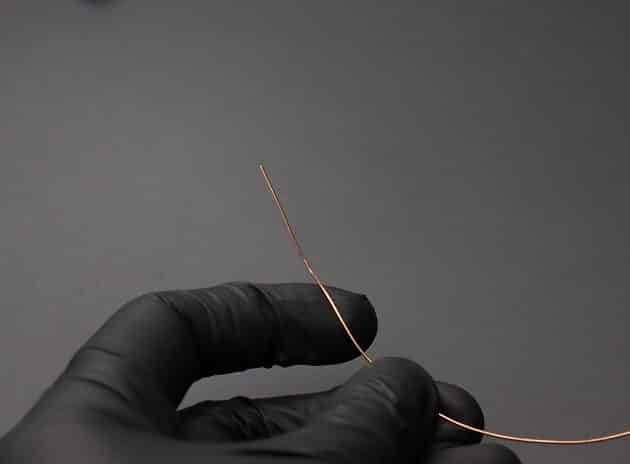
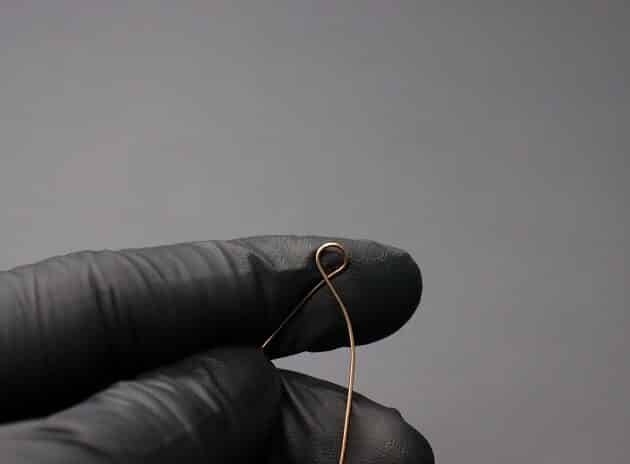
Start with a string of 22-gauge gold copper wire (fig. 1b).
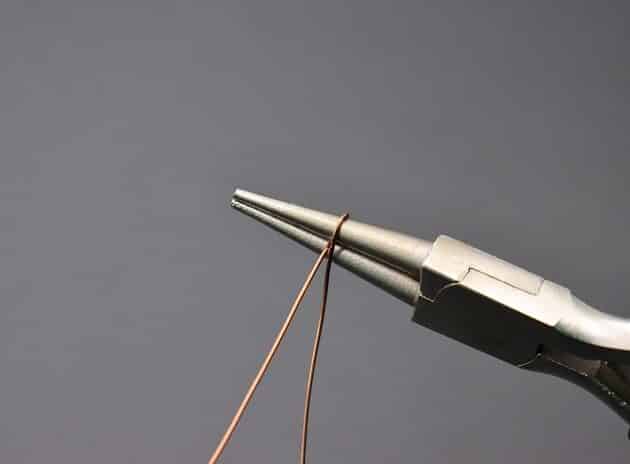
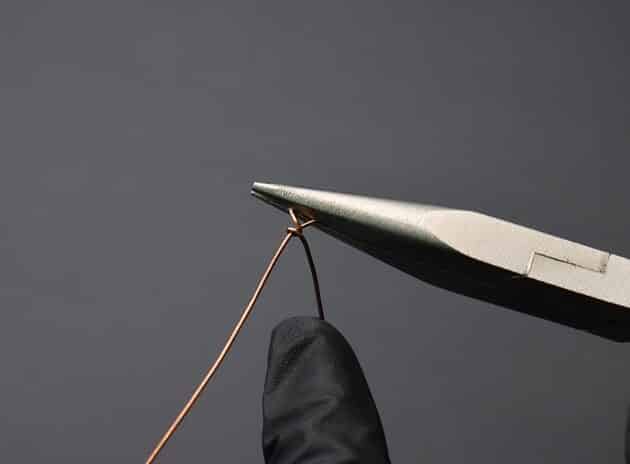
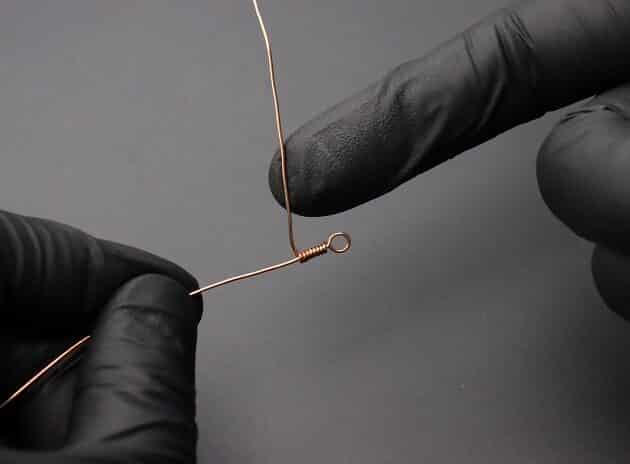
Use a round nose pliers and make a small loop on the wire (fig. 1c, 1d).
Step 2 of 8
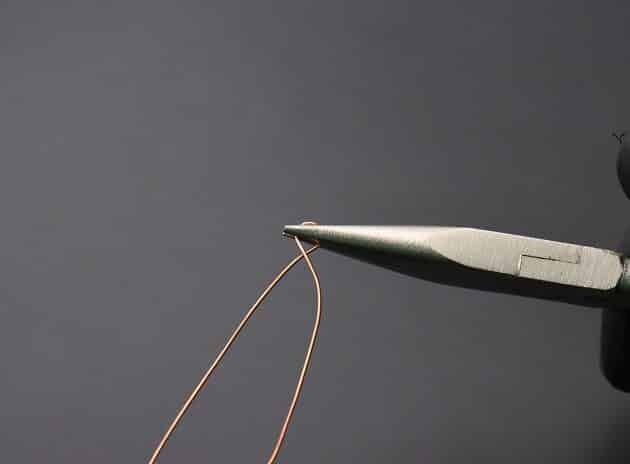
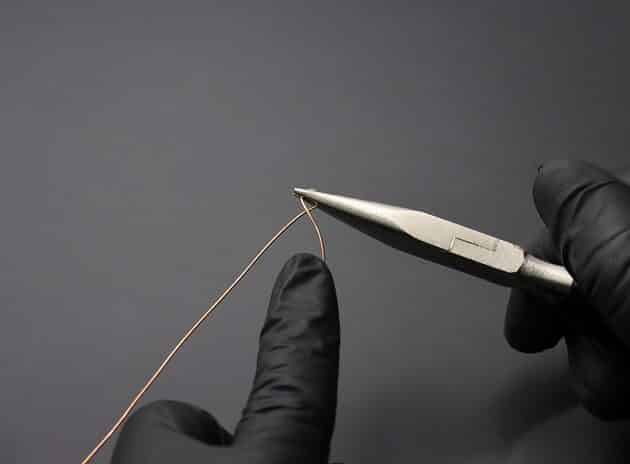
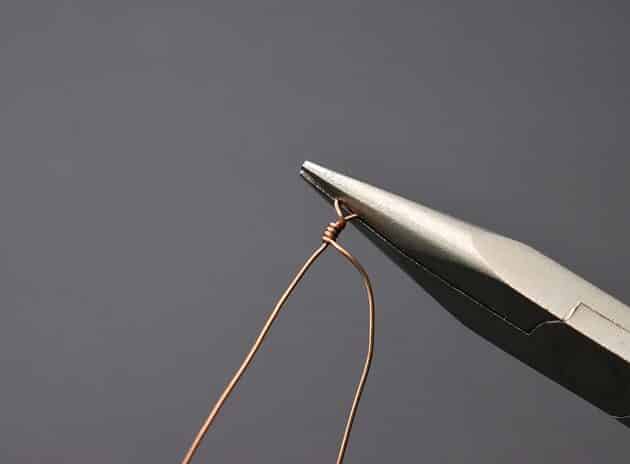
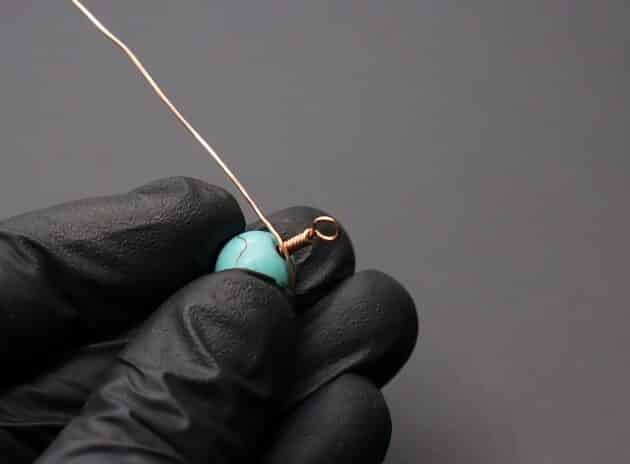
Next, use a chain nose pliers to hold the shape of your small loop (fig. 2a).
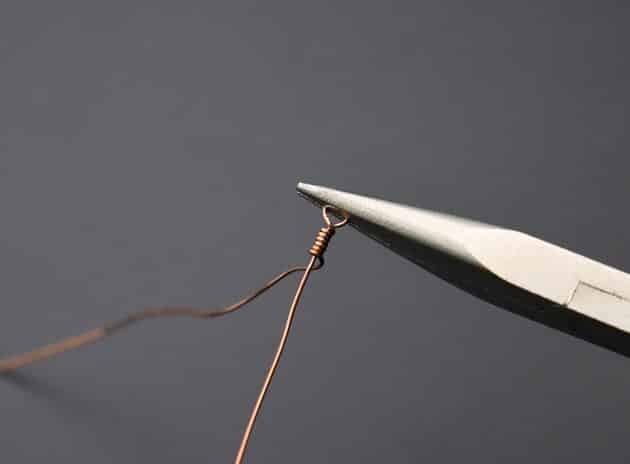
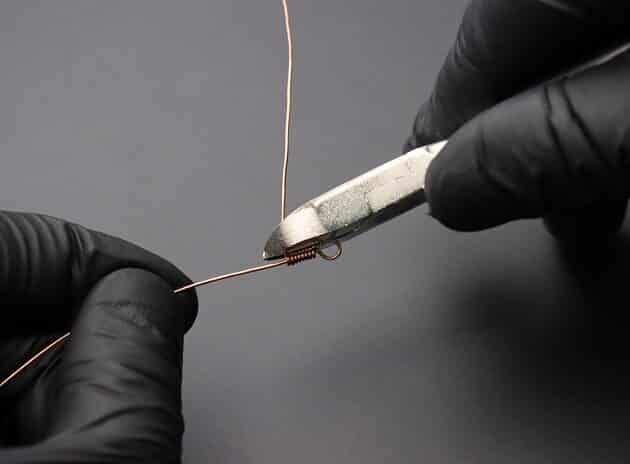
Then, take one end of your 22-gauge wire and make a coil on the other loose wire (fig. 2b, 2c, 2d).
Continue to coil the wire for about a quarter inch in length (fig. 2e, 2f, 2g).
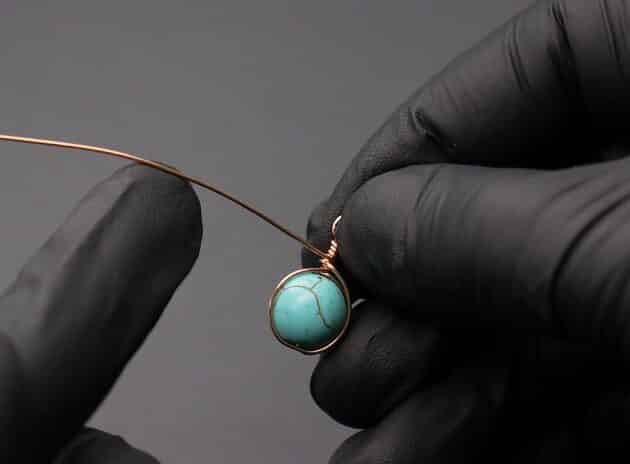
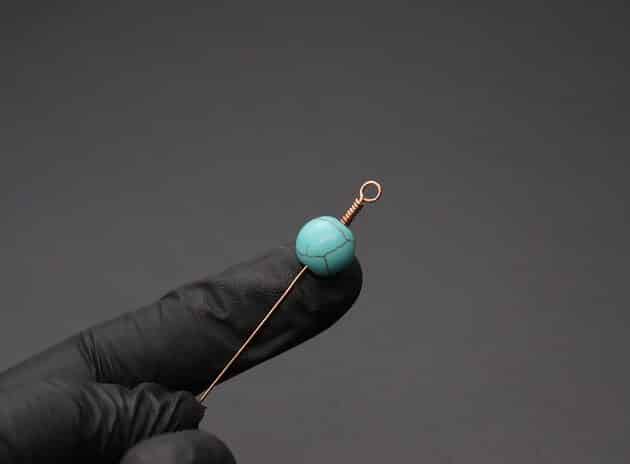
Step 3 of 8
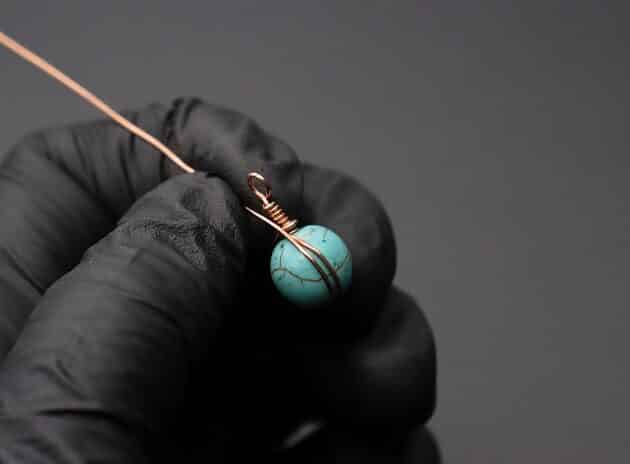
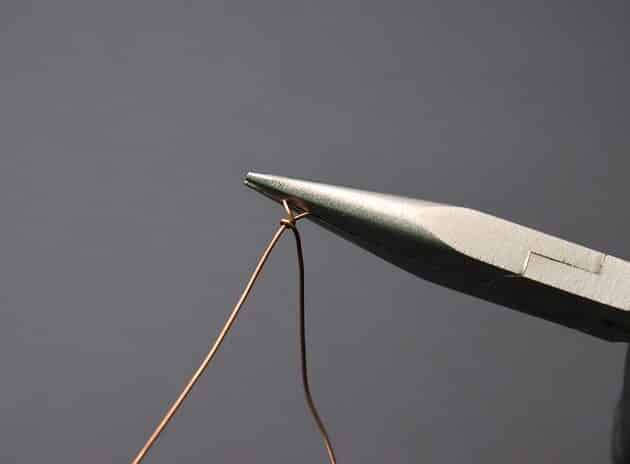
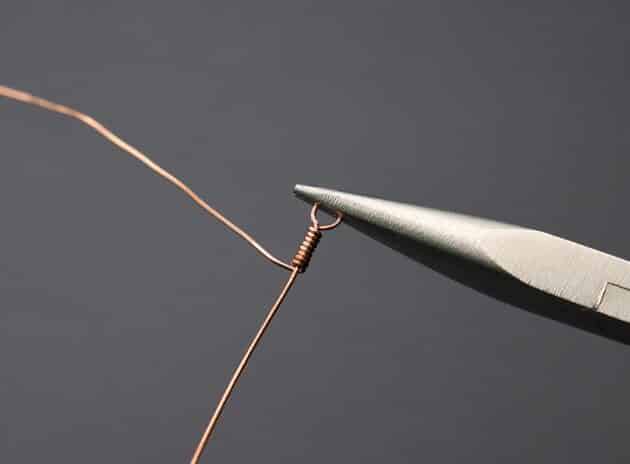
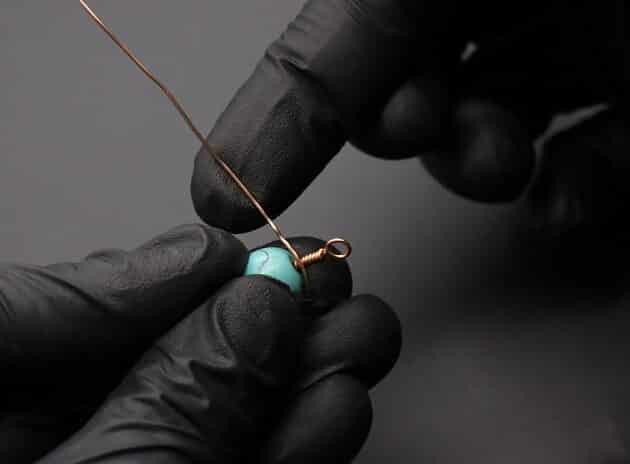
After that, trim off the excess wire with a wire cutter (fig. 3a, 3b).
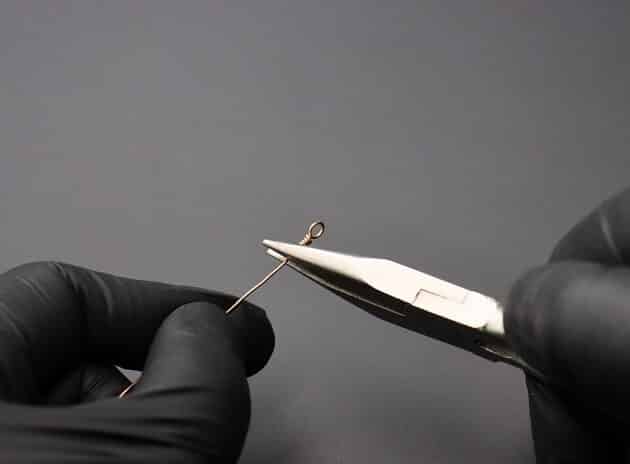
Adjust the shape of your trimmed wire end using the chain nose pliers (fig. 3c, 3d).
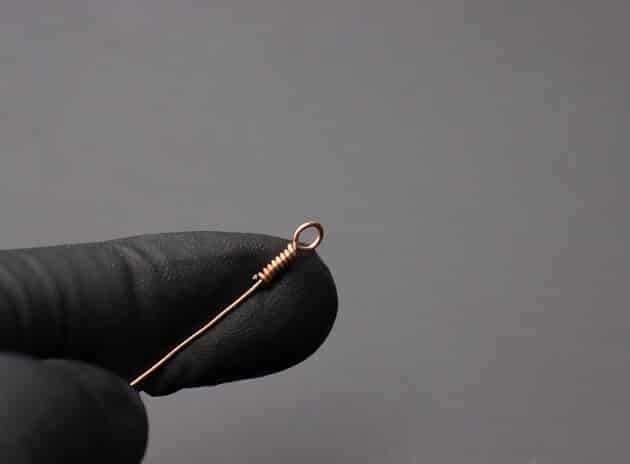
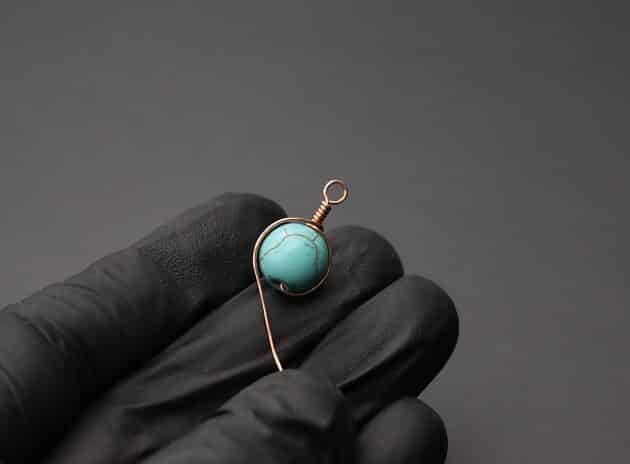
Then, take a small bead of your choice and slide it onto your wire (fig. 3e, 3f).
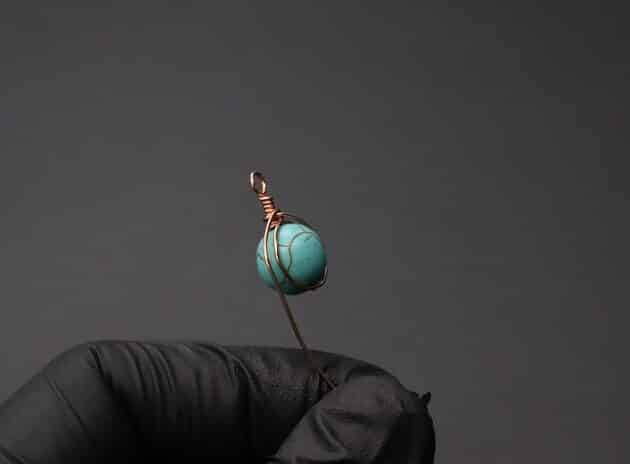
Step 4 of 8
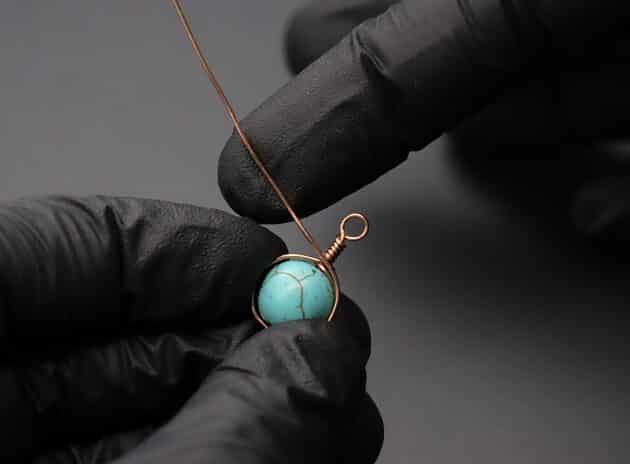
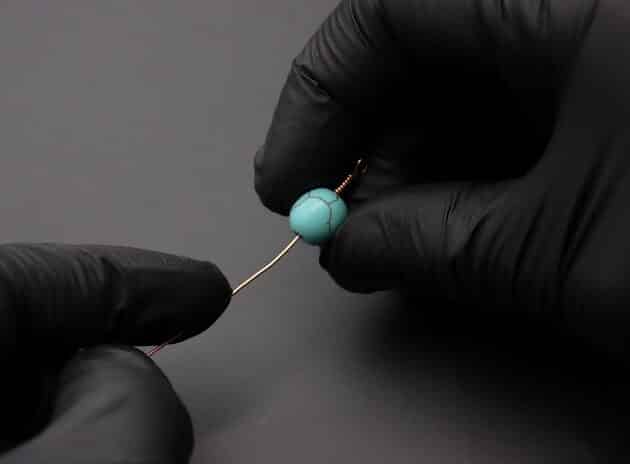
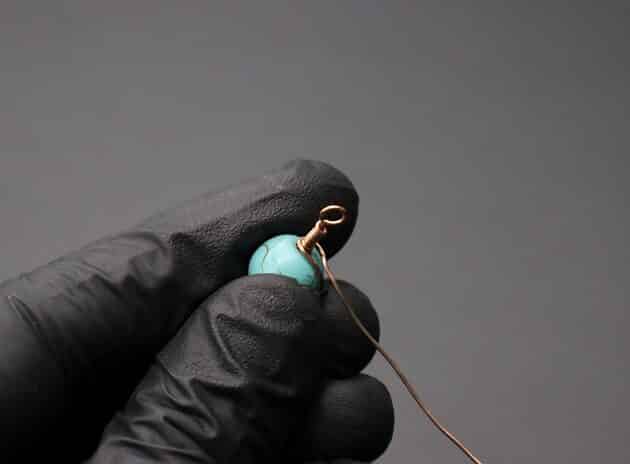
Now, this is where we will apply the herringbone wire weaving technique.
The basic weaving sequence is as follow:
- Firstly, wrap the wire along the right side of your bead (fig. 4a, 4b).
- Secondly, make a loop on the top of your bead (fig. 4c, 4d, 4e, 4f).
- Thirdly, wrap along the left side of your bead (fig. 4g).
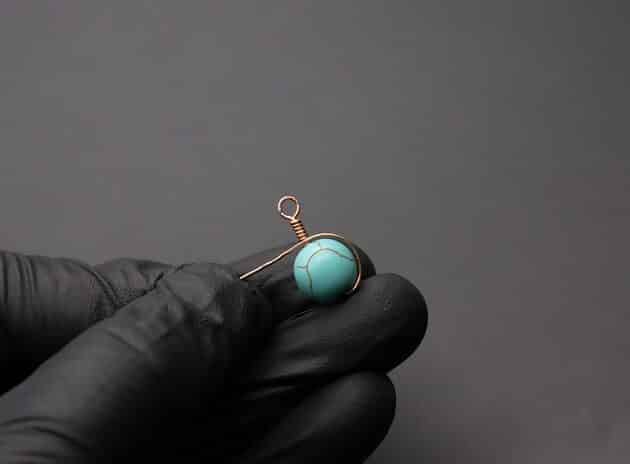
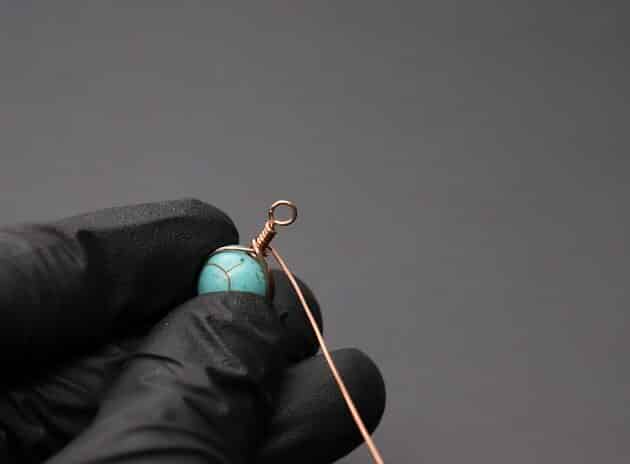
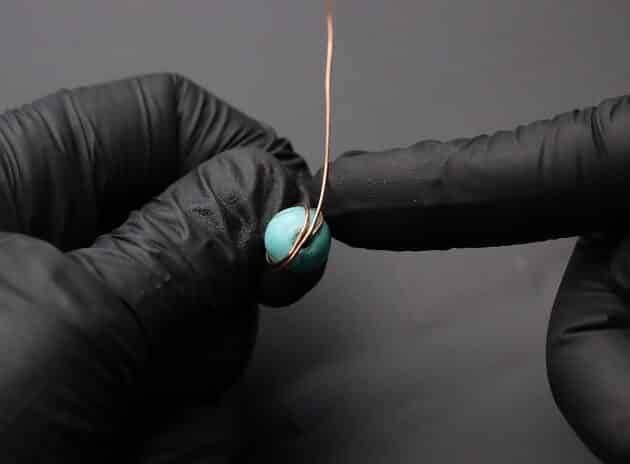
Step 5 of 8
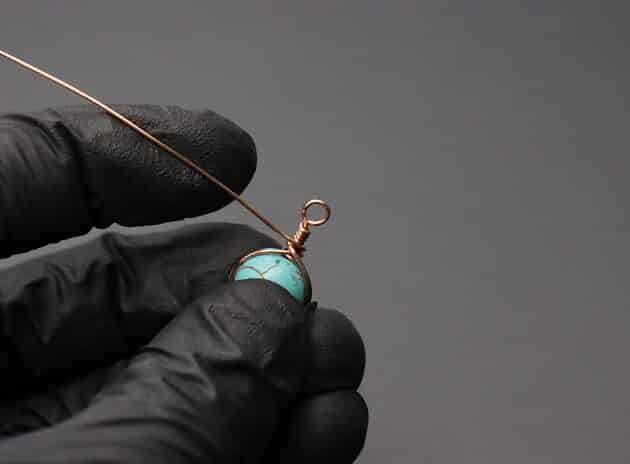
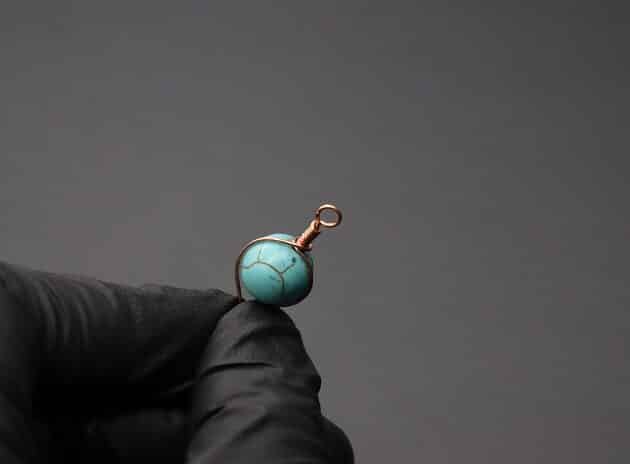
Similarly, work on the second herringbone layer using the same basic weaving sequence.
- Wrap the right side of your bead (fig. 5a).
- Make a loop at the top of your bead (fig. 5b, 5c, 5d).
- Then, wrap along the left side of your bead (fig. 5e, 5f, 5g).