
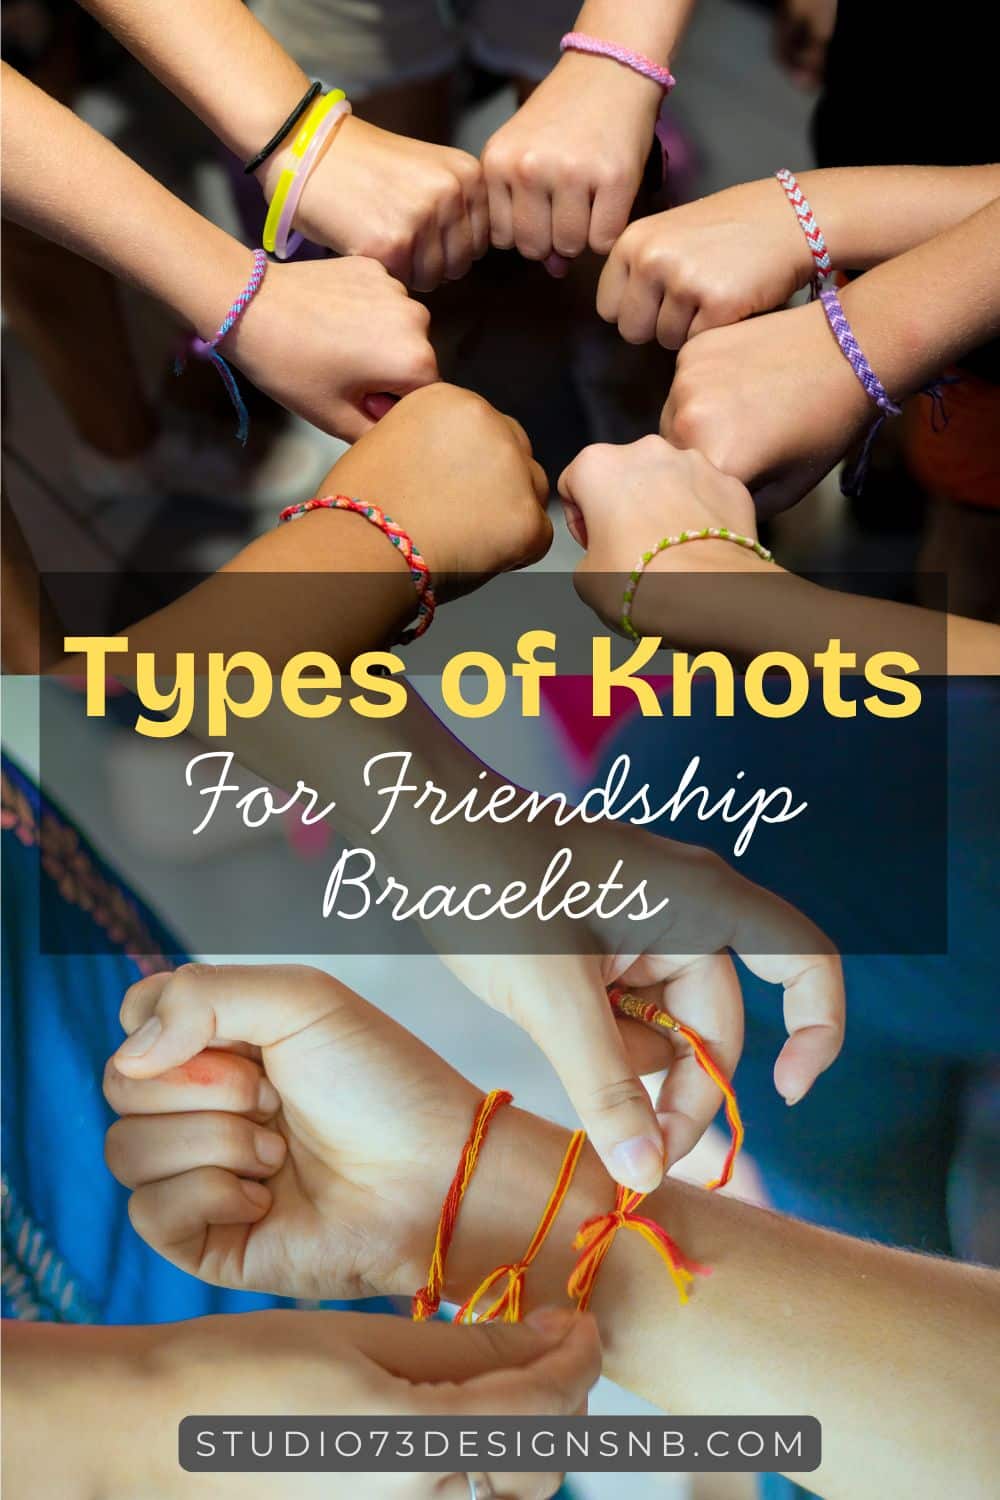
Hi my dear reader! Show your friends you cherish them on this International Friendship Day.
Friendship bracelet is a fun and creative activity to bond over with your family, friends and loved ones.
These colorful bracelets symbolizes love, loyalty and support which makes them a meaningful handmade gifts.
FREE WIRE-WRAPPING GUIDE TO YOUR EMAIL!
JOIN NEWSLETTER
We respect your privacy. Unsubscribe at anytime.
If you are new in making friendship bracelet and don’t know where to start, I got you!
In this article, I have summarized the different 10 Types Of Knots For Friendship Bracelet where you learn how to make basic knots, loops for beginning and ending.
But first, get your materials ready. All you need are colorful strings (cut in arm length), scissors, tape and clipboards.
Thanks for reading!
10 Types of Knots For Friendship Bracelets
1. Beginning Loop Knot
The first knot that you learn is the beginning loop knot, so that you have a clasp to tie your bracelet.
I have attached a tutorial video by Saturn’s Spooky Crafts on YouTube where she gives clear step-by-step instructions and repeats with 3 another sets of colored strings.
2. Basic Knots
Before diving into all the complicated friendship bracelet patterns, you must learn the basic knots that builds them.
Sunset Beads Jewelry on Pinterest made a tutorial video that covers the forwards and backwards knots.
They shared a helpful tip where the forward knot makes a “4” shape, while the backward knot makes a reversed “4” shape.
Once you are familiar with the forward and backward knots, now you can advance your knotting skills with two extra knots: the forward-backwards knot and the backward-forwards knot as shown by LoveInEachKnot on YouTube.
She explains that each knot must be done twice to secure the knot, because making just one knot will make it loose.
3. Ending Adjustable or Sliding Knot
Picture this: you want to surprise a friend with a friendship bracelet but you don’t know their wrist size, what can you do?
No worries! Creative Fnk shared a solution to the wrist size problem with a simple sliding adjustable ending knot.
If your friendship bracelet doesn’t have a beginning loop in its design, then I found a straight forward version by NuNu handmade where she tied a simple knot on top of the sliding string.
5. Square Knot
Now that you have practiced the basic knots, let’s get into the fun part!
For me as a beginner, I start with the square knot pattern because I only need to use the forward and backward knots.
Plus, you only need two strings to recreate this bracelet.
Kelsie Cavanaugh shared this video tutorial on Pinterest so you can see how it is done.
6. Hearts
Similar to the square knots, you need only two strings to make this cute mini hearts friendship bracelet.
Based on the video shared by anning, the technique required for this pattern is the forward and backward knots.
7. Flower
If you like a bit of challenge but still prefer a four strand friendship bracelet, then you can give this five petal flower bracelet by Lala a try.
8. Fish Tail
Now let’s level up your friendship bracelet game using 3 strings.
Don’t be intimidated by the number of strands but focus on getting it right step-by-step.
Instead of knotting, the Fish Tail pattern uses the braiding technique where you cross the strings on top of each other.
Zuzikthegangster shared a video tutorial on how you make this at home.
9. Peruvian Wave
Moving on, this Peruvian Wave friendship bracelet makes a wonderful gift for your beach lover friends.
It uses 7 strings with only the forward and backward knotting techniques.
Dori shared this video tutorial that is easy to follow and you can try it now.
10. Chevron
If you know how to make the candy cane pattern, then the chevron is easy peasy for you.
Ready 4 strings and fold it half so you have 8 strands to work with.
With the forward and backward knotting skills in hand, you can follow along this video tutorial shared by Avery.
