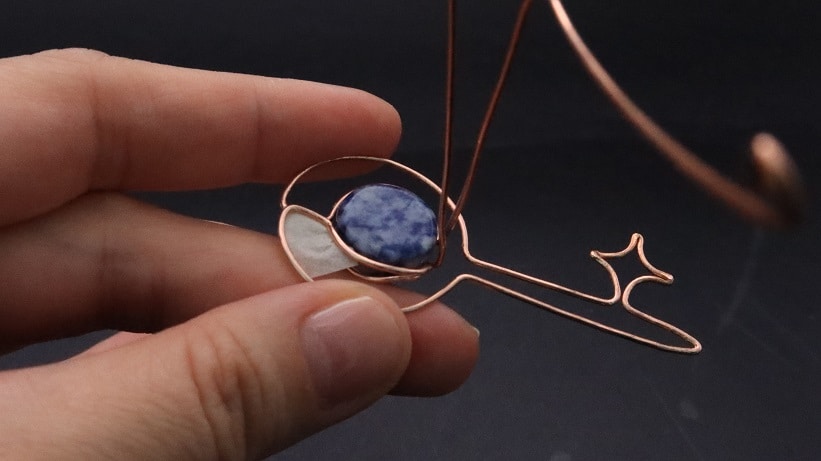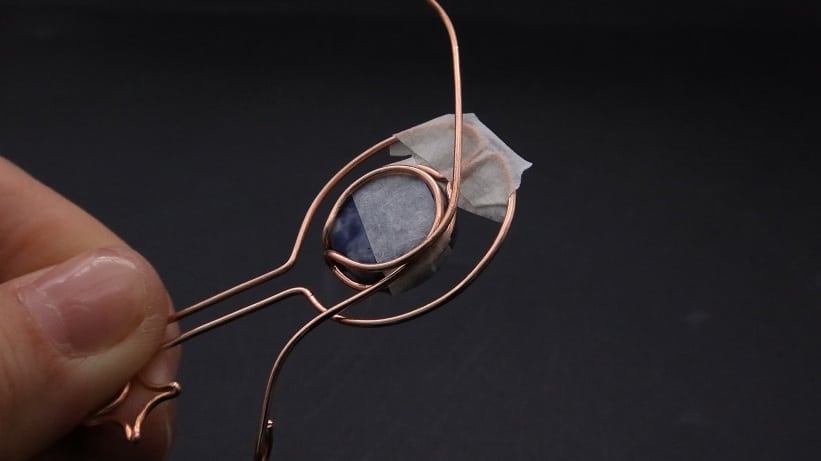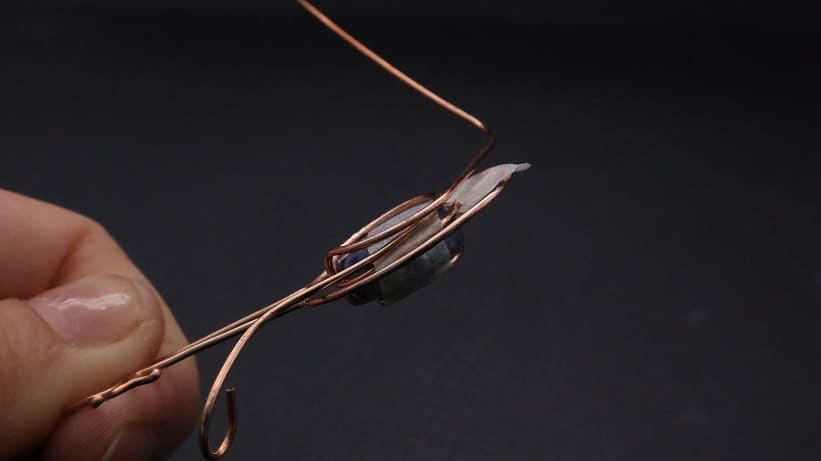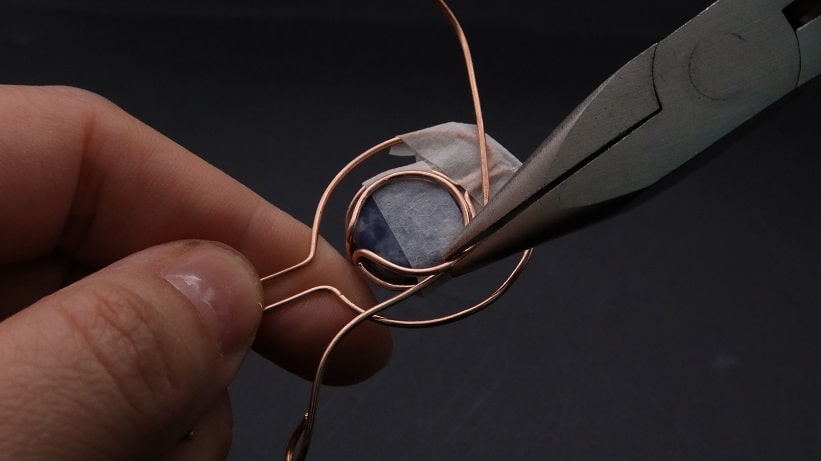
Welcome my dear wire wrapper!
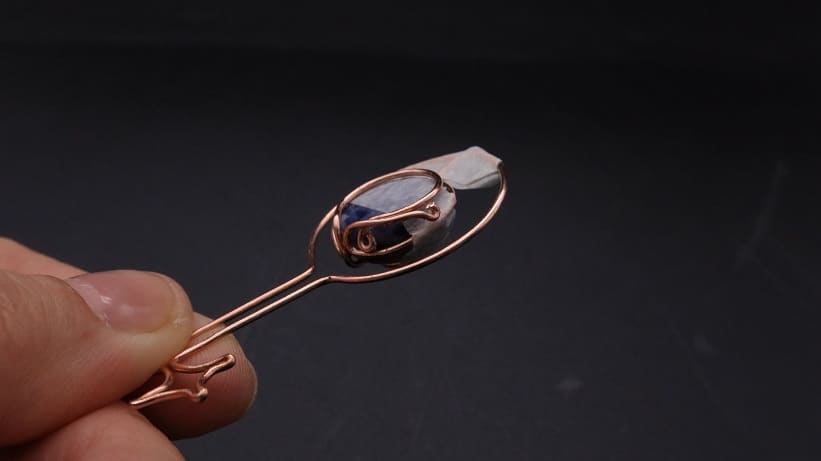
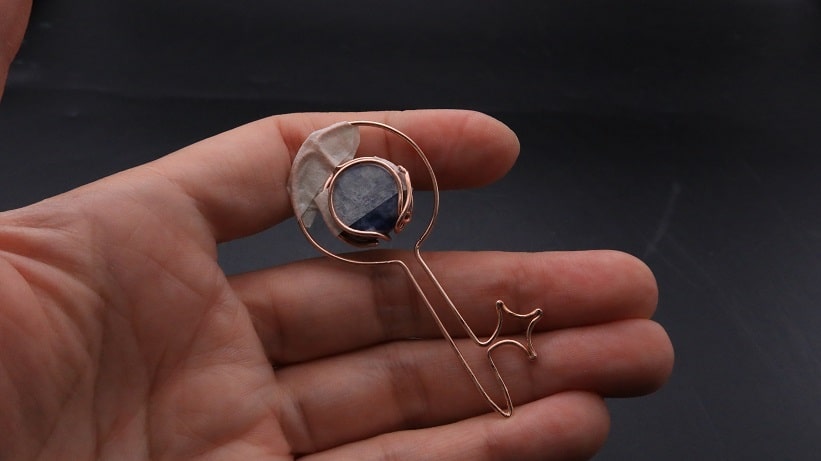
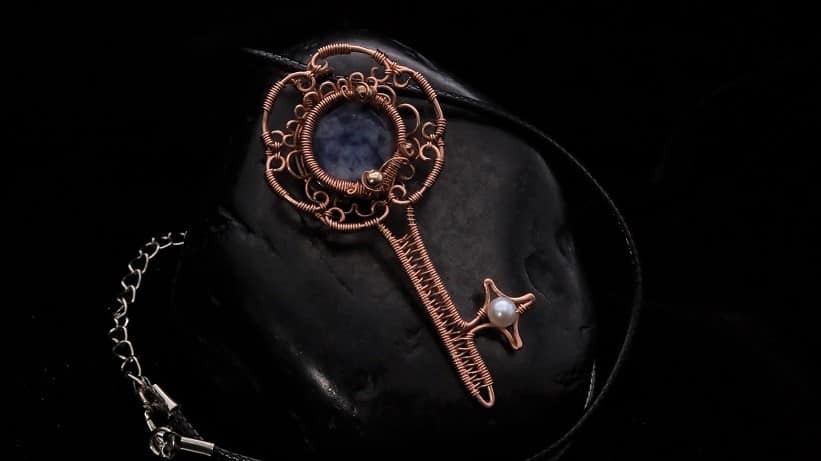
Learn how to make a wire key pendant necklace with copper wires, sodalite cabochon, beads and pearl.
In my Wire-Wrapping Sodalite Copper Floral Key Pendant Tutorial, you will practice wire jewelry making skills and techniques such as wire manipulation, design, detailing and so on.
Follow along my simple step-by-step instructions and detailed progress picture guide to start your project.
FREE WIRE-WRAPPING GUIDE TO YOUR EMAIL!
JOIN NEWSLETTER
We respect your privacy. Unsubscribe at anytime.
Happy wrapping!
LEVEL: INTERMEDIATE
MATERIALS + TOOL
- Copper Wire (20 AWG)
- Copper Wire (22 AWG)
- Copper Wire (26 AWG)
- Copper Wire (18 AWG)
- 4 mm Pearl Beads (1 pc)
- Gold Spacer Beads (2 pcs)
- Sodalite Cabochon (1 pc)
- Wire Cutter
- Chain Nose Pliers
- Nylon Jaw Pliers
- Round Nose Pliers
- Finest Steel Wire Wool
- Masking Tape
- Stepped Bail-Making Pliers
- Ball Peen Hammer Two-sided Flat/round Head
- Designed Template
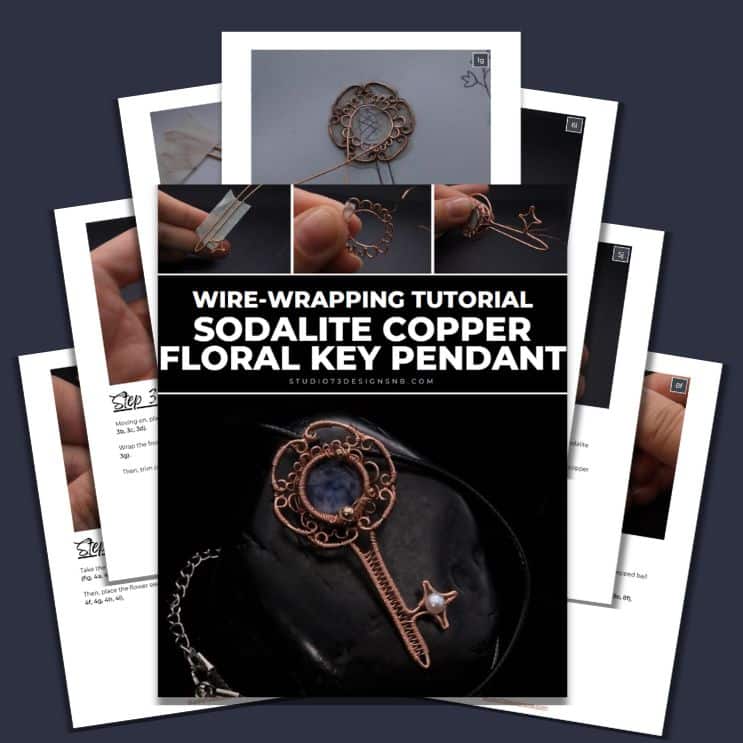
Prefer this wire-wrapping tutorial in a PRINTABLE FORMAT? (High Resolution Photos)
Click here for the PDF version of “Wire-Wrapping Sodalite Copper Floral Key Pendant Tutorial”
WIRE-WRAPPING SODALITE COPPER FLORAL KEY PENDANT TUTORIAL
Step 1 of 8
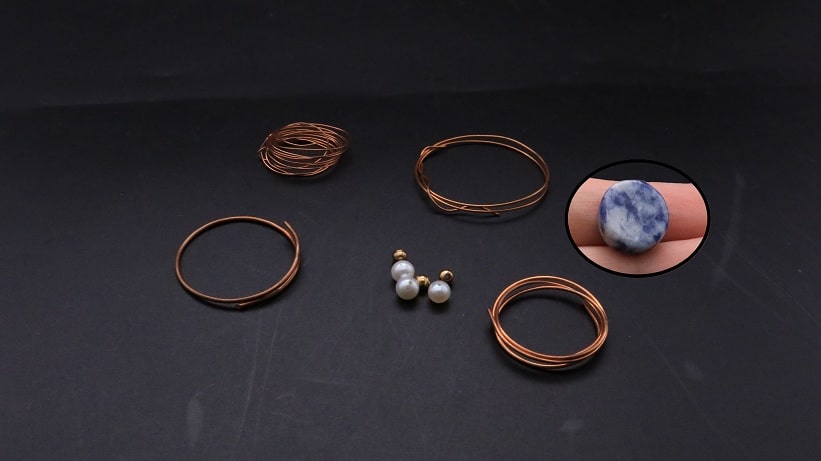
Ready all items from the Materials and Tool list (fig. 1a).
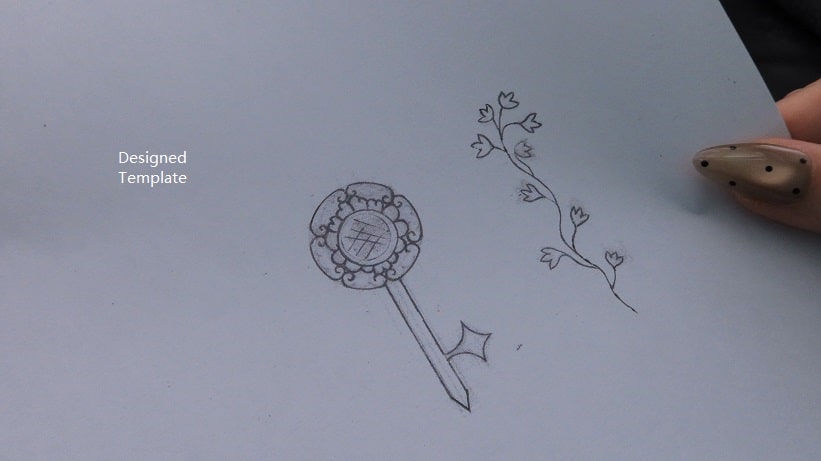
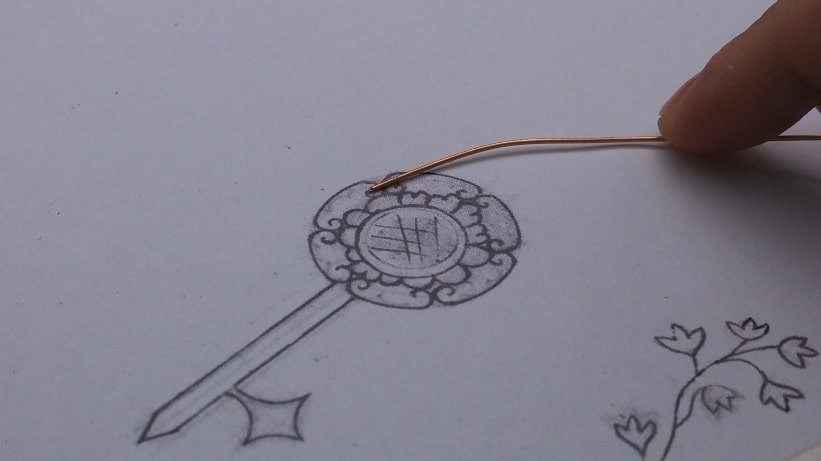
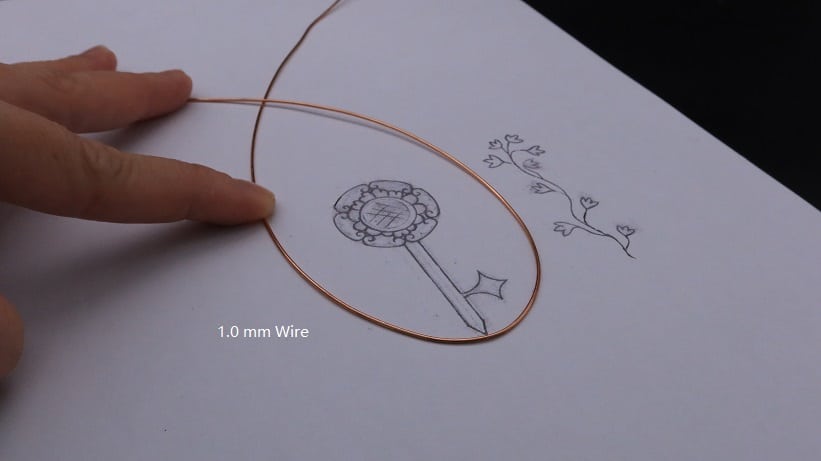
Draw a flower key template on a piece of paper as shown (fig. 1b).
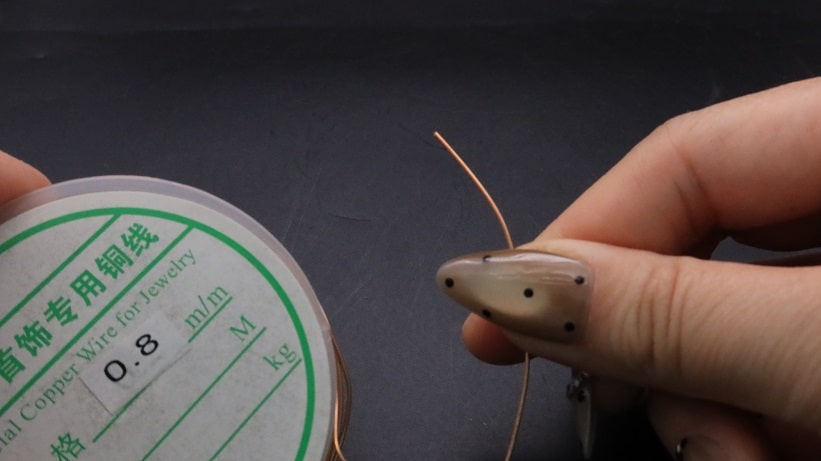
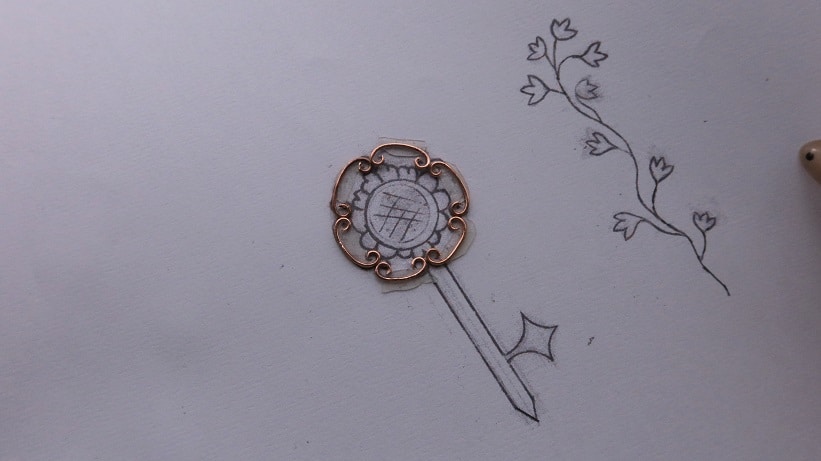
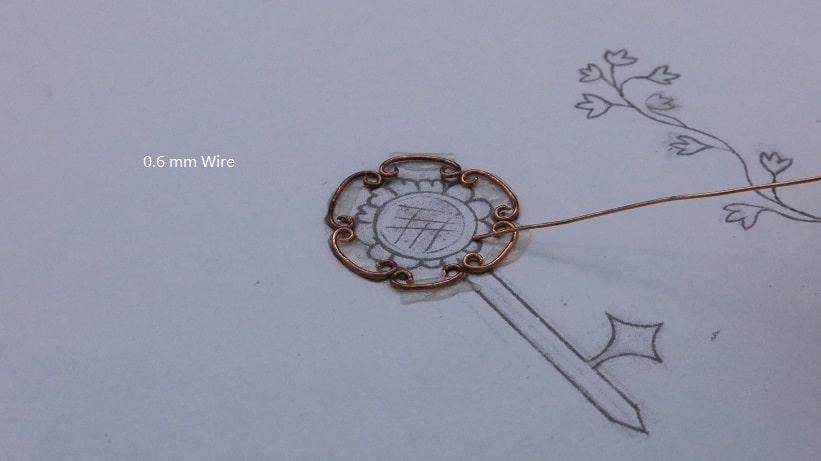
Then, use a 20 gauge copper wire to trace the flower petal frame (fig. 1c, 1d, 1e).
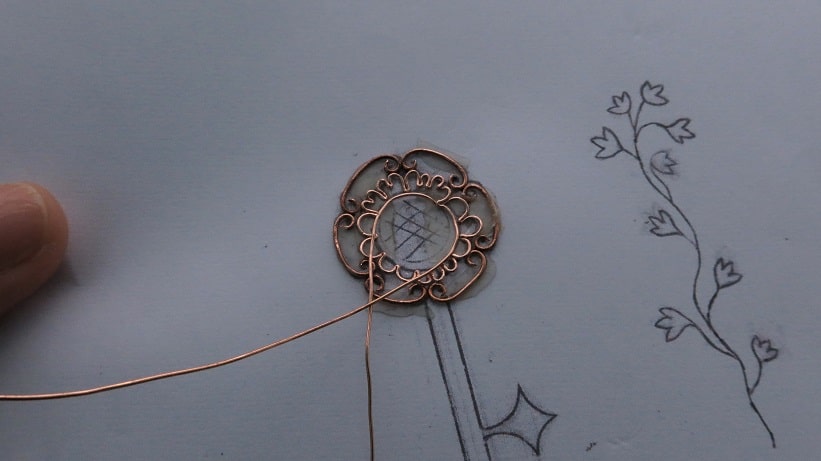
After that, use a 22 gauge copper wire to trace the flower seed frame (fig. 1f, 1g).
Step 2 of 8
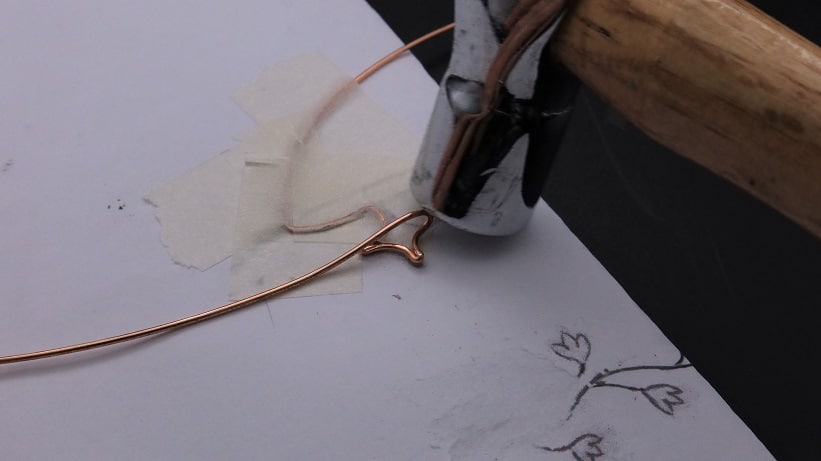
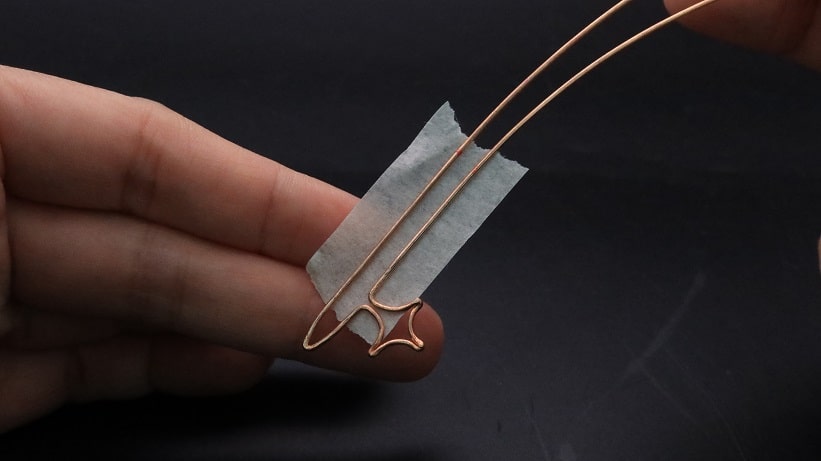
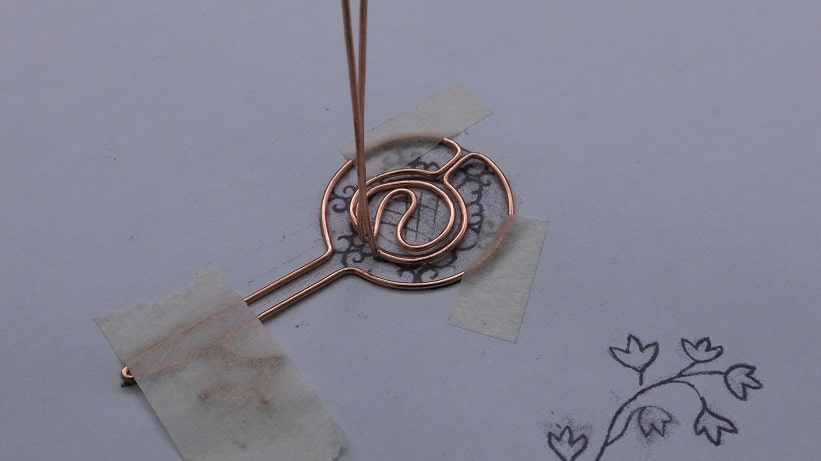
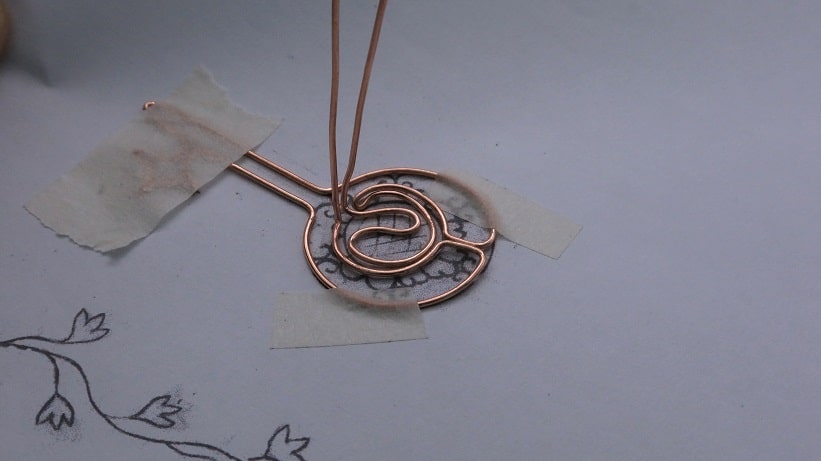
Next, use a 18 gauge copper wire to trace the key barrel frame (fig. 2a).
Hammer the pinch points to work harden them into shape (fig. 2b, 2c).
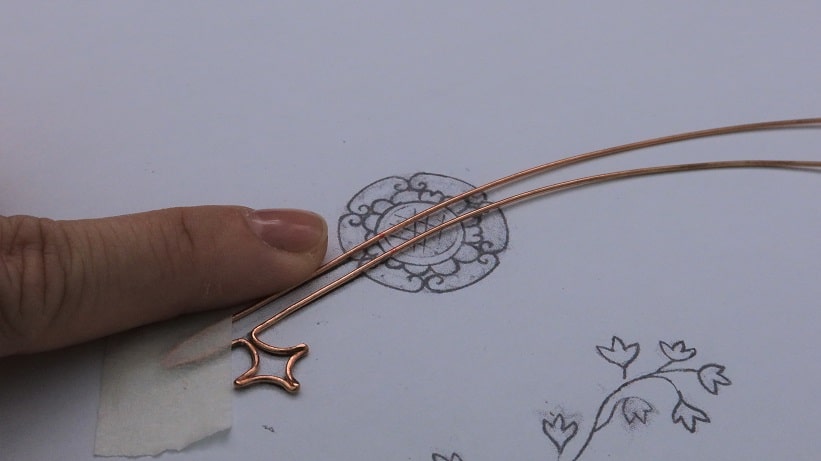
Then, mark the key barrel length where the wire meets under the flower petal frame (fig. 2d).
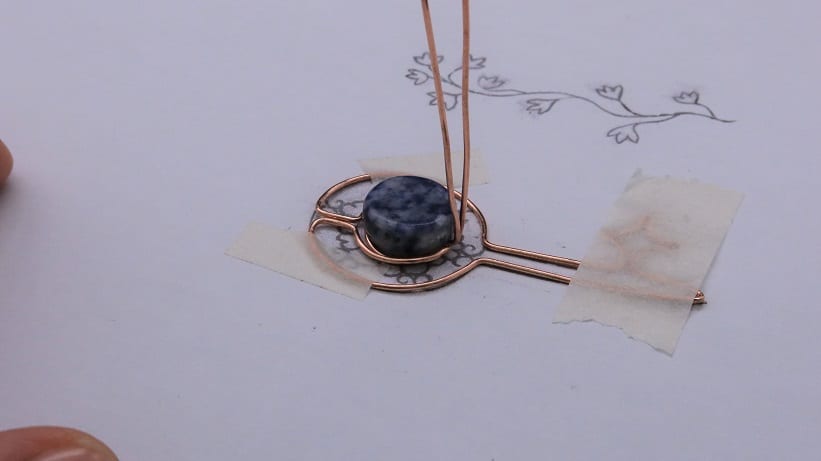
Use the remaining 18 gauge copper wire to form the key head frame and center seat frame for your gemstone as shown (fig. 2e, 2f).
Step 3 of 8
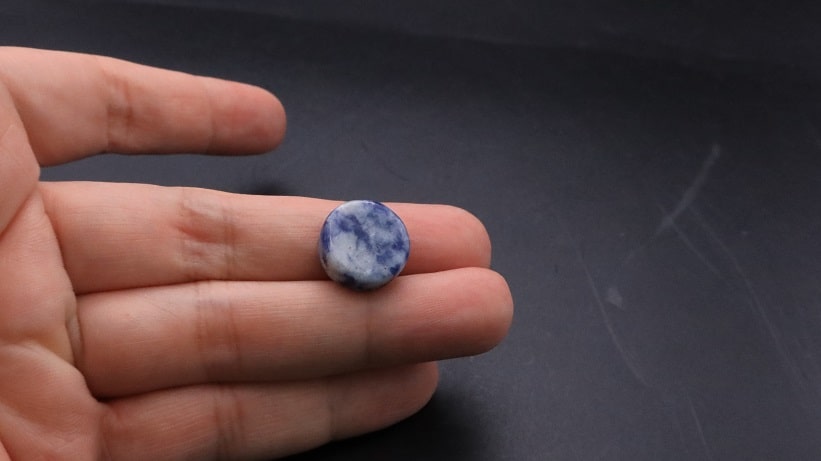
Moving on, place your sodalite coin cabochon onto the center seat frame (fig. 3a, 3b, 3c, 3d).
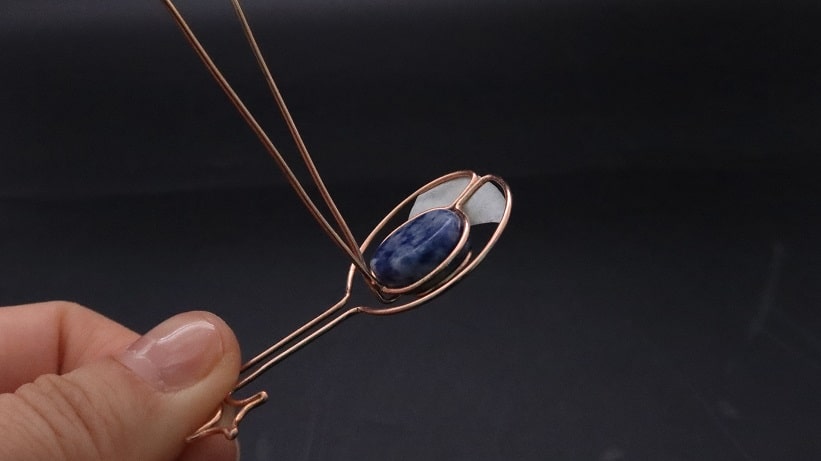
Wrap the front side of the sodalite with the loose 18 gauge copper wire (fig. 3e, 3f, 3g).
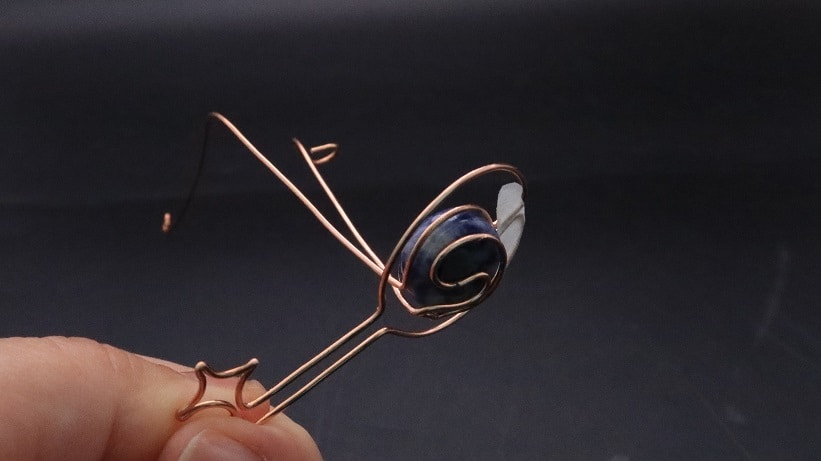
Then, trim off the excess wire and curl the wire end as shown (fig. 3h, 3i, 3j).