Welcome my dear wire wrapper!
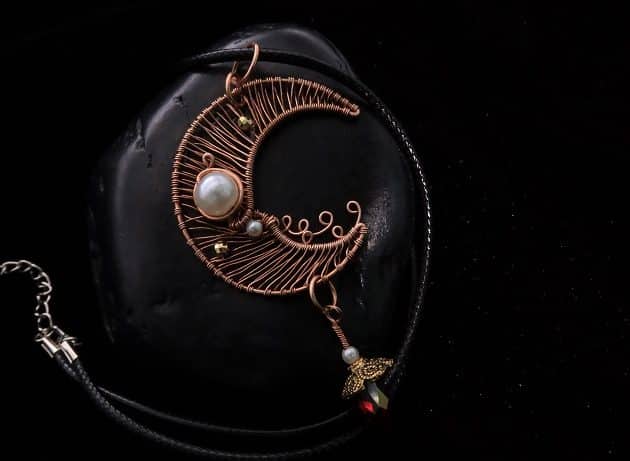
Learn how to make wire crescent moon with copper wires, pearls and crystals.
In my Wire-Wrapping Dreamy Birthstone Charm Crescent Pendant Tutorial, you will practice wire jewelry making skills such as wire manipulation, tool handling, jewelry designing and more.
My simple step-by-step instructions and detailed picture guide will walk you through the creative process.

FREE WIRE-WRAPPING GUIDE TO YOUR EMAIL!
JOIN NEWSLETTER
We respect your privacy. Unsubscribe at anytime.
You can swap out the crystal to your preferred birthstones so you can make it as a DIY gift for yourself or your loved ones.
Happy wrapping!
LEVEL: INTERMEDIATE
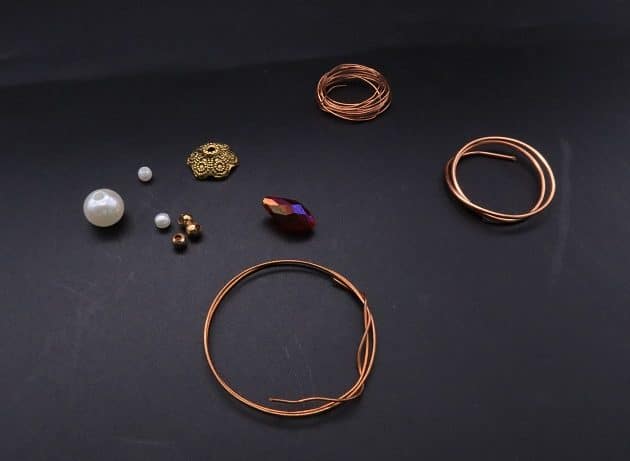
MATERIALS + TOOL
- Copper Wire (18 AWG)
- Copper Wire (22 AWG)
- Copper Wire (26 AWG)
- Imitation Pearl Beads (1 pc)
- Mini Pearl Beads (2 pcs)
- Gold Spacer Beads (2 pcs)
- Preciosa Crystal Drop (1 pc)
- Bead Cap (1 pc)
- Wire Cutter
- Chain Nose Pliers
- Nylon Jaw Pliers
- Round Nose Pliers
- Stepped Bail-Making Pliers
- Finest Steel Wire Wool
- Masking Tape
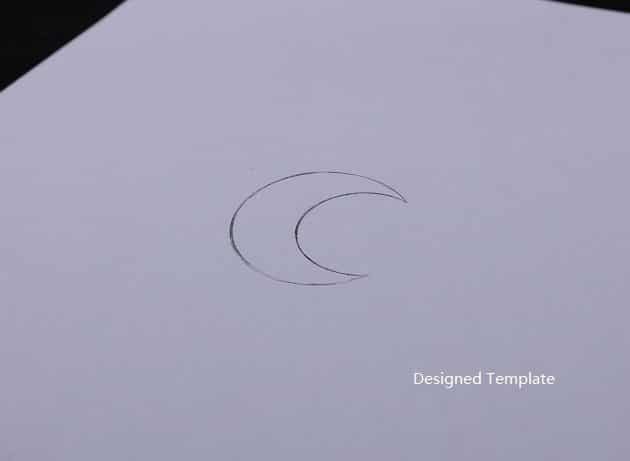
- Designed Template
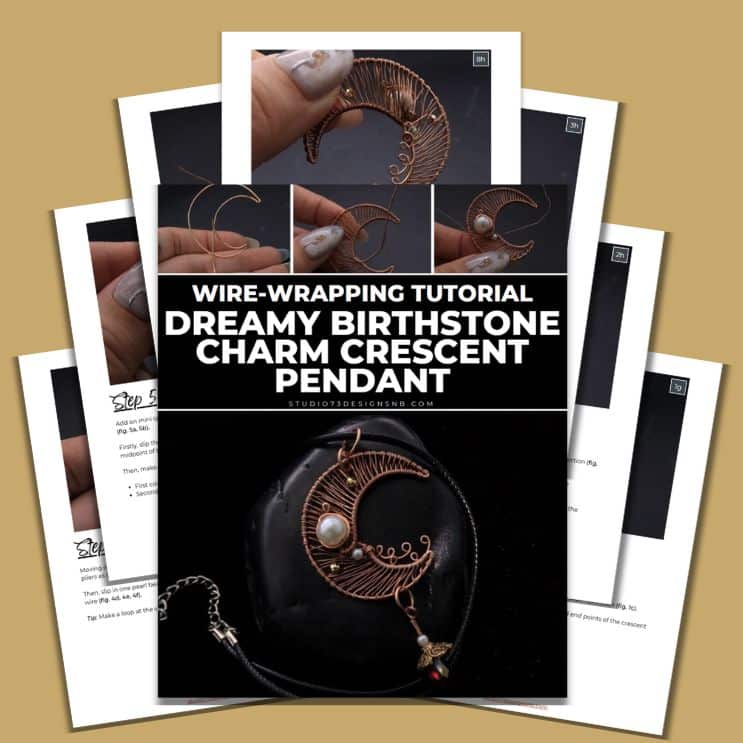
Prefer this wire-wrapping tutorial in a PRINTABLE FORMAT? (High Resolution Photos)
Click here for the PDF version of “Wire-Wrapping Dreamy Birthstone Charm Crescent Pendant Tutorial”
WIRE-WRAPPING DREAMY BIRTHSTONE CHARM CRESCENT PENDANT TUTORIAL
Step 1 of 12
Prepare all items from the Materials and Tool list (fig. 1a).
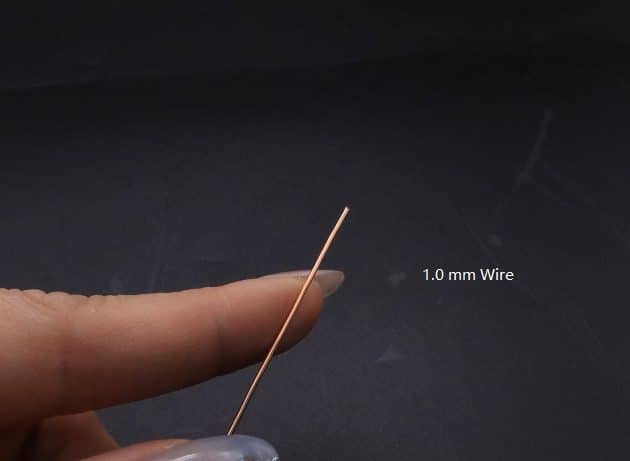
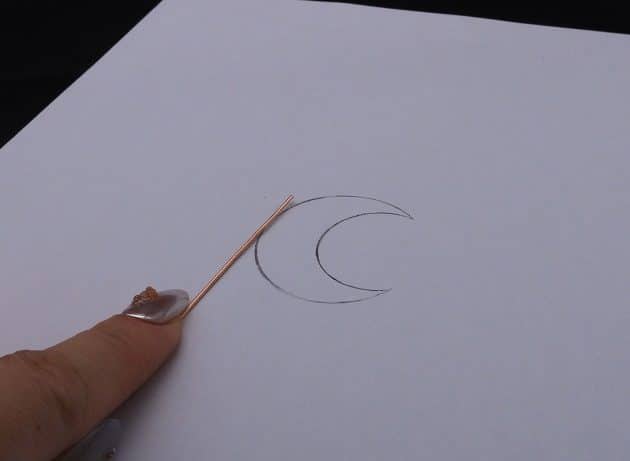
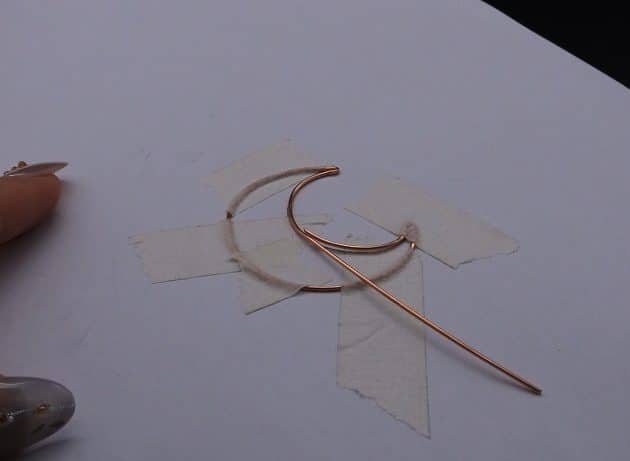
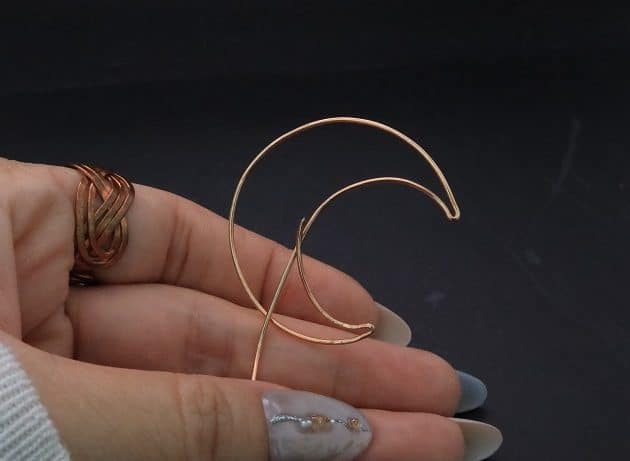
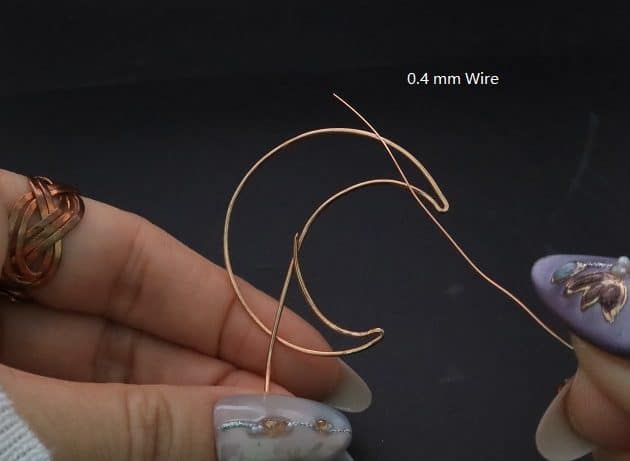
Use a 18 gauge copper wire to form a crescent frame (fig. 1b).
Firstly, draw a crescent moon template on a piece of paper as shown (fig. 1c).
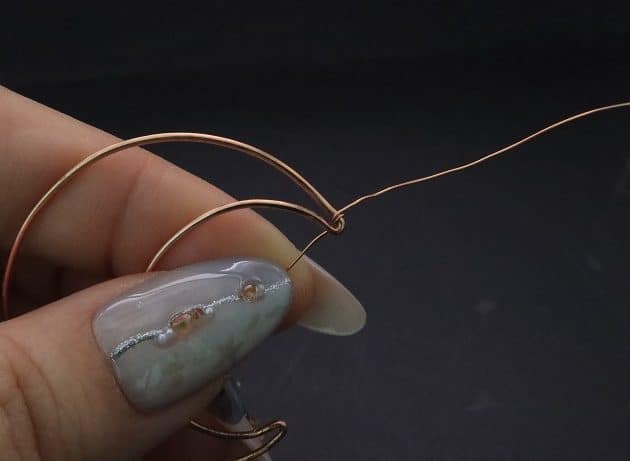
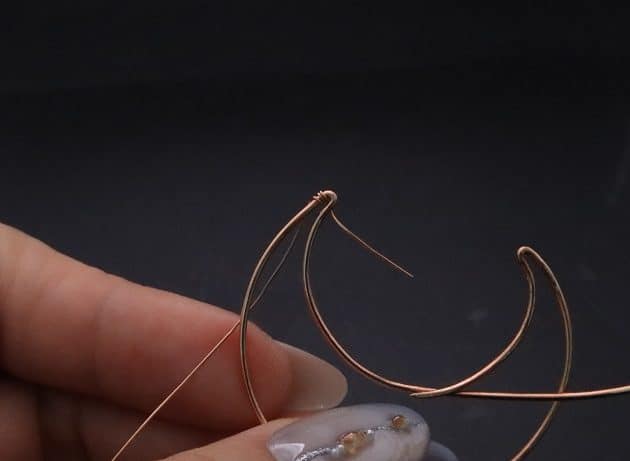
Then, make the inner moon midpoint as the start and end points of the crescent frame (fig. 1d, 1e, 1f, 1g).

Step 2 of 12
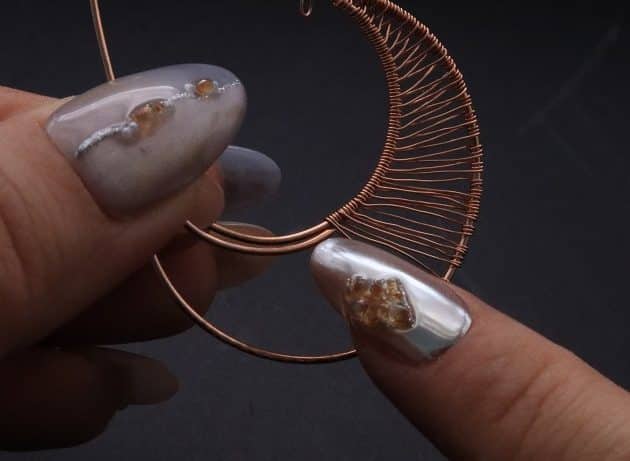
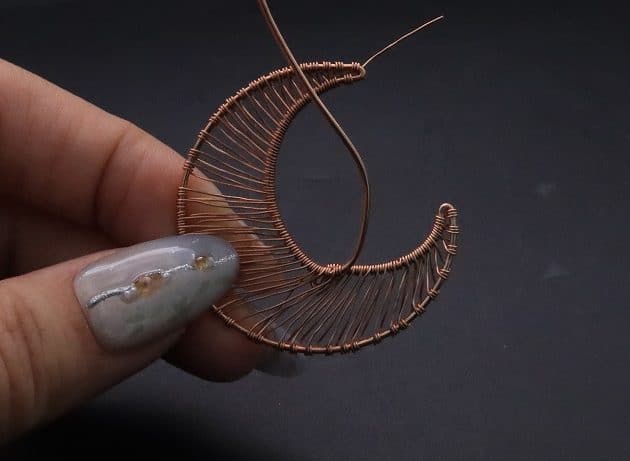
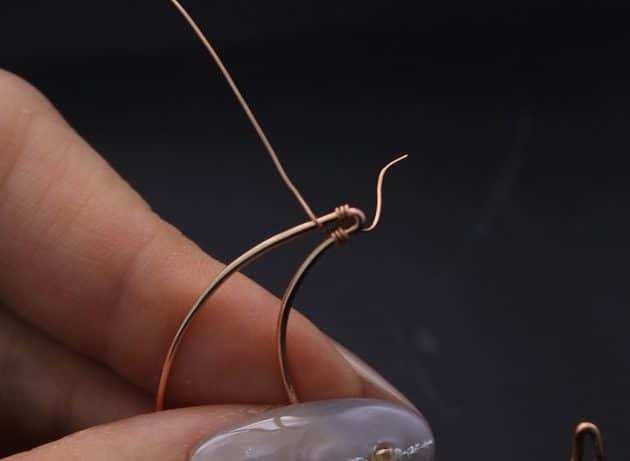
Next, fill the frame space using a 26 gauge copper wire (fig. 2a).
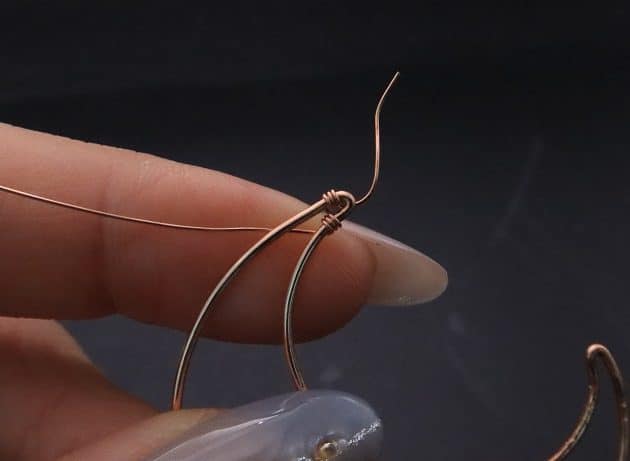
At the top of the crescent frame, make 3 coils in the anti-clockwise direction (fig. 2b, 2c).
Then, pull the wire across to the opposite frame, and make 3 coils in the clockwise direction (fig. 2d, 2e).
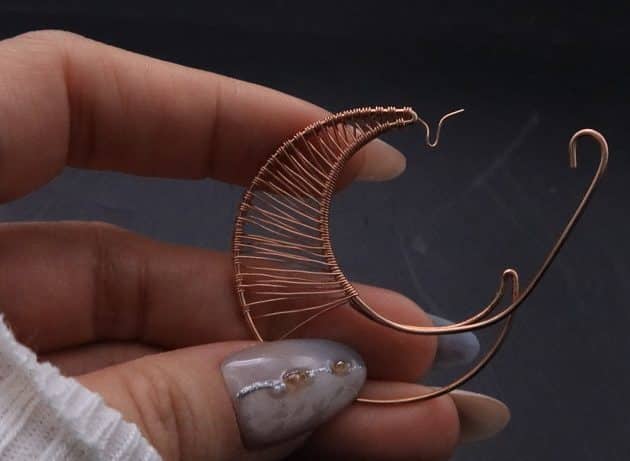
Repeat this alternating weaving process until you reach the midpoint of the crescent moon (fig. 2f, 2g, 2h).

Step 3 of 12
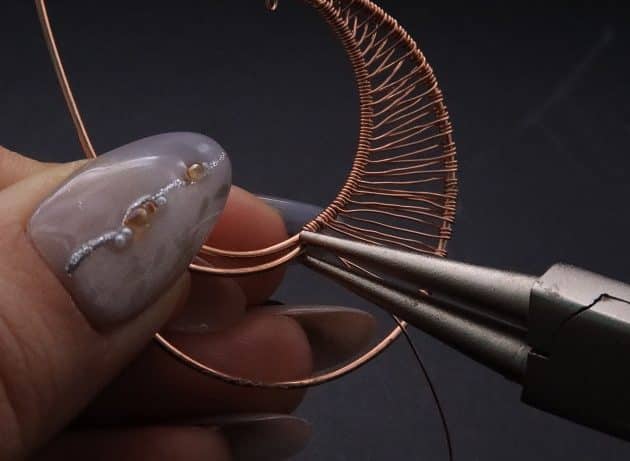
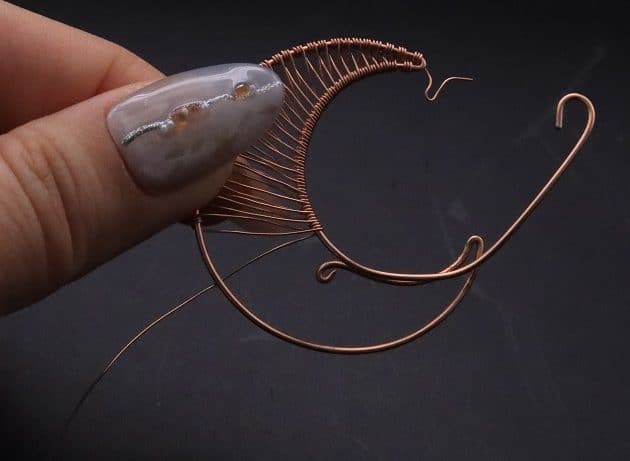
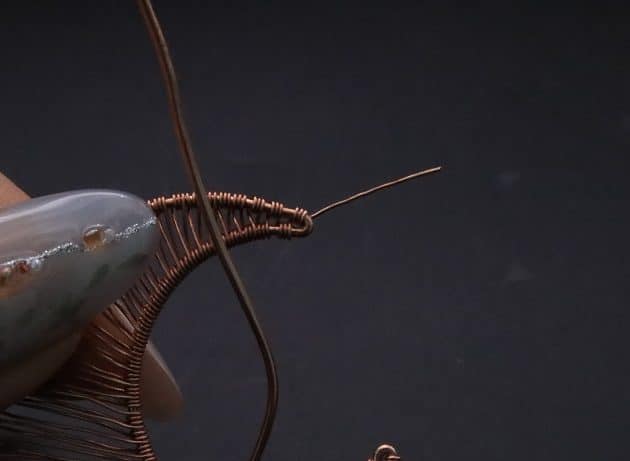
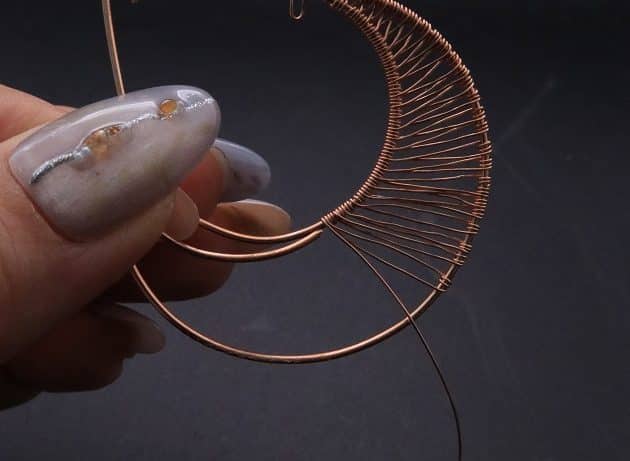
At the midpoint, curl the end of the shorter 18 gauge wire frame into a small loop using a round nose pliers (fig. 3a, 3b, 3c).
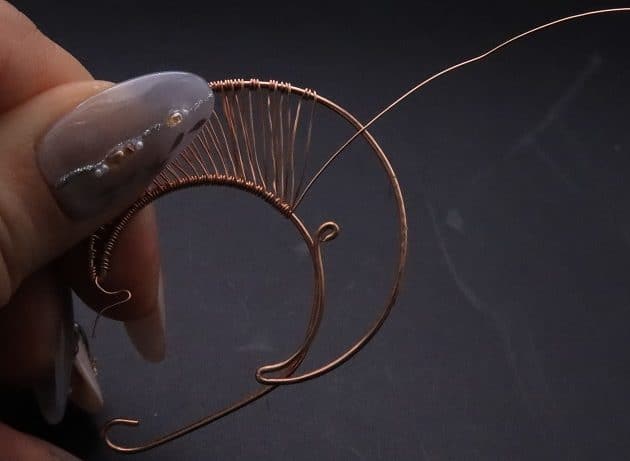
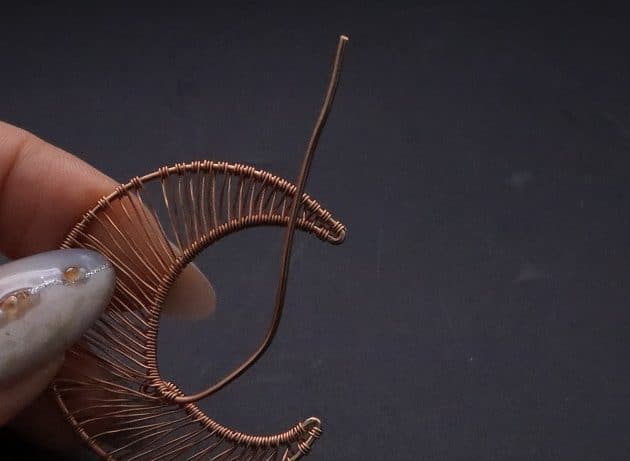
Then, complete the weaving process to cover entire crescent moon (fig. 3d, 3e).
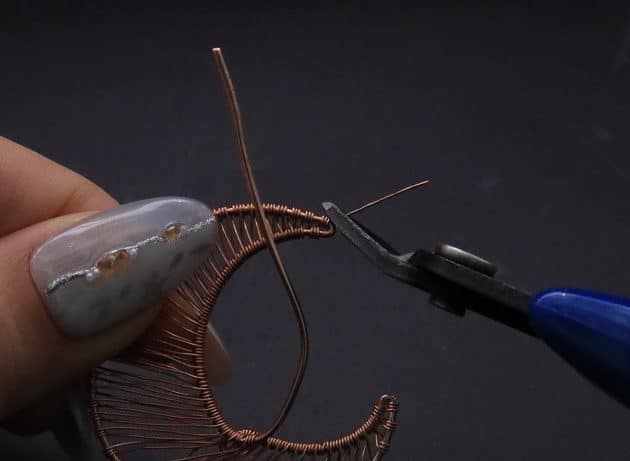
Trim off the excess weaving wire with a wire cutter (fig. 3f, 3g).
Remember to leave out the extra 18 gauge wire frame for detailing (fig. 3h).